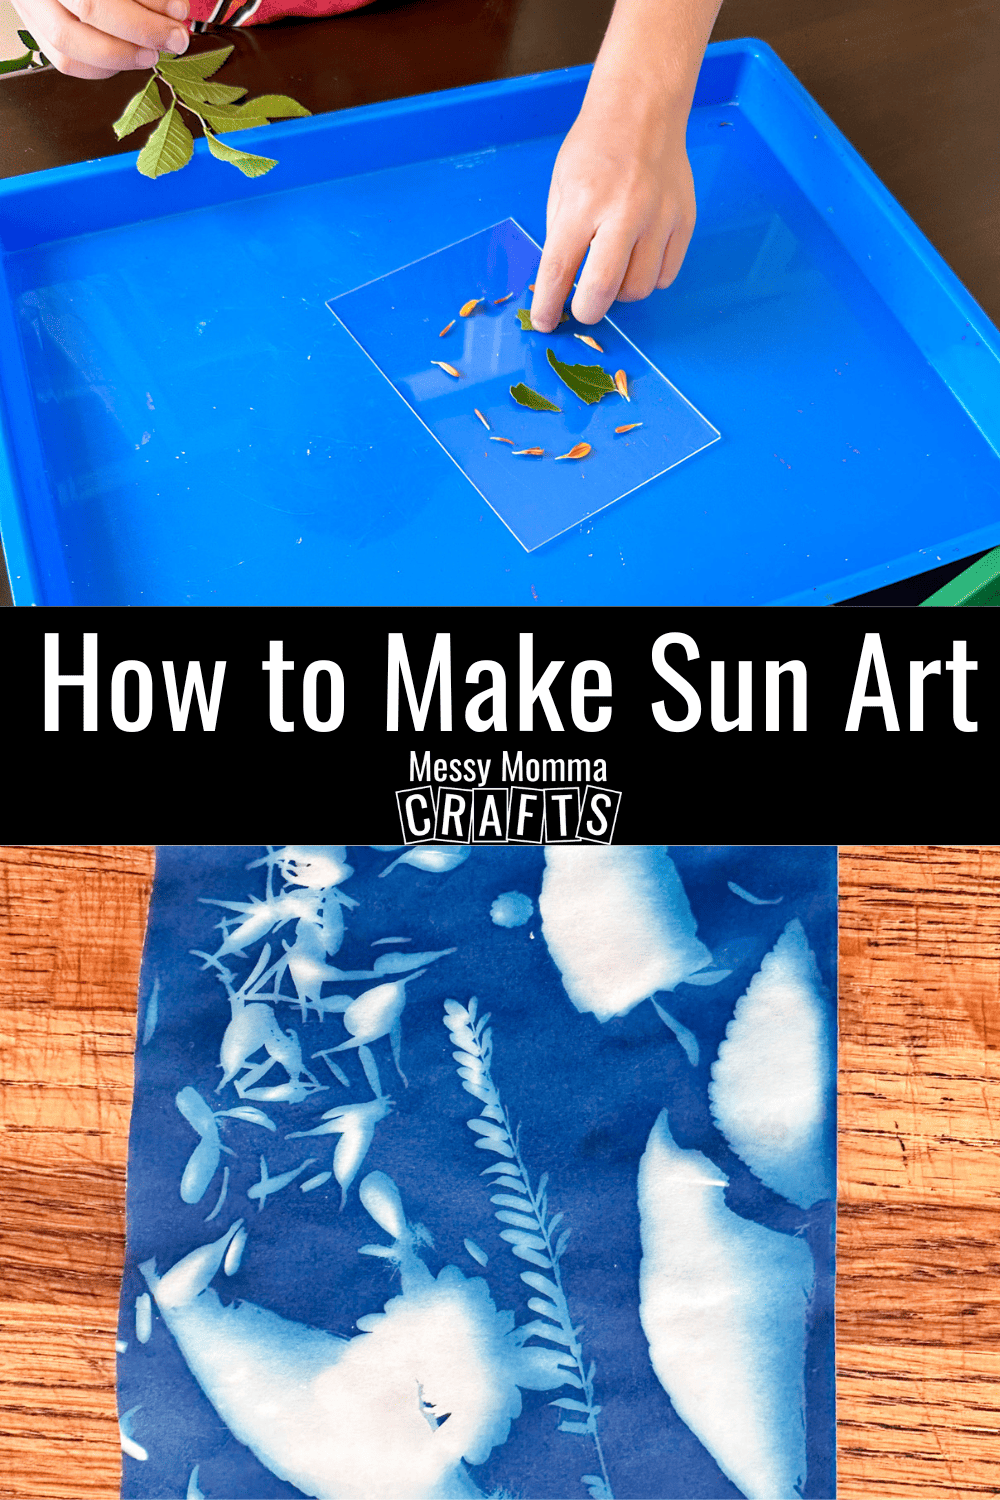
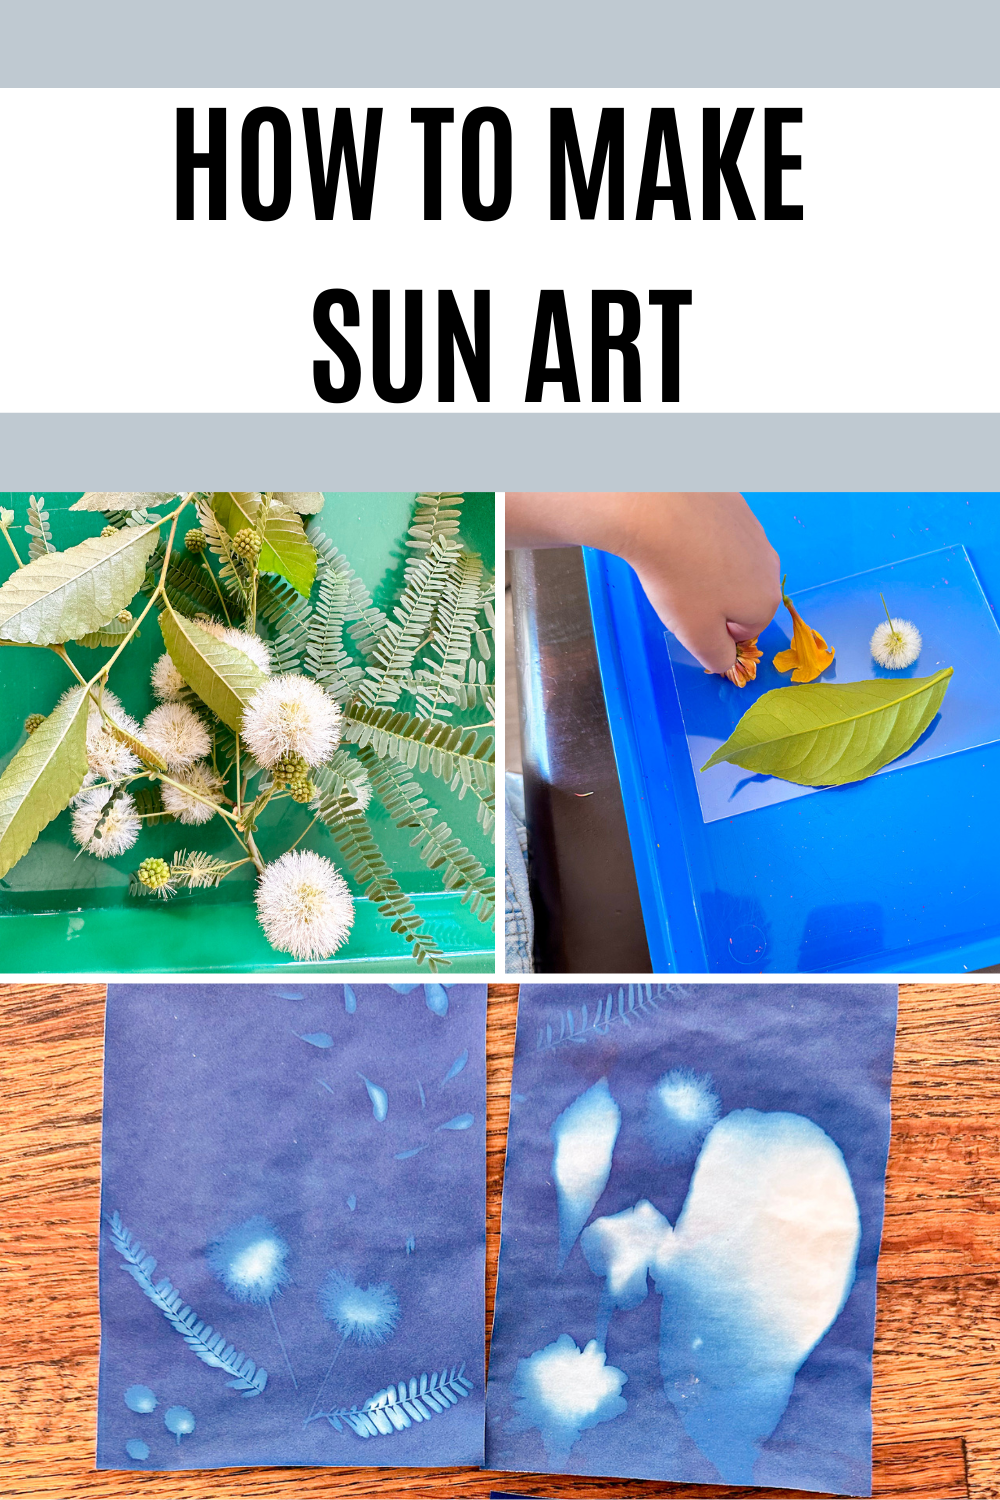
Learn how to make sun art and harness the sun’s power to make some fun art!
Hello, I’m Amy from amylanham.com. A couple months ago, I took a trip and walked into a local toy store to see if there was anything unique I could get for my kids. I found this sun art paper and knew the kids would love it.
Want more ideas like this? Subscribe today and get our weekly newsletter plus other exclusive gifts and offers — all for FREE!
We love being outside and the kids love any excuse to cut off leaves and flowers and play with them. This sun art paper gave them the freedom to do just that!
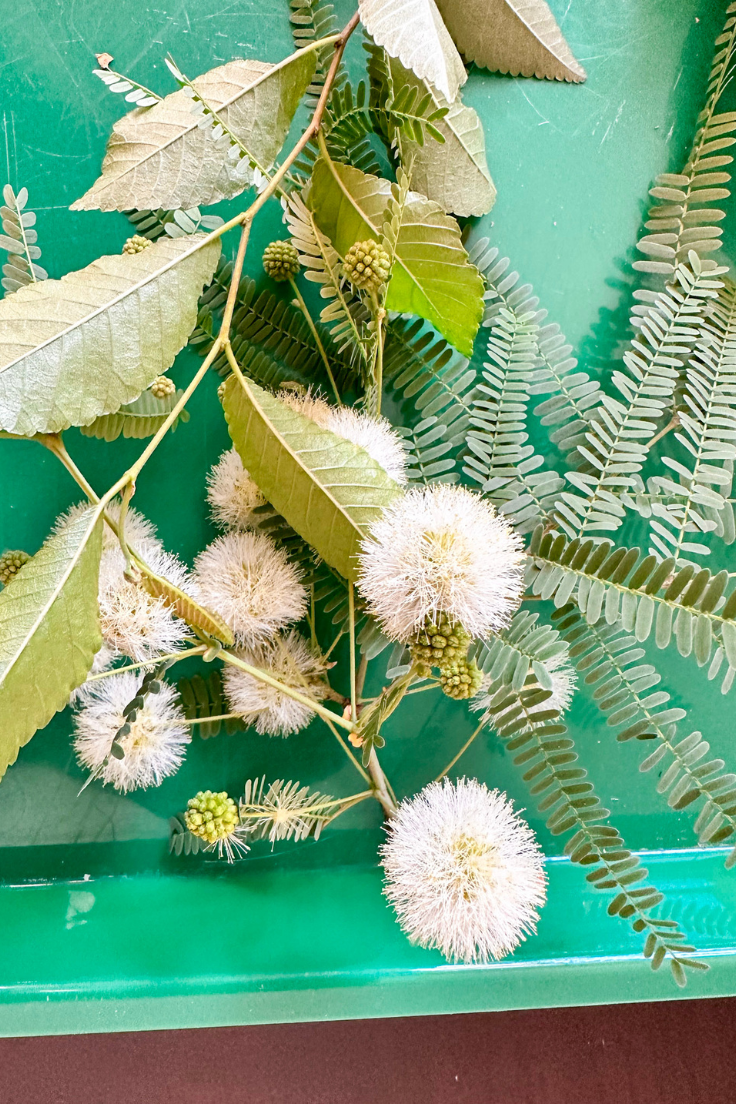
This tree in our backyard just flowered with the most beautiful dandelion-like poofs. We spent the morning foraging for all sorts of flowers and leaves to create art with.
How To Make Sun Art
This is a simple art project that can take as much or as little time as you want! Let your kids imagination soar and I think you’ll be surprised with the results.
What You Need:
Here’s what you’ll need from the store. The exact amounts are in the printable craft card at the bottom of this post.
Craft Tools Needed:
- Scissors for cutting flowers/leaves
Supplies Needed:
- Sun Art paper
- Piece of acrylic (the sun art paper should come with this)
- Bucket with water
- Flowers, leaves, sticks, etc.
- A tray
- The Sun
Tips for Making Sun Art
Don’t Take the Sun Art Paper Out
As soon as you take the sun art paper out of the container, it starts to react with the light.
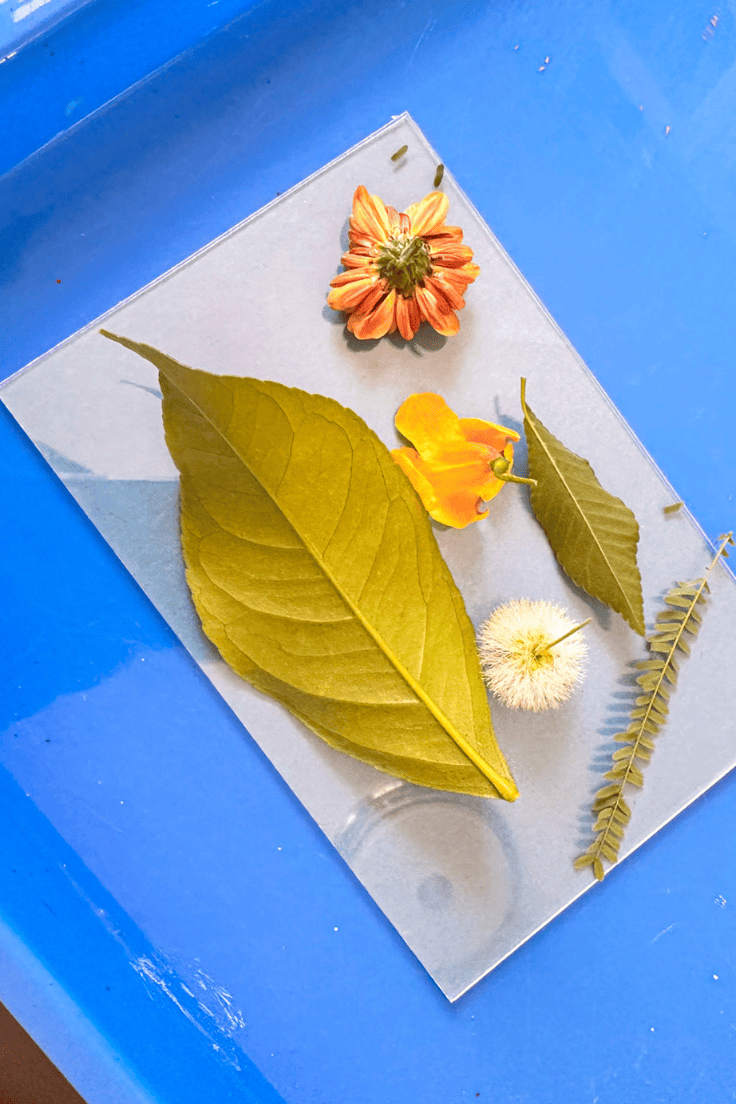
My kids took their time creating their art works. So instead of placing the sun art paper down and then the acrylic, like the instructions said, I just placed the acrylic on a plastic tray.
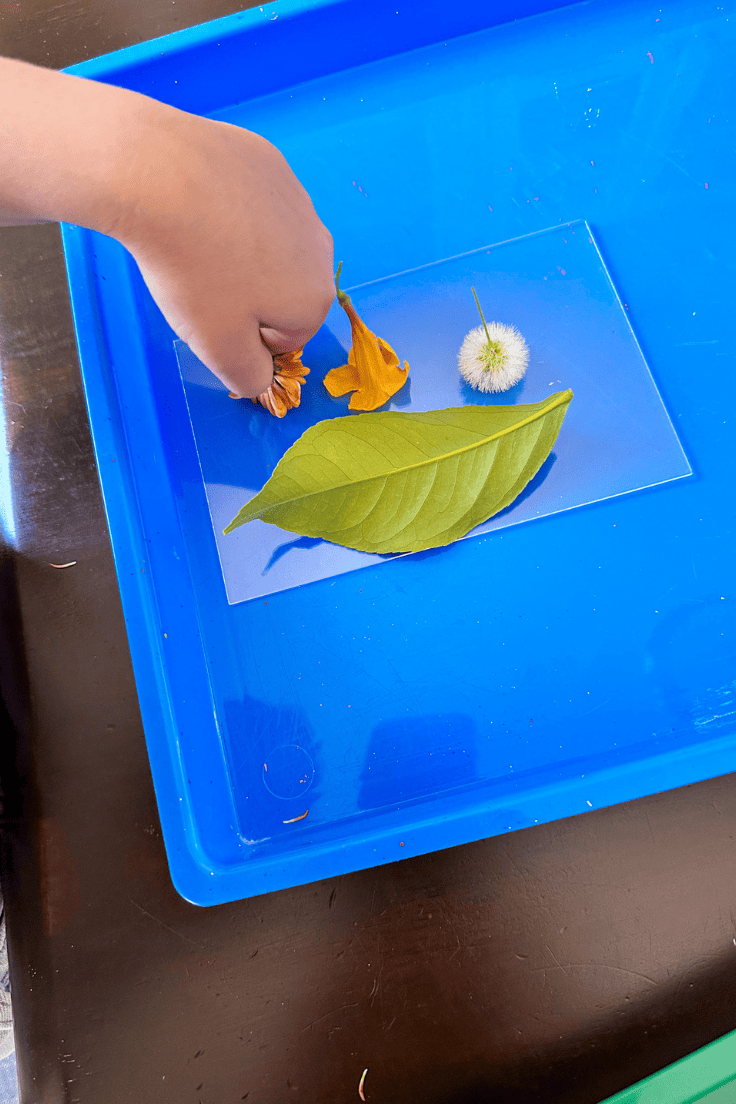
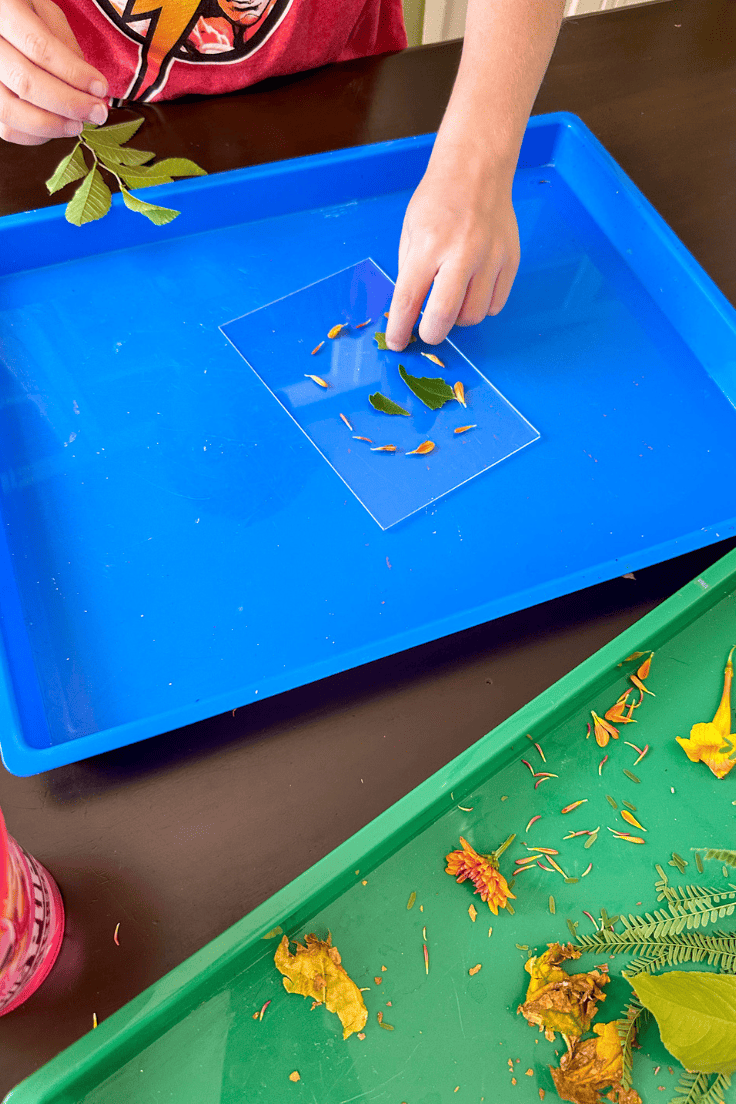
I let the kids arrange the leaves and flowers on the acrylic. This way they could take as much time as they wanted. I didn’t feel the need to rush them.
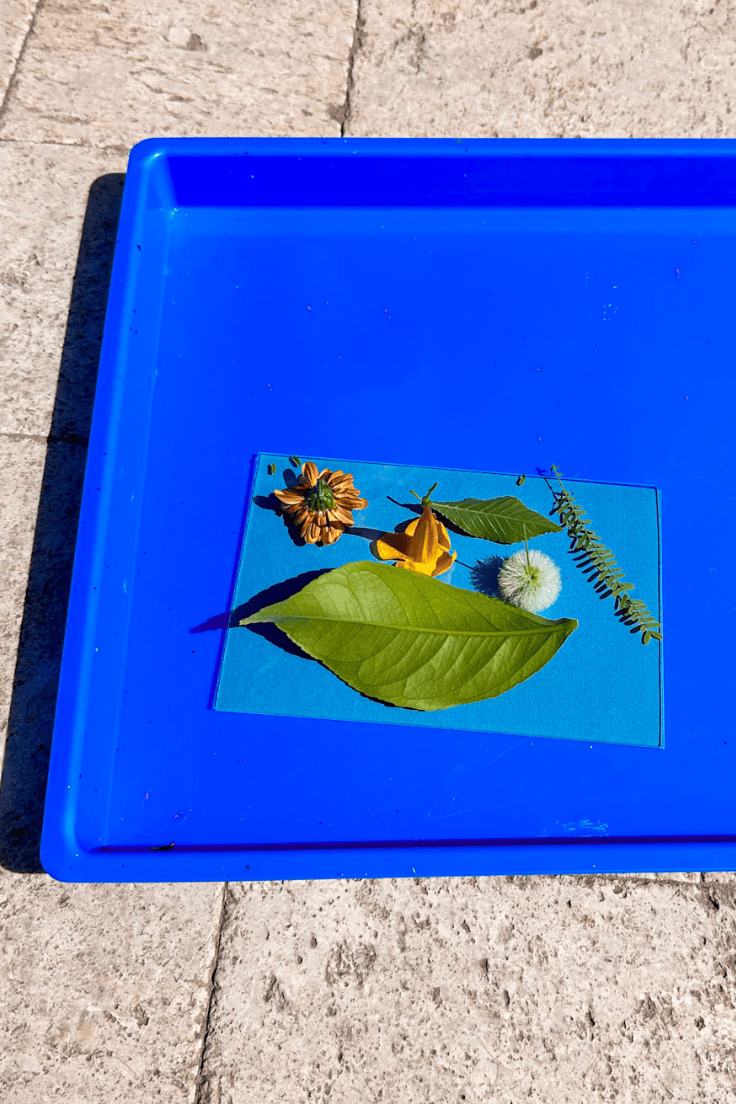
Then, when they had finished arranging to their liking, I quickly, but carefully, slipped the sun art paper underneath the acrylic and put it in the sun.
What Kind of Tray Should I Use?
Any tray is fine. You could even use a baking sheet. I got a 4 pack of trays from Lakeshore Learning years ago and we use them all of the time.
For art and painting and gluing and all of the things. Even play dough and kinetic sand. So that’s the tray I’m using here, but use what you have!
Do I Need the Acrylic?
Yes, and no.
The acrylic is meant to hold the paper down so if there is a breeze it won’t blow away. But if you put the items on top of the acrylic, a breeze will still blow all the flowers.
If it happens to be breezy, you could put the flowers on the sun art paper and then sandwich the acrylic over it. It just means your child has to move a little faster when arranging the items.
I wanted to allow my children the time to arrange and so I only put the paper under the acrylic. But again, the main role of the acrylic is to keep things from flying away, so it’s not necessary to use.

If you have more than one kid, I recommend buying more than one sun art kit. As each kit comes with a piece of acrylic. We only bought one kit, and so my kids had to take turns. Which was fine, but it’s something to be aware of.
Or if you have extra acrylic, it would be smart to sandwich the flowers and leaves between the two pieces of acrylic. This way the kids could still take as much time as they want arranging their art and it won’t blow away.
How to Make Sun Art Prints
Equipment
- 1 Pair of scissors
Ingredients
- 1 kit Sun Art Kit
- 1 piece Acrylic the Sun art kit should come with this
- Assorted Leaves and Flowers
- 1 Tray
- 1 Bucket of water
Instructions
- Place the acrylic on the tray and then let your child arrange the flowers on top of the acrylic.
- Then, slide the sun art paper under the acrylic quickly and carefully and place in the sun for 3-5 minutes or however long your instructions say.
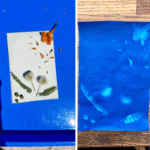
- Pick up the acrylic and put the paper in water washing for one minute, again follow your instructions if the timing is shorter or longer.
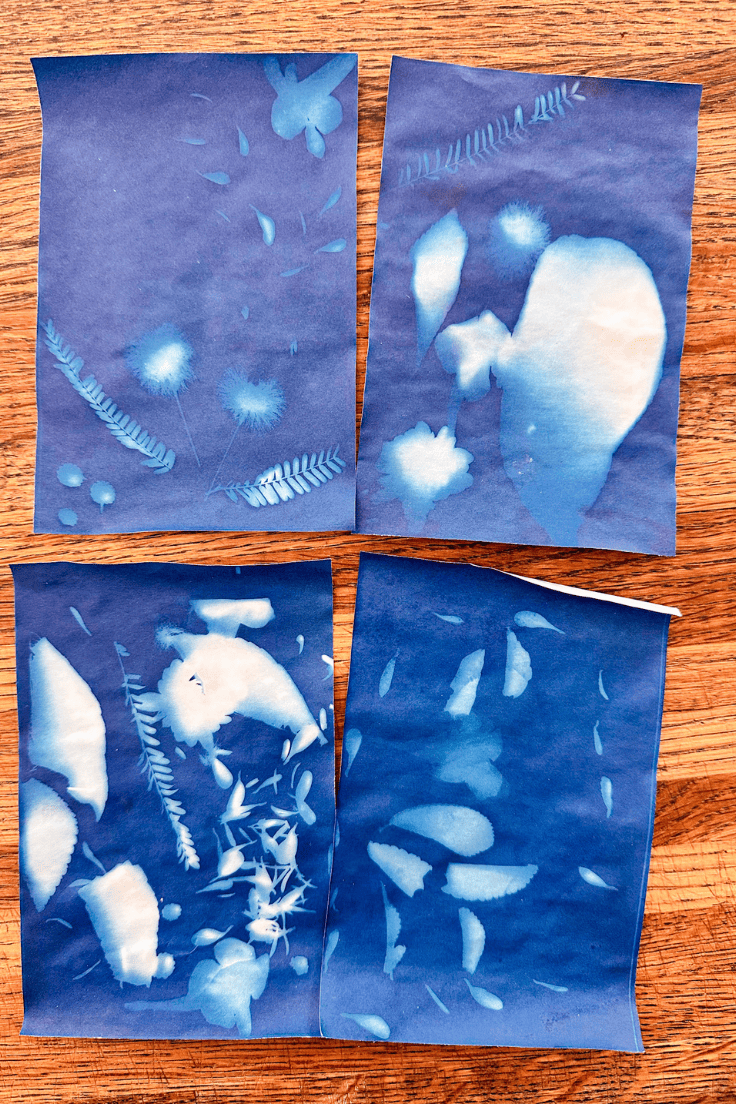
- Allow to dry and then admire your sun art! Repeat as many times as you want.
Enjoying our crafty ideas? Subscribe today to receive our free guide, “From Fridge to Keepsake: 8 Clever Ideas to Preserve Your Child’s Artwork,” plus weekly updates and exclusive offers — all for FREE!
What’s Next?
If you enjoyed learning how to make sun art then you’ll enjoy these other art ideas.
More Art Ideas
If you enjoyed this sun art project then you will love these other art projects:
Leave a Reply