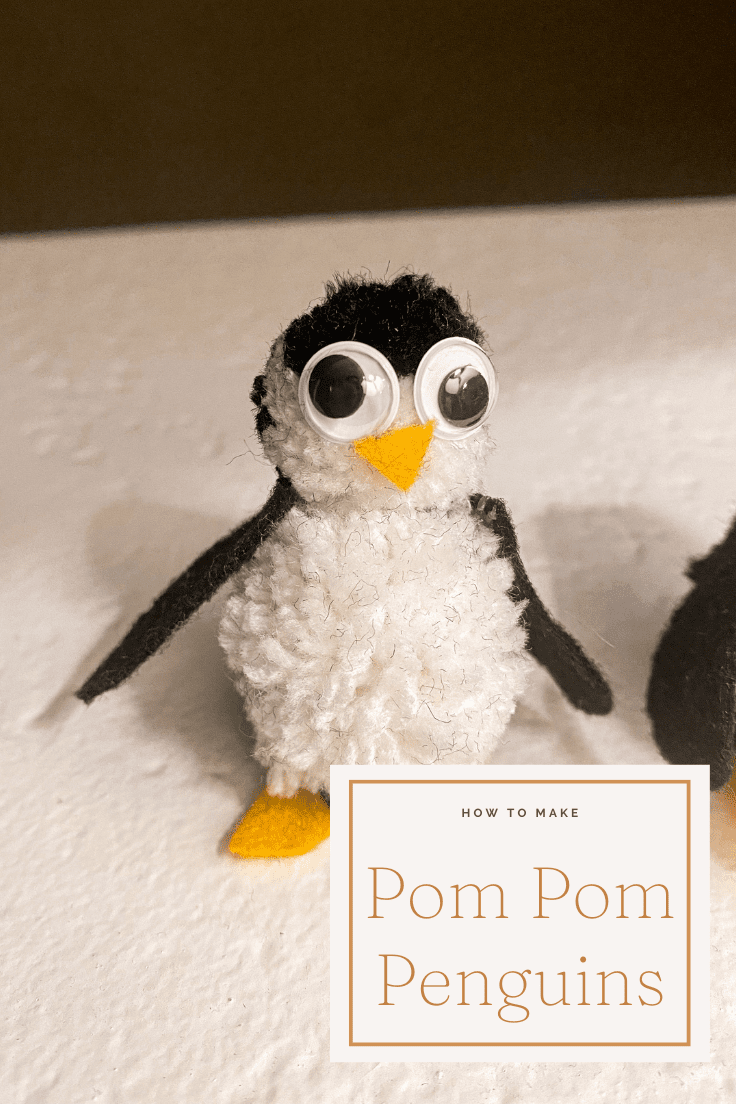
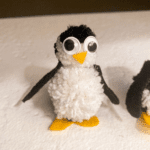
Get ready to make the cutest little pom pom penguins! They are so simple to make and require only a few supplies.
Hello! My name is Amy and I blog over at AmyLanham.com. I love crafting and DIY and am always trying to get my kids involved with my love of all things crafting and DIY.
Want more ideas like this? Subscribe today and get our weekly newsletter plus other exclusive gifts and offers — all for FREE!
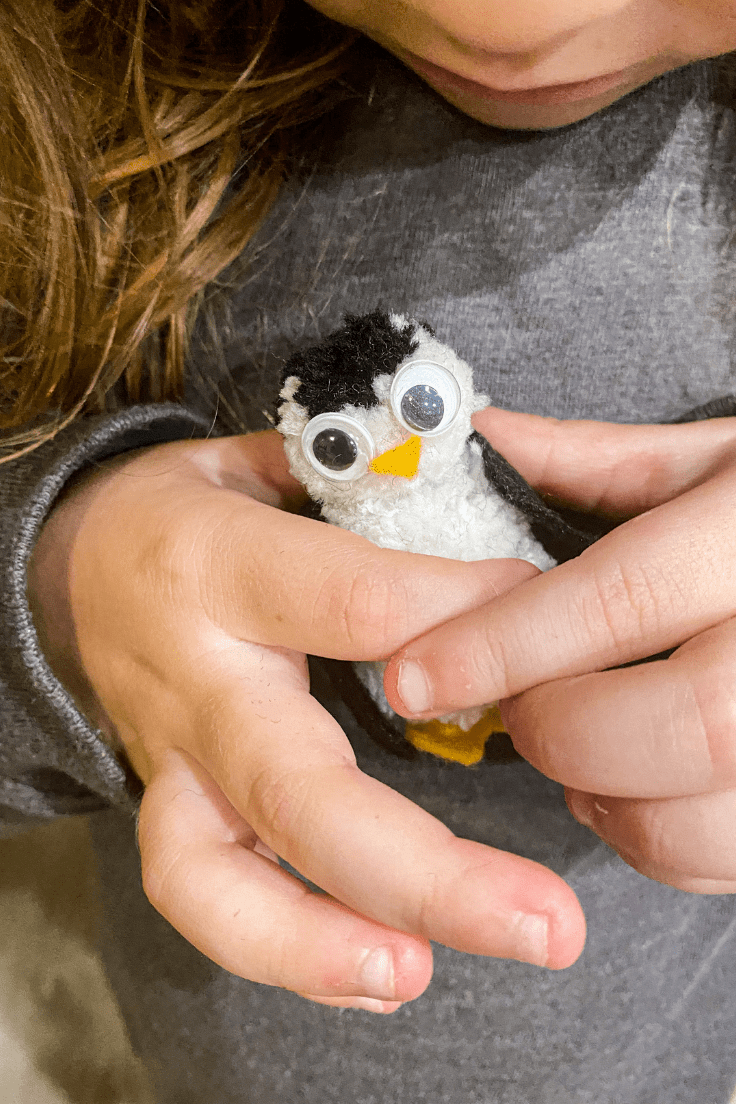
My kids love animals and are always playing with small toys. They also love stuffies. These little pom pom penguins are the best of both worlds.
They’re small enough to be cuddly, but they can also play with them. They’re surprisingly sturdy as well. My kids can be rough with toys and these have held up well.
My kids could barely finish gluing them together before they ran off to play with them. But it would be cute to add a hat, scarf, or ear muffs as well.
How To Make Pom Pom Penguins
Grab your supplies and your kids. Set aside maybe 30 minutes and make these adorable little penguins.
What You Need:
Here’s what you’ll need from the store. The exact amounts are in the printable craft card at the bottom of this post.
Craft Tools:
- Hot Glue Gun (optional can use glue)
- Scissors
- Cardboard or something sturdy to wrap yarn around
Supplies:
- Black Yarn
- White Yarn
- Googly Eyes (optional)
- Black Felt
- Yellow Felt
- Other colors of felt for scarves or hats
Tips for making Pom Pom Penguins
What age are these pom pom penguins good for?
Honestly, my kids are 4 and 6 and they had a really hard time making the pom pom. I would recommend making the pom pom ahead of time and allowing the kids to decorate them.
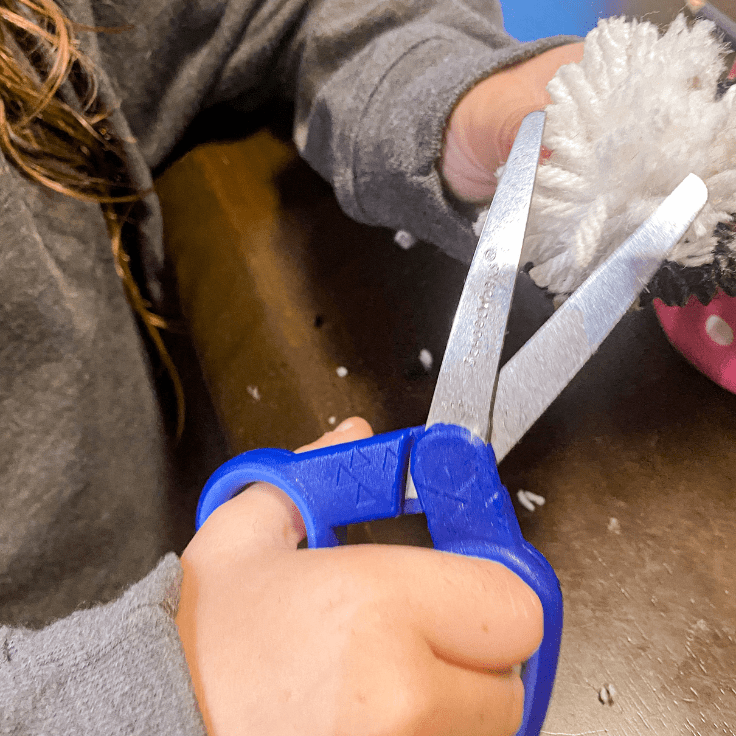
Kids scissors aren’t quite sharp enough to cut the yarn, and I didn’t trust the sharp scissors so close to their hands! So I would definitely say use your judgement on if your kids are old enough to make the pom pom themselves.
How do I make a round pom pom?
Lots of cutting! Make your pom pom bigger than you think you’ll need and then cut away. I like to rotate the pom pom as I’m cutting to make sure I’m getting a nice round pom pom.
The shorter the yarn is. the more it fills in the circle too. It sounds counter productive, but if the yarn is too long you’ll see more gaps and individual yarns. When it’s shorter it becomes a pom pom.
What are some ways to use these pom pom penguins?
Oh the possibilities are endless! My kids have so far just been playing with them like any of their other dolls or action figures.
But these would make adorable decor. Add a loop to the top to create an ornament or add a bunch to a string for a cute garland.
These could also be used as toppers for presents. Add different color scarves for each person or even glue on initials. The possibilities are endless.
These penguins could also make fun games. Make a bunch of play penguin bowling, use extra pom pom as the ball or ping pong balls. Or play hide the penguin and give clues as to where it is.
I can think of so many fun winter activities to keep the kids busy inside with just this little penguin! And I’m sure we’ll do them all because my kids have been inseparable from this little buddy since we made them.
My son has been sleeping with it and tried to sneak it into his backpack for school! So we’ll probably be making a couple more and playing all sorts of games with them.
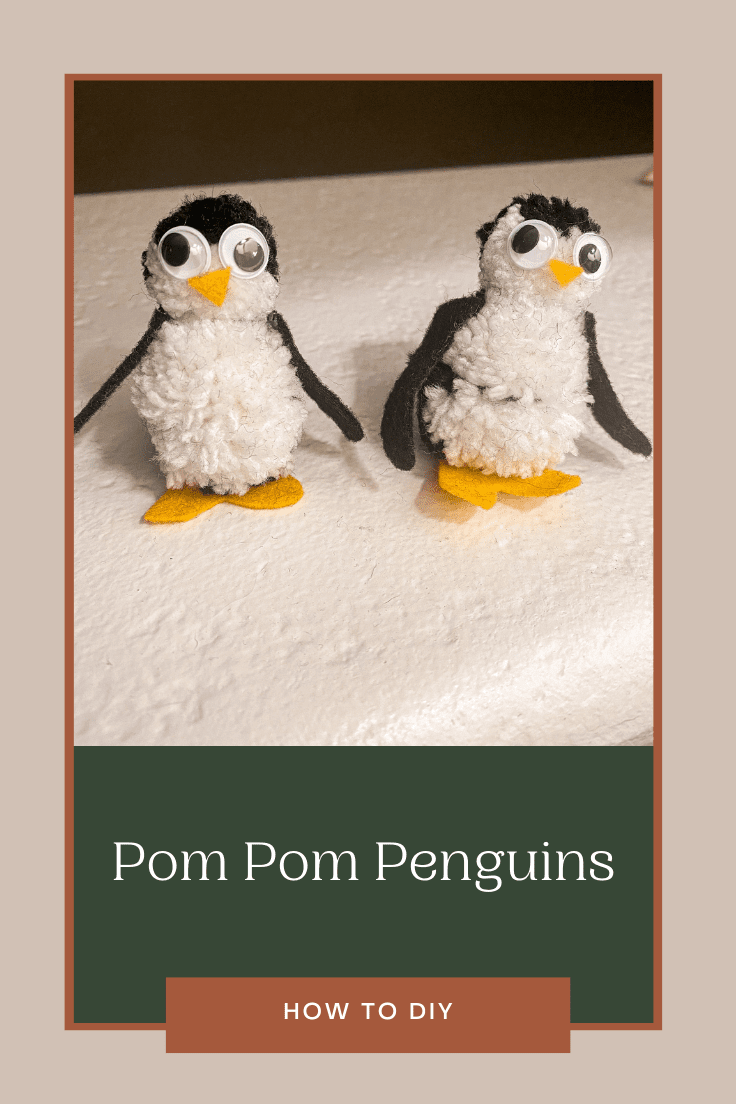
Pom Pom Penguins
Equipment
- 1 Pair of scissors
- 1 Hot Glue Gun optional, can use glue instead
- 1 Cardboard piece or other hard object, can use your hand or child's hand
Ingredients
- Black Yarn
- White Yarn
- Black Felt
- Yellow Felt
- Googly Eyes Optional
Instructions
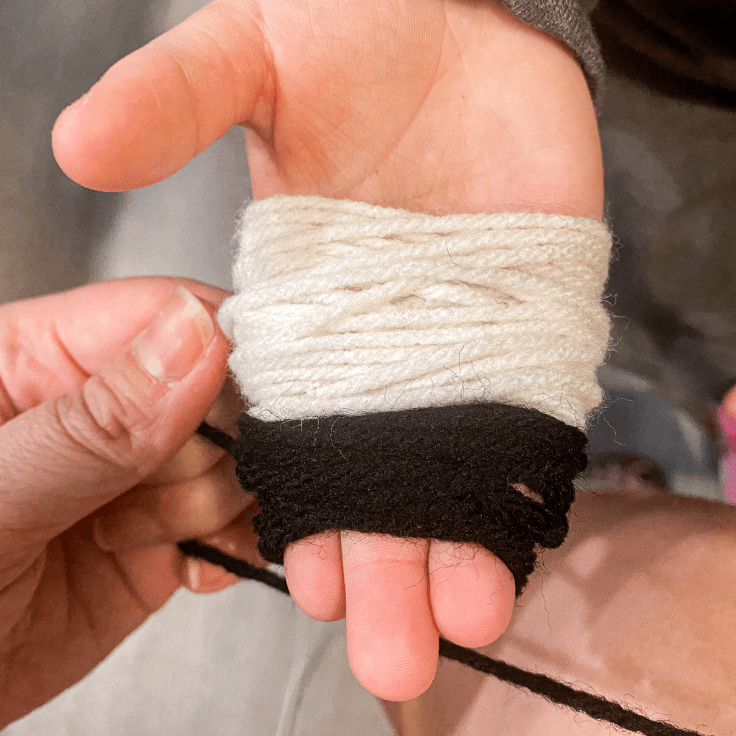
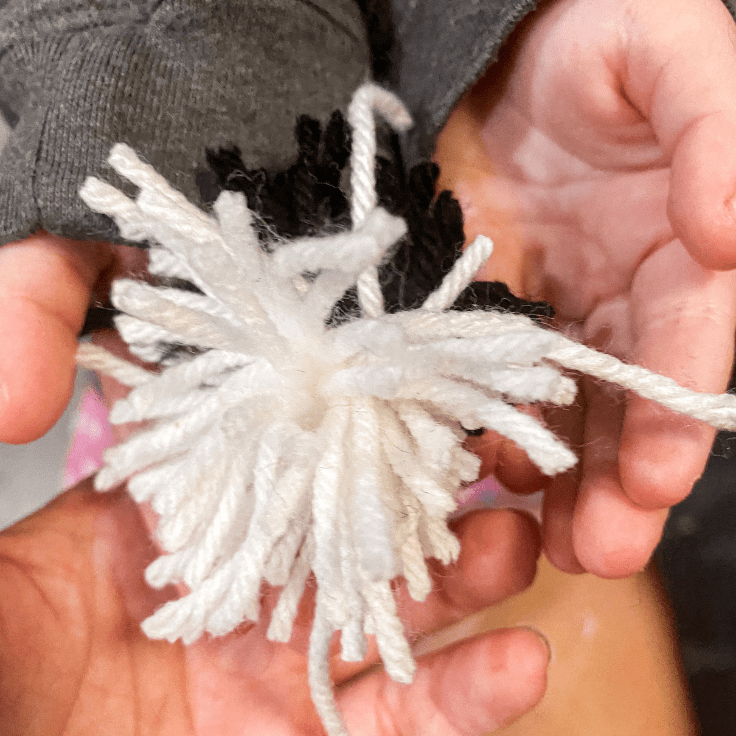
- Start by wrapping the yarn around cardboard, a hand, or other sturdy object. Start with the white and wrap 2-3 inches of yarn. Then move onto the black, and wrap another 2 inches. Try not to overlap onto the white when wrapping the black yarn.
- Once done wrapping, carefully slide the yarn off the cardboard and wrap with a piece of yarn. I find it easiest to lay a piece of yarn on the table, slide the wrapped yarn onto the piece of yarn on the table and then tie the wrapped yarn together tightly.
- Now cut all of the loops of yarn and continue cutting until you get something resembling a pom pom.
- Repeat process 3 more times. To make the body a little larger, wrap another inch of each yarn.
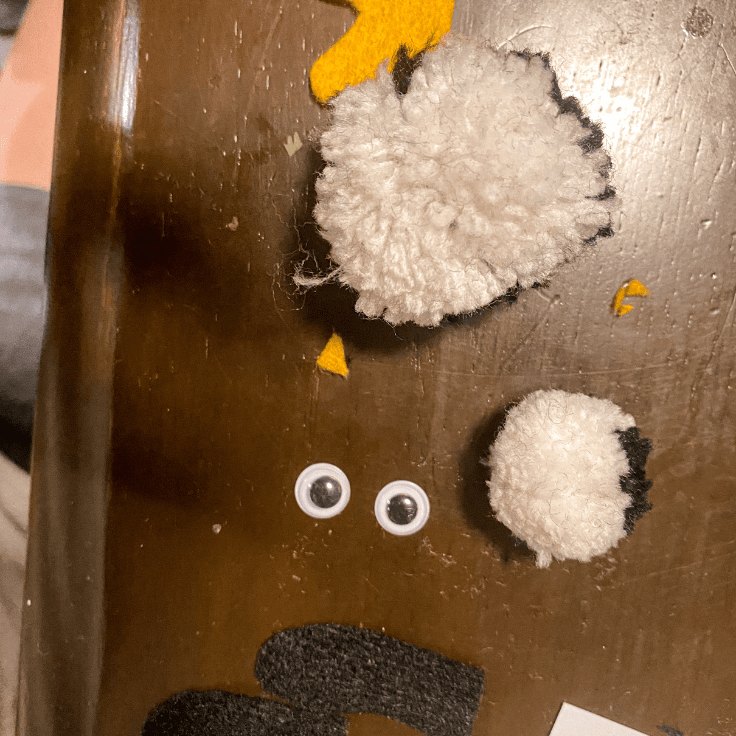
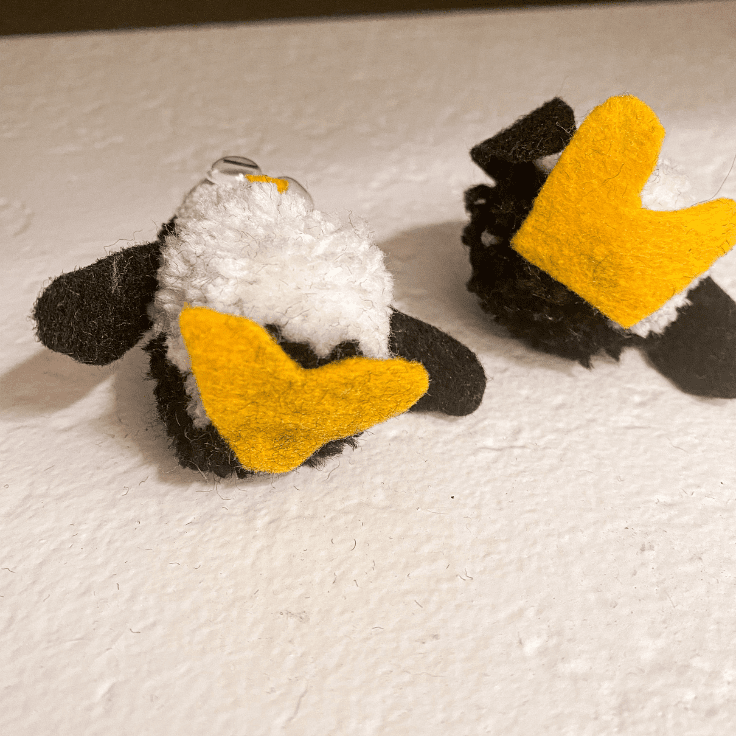
- Now you should have 4 pom pom. Take the smaller and hot glue it on top of the larger.
- Freehand cut some feet out of yellow felt and a small triangle for the nose.
- Freehand cut some wings from black felt.
- Glue on the wings, feet, nose, and eyes. Use black felt or googly eyes for the eyes.
Enjoying our crafty ideas? Subscribe today to receive our free guide, “From Fridge to Keepsake: 8 Clever Ideas to Preserve Your Child’s Artwork,” plus weekly updates and exclusive offers — all for FREE!
What’s Next?
If you enjoyed this pom pom penguin then you’ll enjoy these other holiday crafts too.
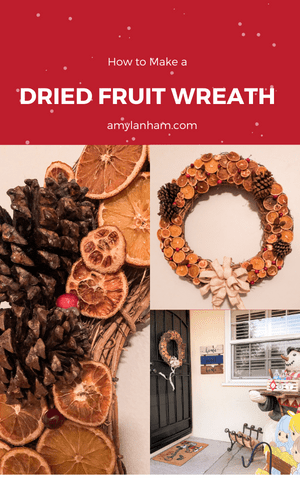
How to Make a Dried Fruit Wreath
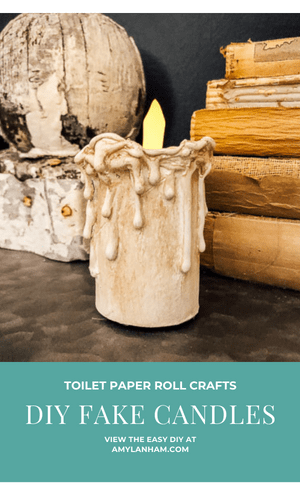
DIY Fake Candles using Toilet Paper Rolls
More Fun Crafts For Kids
If you enjoyed this pom pom penguin then you will love these craft ideas!
Leave a Reply