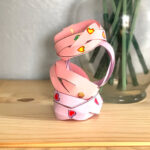
Paper Bracelet
Servings: 4 bracelets
Cost: $1
Equipment
- 1 pair of scissors or paper trimmer
- 1 Single hole punch
Ingredients
- 1 piece printer paper assorted colors
- 4 metal brad fasteners
- 1 printable template see blog post
Instructions
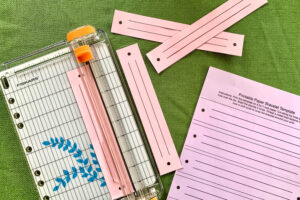
- Print and cut out the template. You can print on any paper. Cut along the solid black lines on the outside of the bracelets and along the 2 lines down each individual bracelet.
- Braid the paper strands. Use a standard 3-strand braid technique to braid the 3 strips together, alternating between left over center and then right over center. The bottom will need to be flipped around as you go, then untangled at the end.

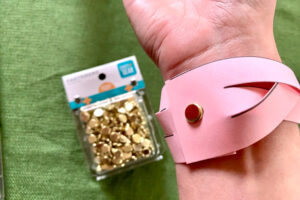
- Punch holes in the ends. Use a single hole punch to cut out the 2 black dots at the ends of the bracelet.
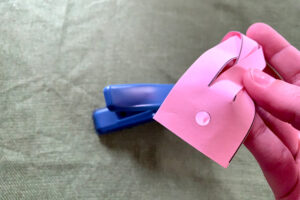
- Secure with a metal fastener. Wrap the bracelet around your wrist and line up the holes. Slide a metal fastener through the holes and bend the flaps out flat to secure it.