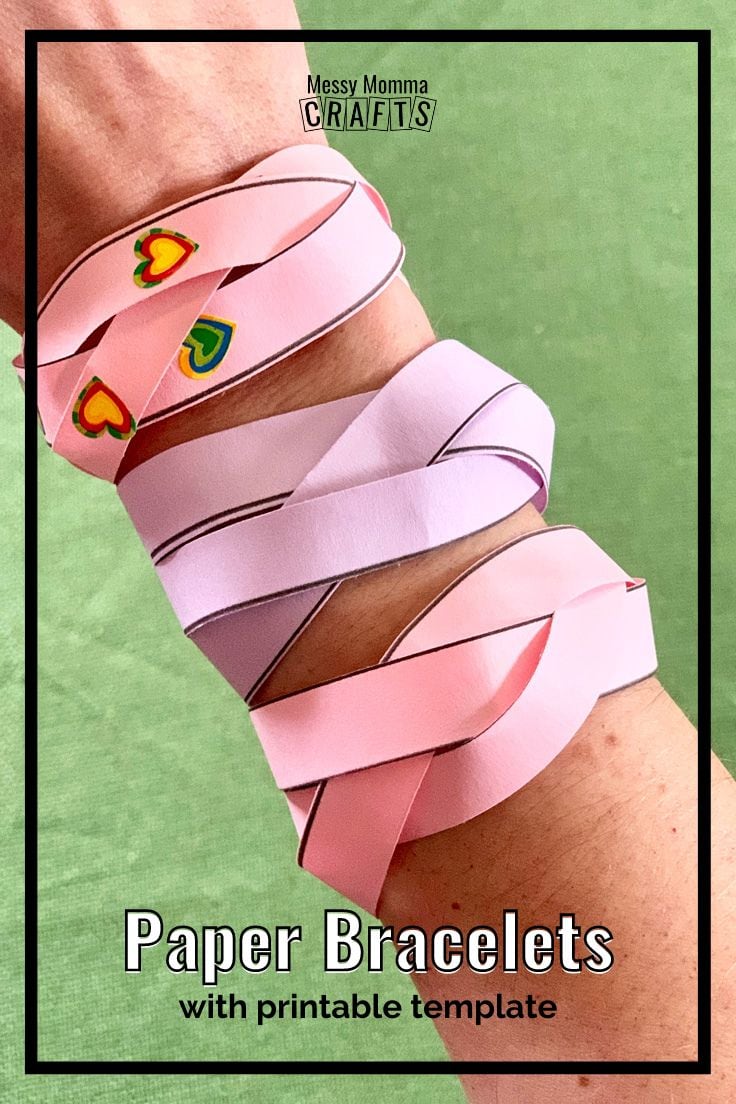
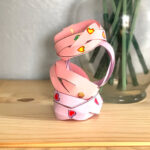
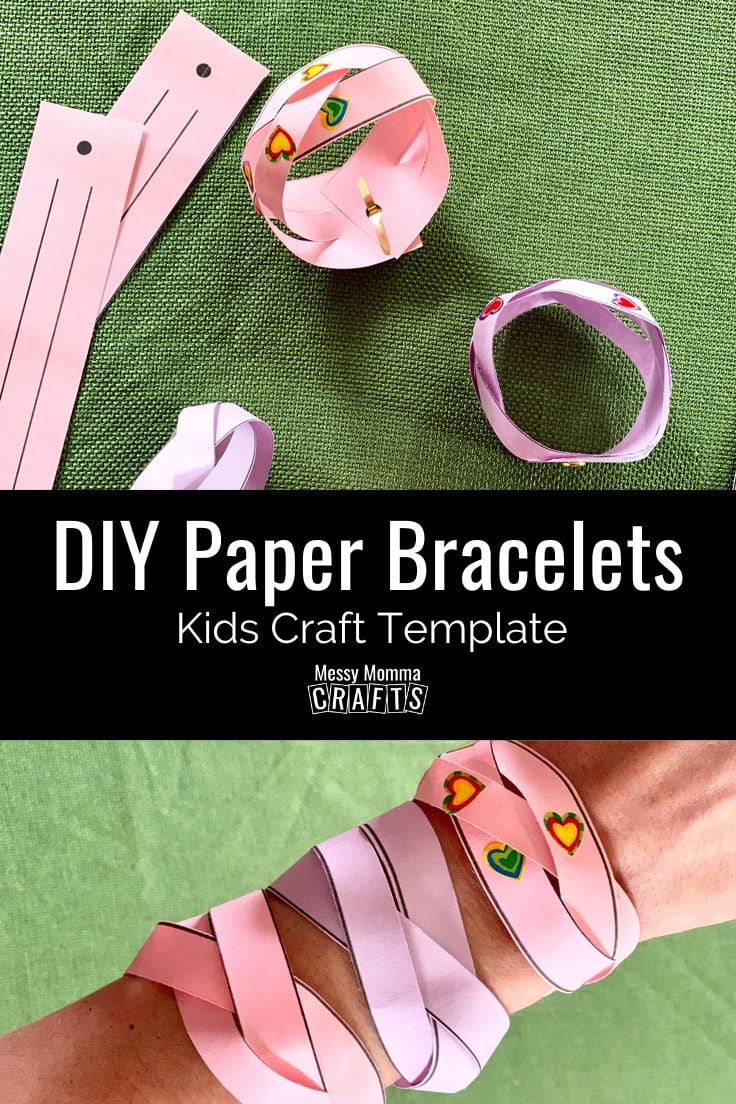
Make a fun paper bracelet for kids using a free printable template. This craft has a secret trick for braiding without breaking the paper.
Keri from Backyard Summer Camp here! I love a craft that’s a bit of a puzzle and this one is definitely that. Learn how to make a paper bracelet – it’s braided without cutting the strands apart!
If your kids love paper crafts, then check out this paper airplane tutorial too!
Want more ideas like this? Subscribe today and get our weekly newsletter plus other exclusive gifts and offers — all for FREE!
I might be biased, but I think the trick behind this paper bracelet tutorial is pretty clever!
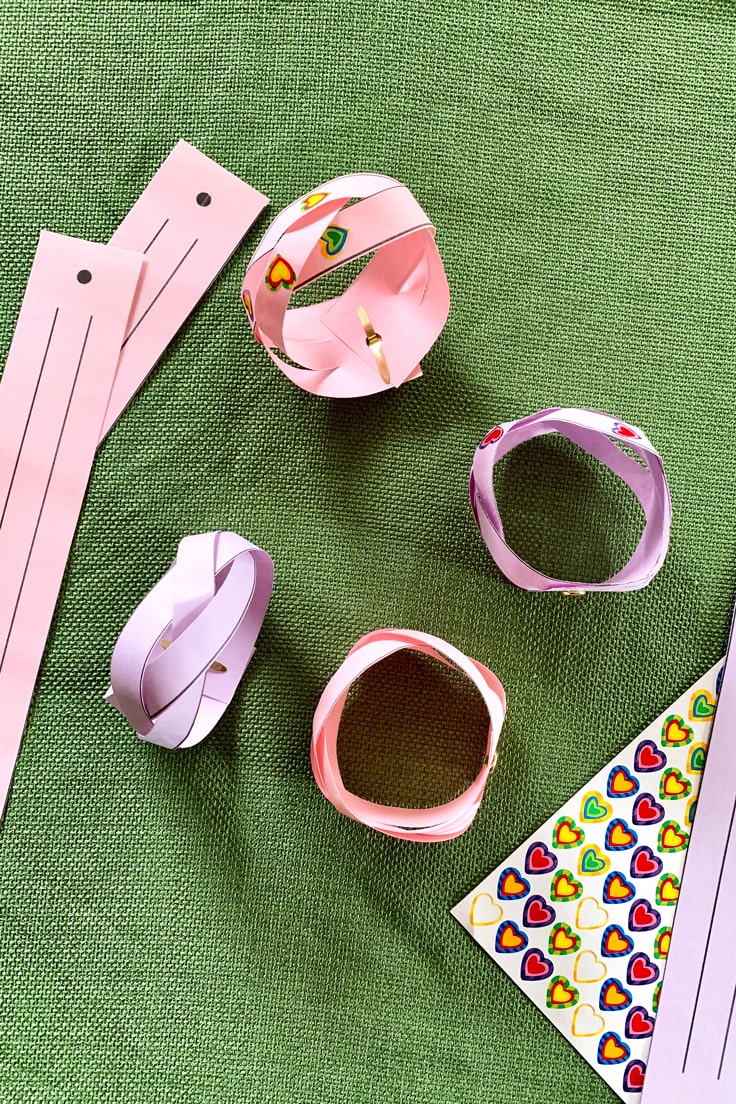
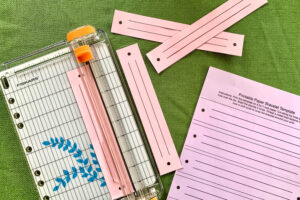
Use the template to cut out the bracelet from a single piece of paper, then braid it in three strands without cutting them apart. The trick is to flip and turn the end as you go.
You can print this on any type of paper – as long as it goes through your printer. Or trace the template onto your favorite craft paper, scrapbook paper, or card stock. You could even use magazine and newspaper pages.
Next, use the same paper to make some matching paper ring origami!
This is a paper bracelet tutorial, but you could use the template to cut out fabric, felt, or leather to make this too.
Some other fun ways to make this craft:
- Print on white paper and let kids color before you cut them out.
- Decorate with stickers, stamps, glitter, etc.
- Make your bracelet double-sided by cutting out 2 templates in different colors and gluing them together.
Get creative and make a whole collection of paper jewelry! You’ll also enjoy this paper ring origami tutorial and these paper beads, which are great for all kinds of jewelry crafts.
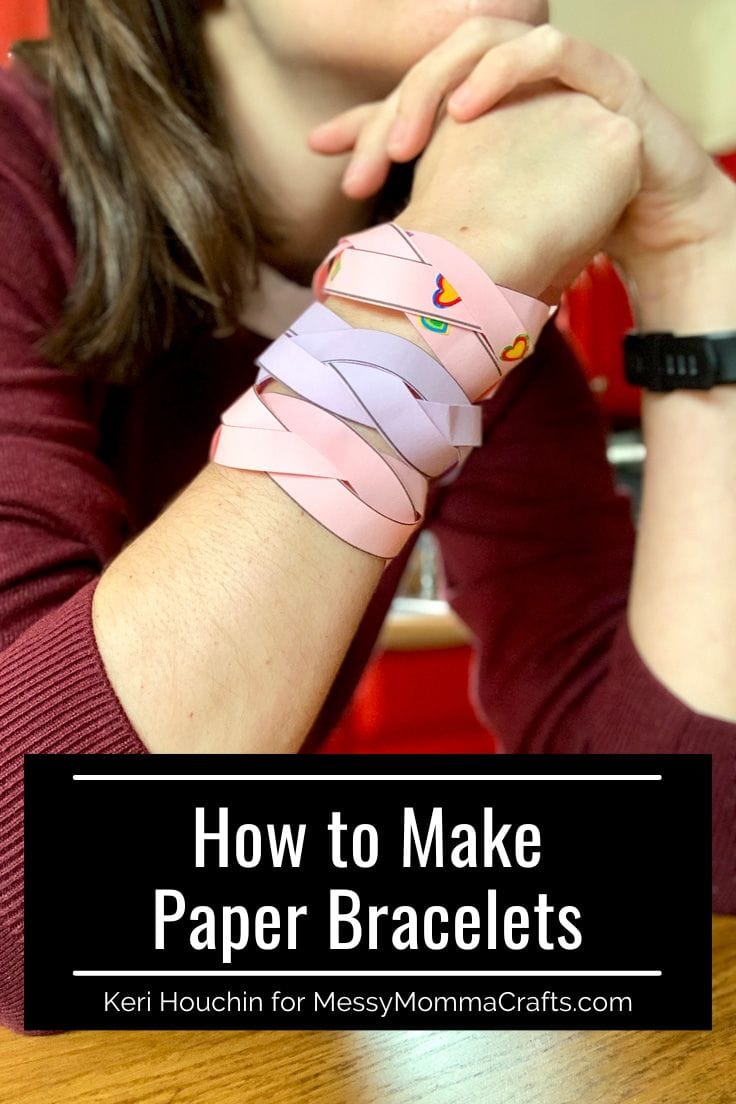
How To Make a Paper Bracelet
Make a whole collection of bracelets in different colors and patterns!
What You Need:
Here’s what you’ll need from the store. The exact amounts are in the printable craft card at the bottom of this post.
Craft Tools Needed:
Supplies Needed:
- Printer paper, assorted colors
- Metal brad fasteners
- Printable template
Get the Free Printable Paper Bracelet Template
Sign up below to get the free printable paper bracelet template sent right to your inbox:
Your privacy is important to us. We promise not to spam you or share your information. You can opt-out at any time. See our privacy policy for more information.
All printables from Messy Momma Crafts are for your own PERSONAL USE ONLY.
After you’ve signed up, watch for an e-mail to confirm your e-mail address and download the free digital printable. Plus you’ll have the opportunity to get the Messy Momma Crafts newsletter, as well as product discounts, special offers, and other content that is EXCLUSIVE for Messy Momma Crafts subscribers only.
Paper Bracelet Braiding Step by Step Photos
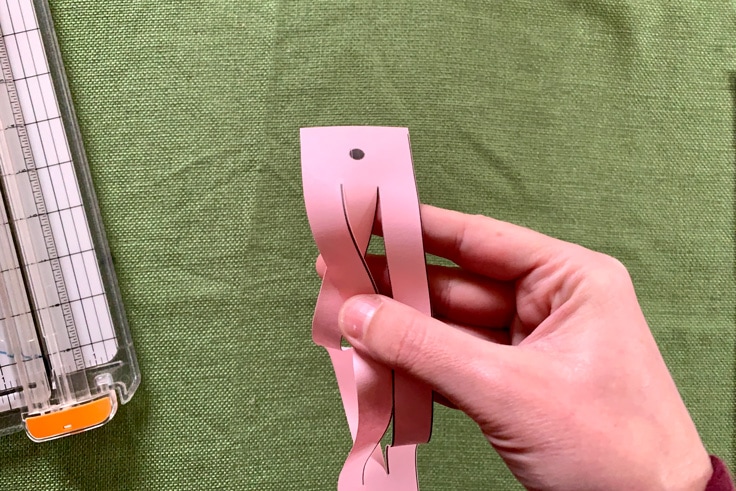
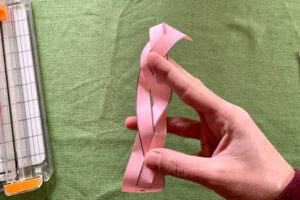
Braiding with paper is a bit trickier than with hair, ribbon, or fabric. Follow this guide to braid without cutting or tearing the paper.
First Braid.
Fold the left strand over the center. (Now the left is the new center.)
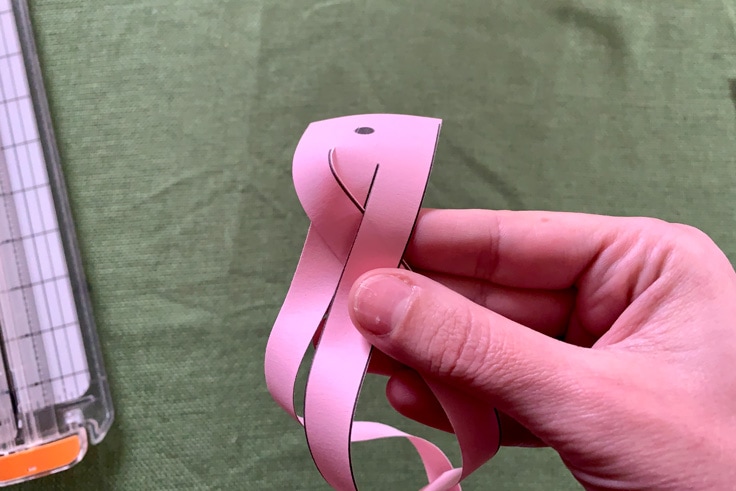
Second Braid.
Fold the right strand over the center. (Now the right is the new center.)
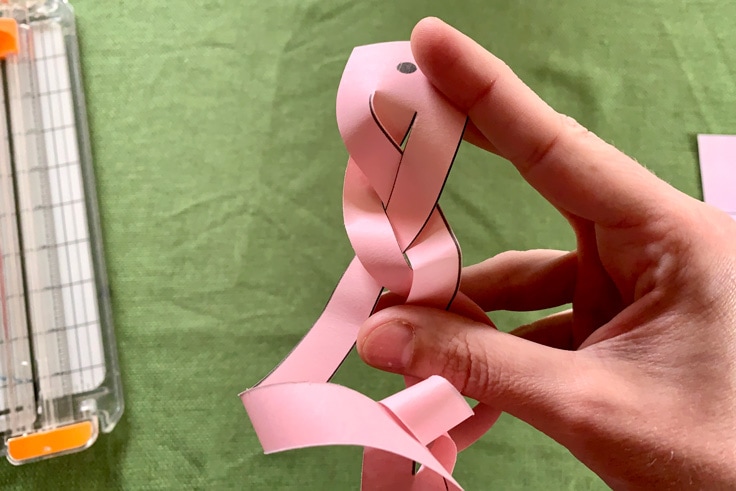
Third and Fourth Braids.
Repeat left over center, then right over center. At this point you’ll probably need to flip the bottom “tail” of the bracelet up and around. Keep on hand on the braids as you adjust to keep them organized.
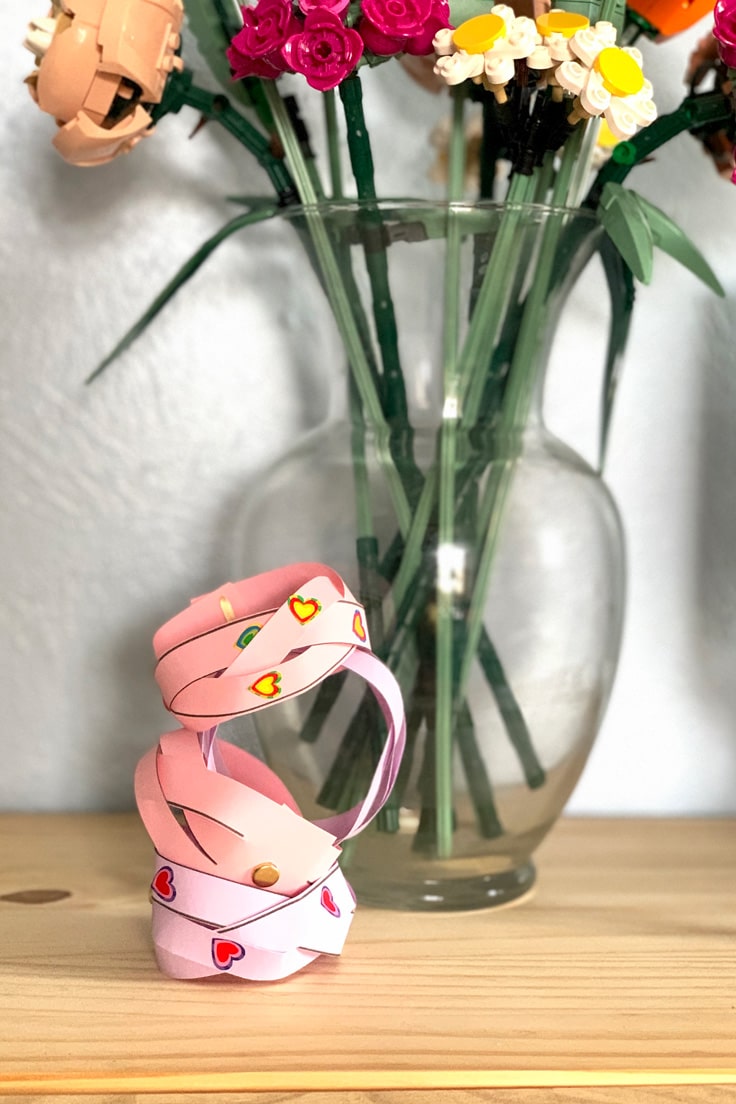
Last Braid.
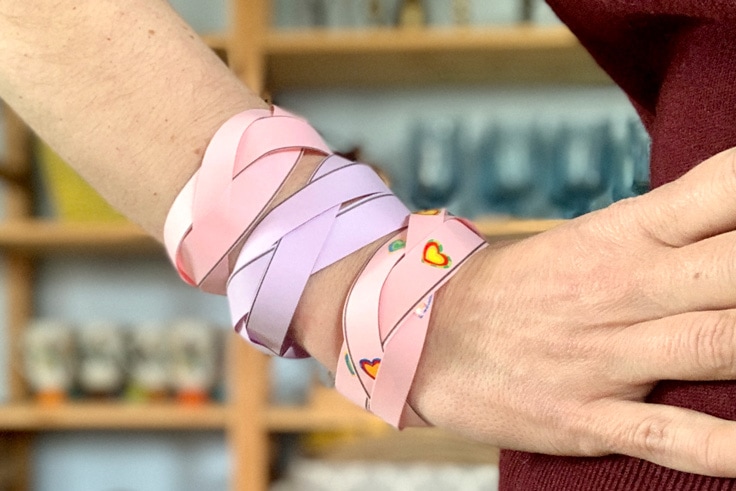
Fold left over center one last time, then straighten out the strands so that they lay flat. You’ll need to untangle the “tail” of the bracelet that you flipped over in the previous step. The bracelet should naturally start to curl into a bracelet shape.

Practice makes perfect! Little kids will probably need some help making their bracelets. Older kids may need some guidance the first time, but will pick up the braiding technique after a few tries.
Paper Bracelet
Equipment
- 1 pair of scissors or paper trimmer
- 1 Single hole punch
Ingredients
- 1 piece printer paper assorted colors
- 4 metal brad fasteners
- 1 printable template see blog post
Instructions
- Print and cut out the template. You can print on any paper. Cut along the solid black lines on the outside of the bracelets and along the 2 lines down each individual bracelet.
- Braid the paper strands. Use a standard 3-strand braid technique to braid the 3 strips together, alternating between left over center and then right over center. The bottom will need to be flipped around as you go, then untangled at the end.
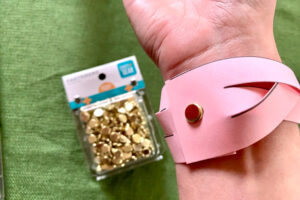
- Punch holes in the ends. Use a single hole punch to cut out the 2 black dots at the ends of the bracelet.
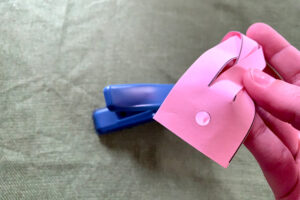
- Secure with a metal fastener. Wrap the bracelet around your wrist and line up the holes. Slide a metal fastener through the holes and bend the flaps out flat to secure it.
Enjoying our crafty ideas? Subscribe today to receive our free guide, “From Fridge to Keepsake: 8 Clever Ideas to Preserve Your Child’s Artwork,” plus weekly updates and exclusive offers — all for FREE!
What’s Next?
If you liked making a paper bracelet, then be sure to check out Backyard Summer Camp for more craft tutorials.
More Paper Craft Ideas
If you enjoyed this paper bracelet, then you will love these paper craft ideas:
Leave a Reply