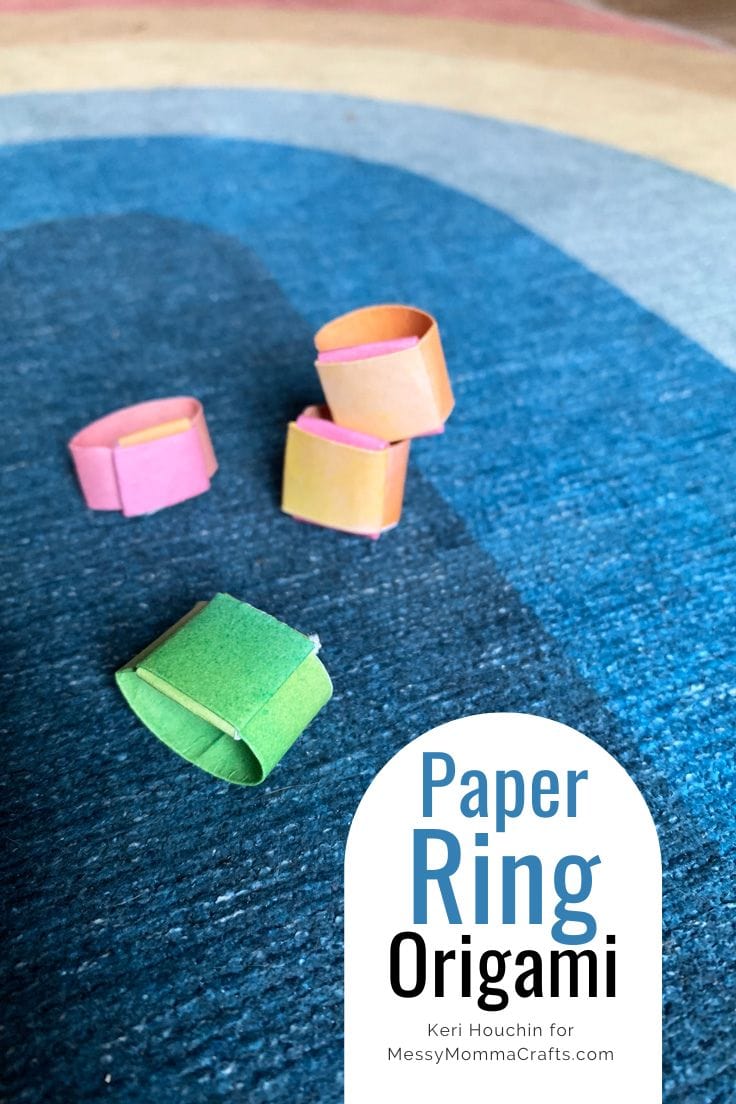
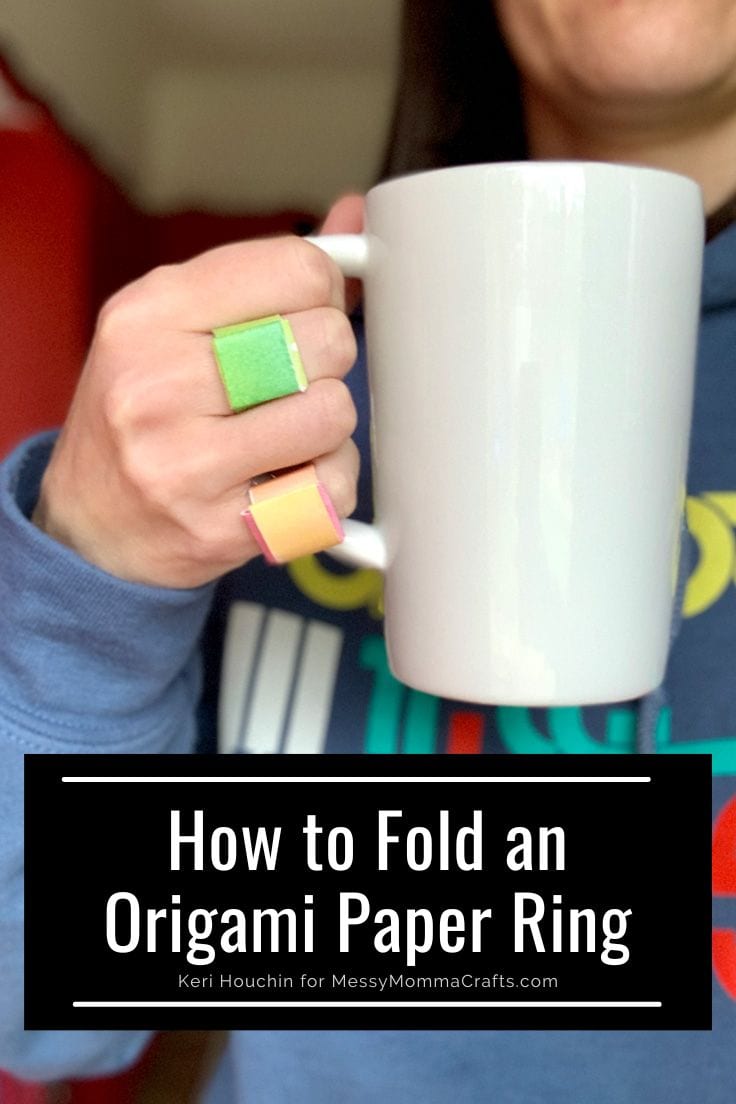
Learn how to fold paper ring origami with this easy and fun tutorial for kids that’s a perfect boredom buster for any day.
Hello, I’m Keri from Backyard Summer Camp. On my blog I have tons of easy kids crafts and paper craft ideas that make great boredom busters without much prep. Today at Messy Momma Crafts I want to share how to make a paper ring using origami folding.
If your kids enjoy making crafts for their friends, then they will probably like painting friendship rocks too!
Want more ideas like this? Subscribe today and get our weekly newsletter plus other exclusive gifts and offers — all for FREE!
Origami is such a fun kids activity! Your kids can practice their fine motor skills while also creating something pretty. Parents will appreciate that all you really need it paper and you can do it with almost no prep.
Origami is the Japanese art of paper folding and it’s centuries old. Many of the tutorials have a lot of steps and they can look very daunting to beginners.
This paper ring origami design is pretty simple. Although it has a few steps, most of the folds are pretty easy to understand.
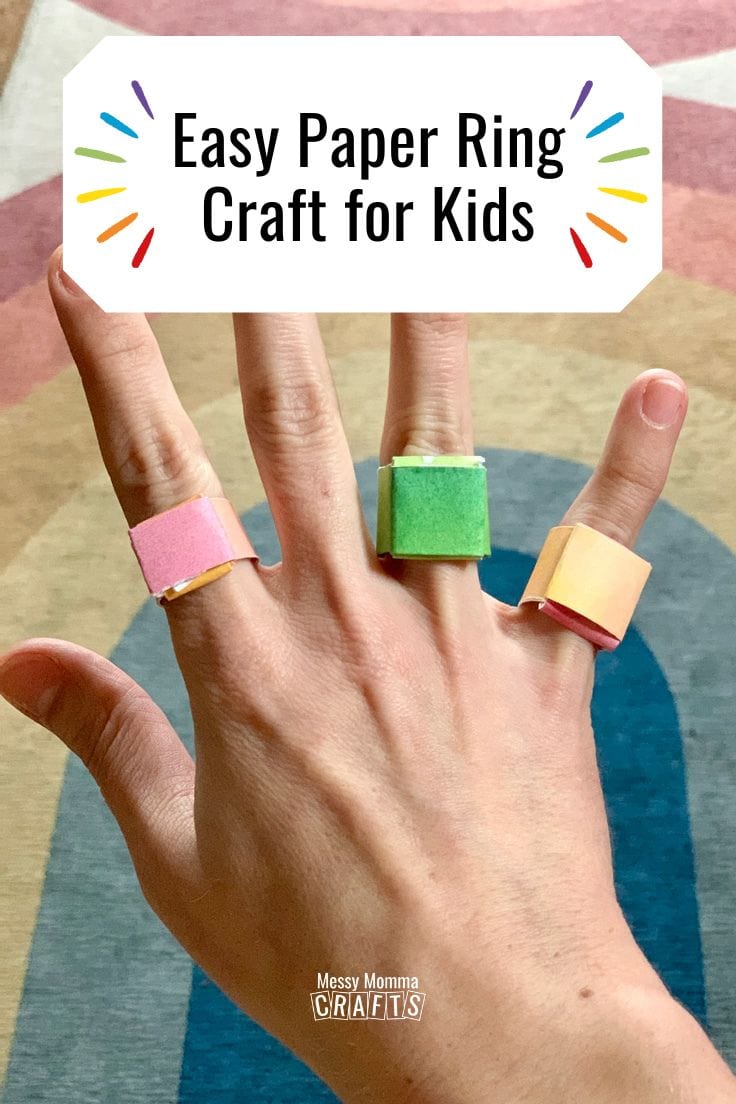
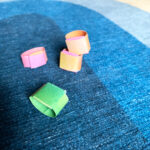
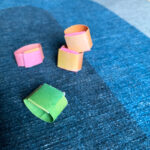
After you’ve made a few rings, make them even more special by decorating them with pens, markers, or tiny stickers. Make a whole rainbow of different rings to match every outfit. (These are also a fun alternative to friendship bracelets!)
Next, click over and get the template to make these fun paper bracelets too!
How To Make a Paper Ring Using Origami
Use paper in any color or pattern. Keep in mind that only a small part of the design will be visible when finished.
What You Need:
Craft Tools Needed:
- Paper trimmer or scissors
- Pencil and ruler (if needed)
Supplies Needed:
Origami Craft Tips
Start with clean hands and a clean workspace.
You’ll be handling your craft a lot and it’s easy to spread smudges. If you use a pencil to draw the lines to cut the paper, you may want to erase them after cutting.
Use good quality paper.
It doesn’t have to be origami paper (although that is nice) but paper that’s too thick won’t crease easily and paper that’s too thin will tear. For a fun alternative, gum and candy wrappers that are the right size make interesting jewelry!
Read instructions and follow carefully.
Take one step at a time and watch for details, such as when you need to fold versus when you need to crease and unfold or when you are supposed to flip your project over.
Crease edges really sharply.
You can use your fingernails, a paper folder, or even the edge of your table. A table edge is especially handy if you’re creasing a flap that will need to curve in the next step.
Take your time.
Although kid-friendly origami tutorials are intended to be easy, it’s easy for beginners to make mistakes like mixing up left and right.
Practice!
The first time you make an origami craft, it will probably look a bit off. The more you make it, the tighter and cleaner your folds will be. Eventually you’ll be able to make something without rereading the instructions.
Paper Ring Origami
Equipment
- 1 paper trimmer or pair of scissors
- 1 ruler optional
- 1 Pencil optional
Ingredients
- 1 piece paper
Instructions
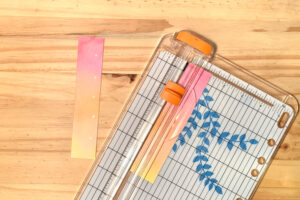
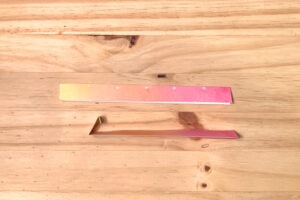
- Cut the paper to size.Start by cutting the paper to 6×1.5-inches. I used a paper trimmer, but if you don’t have one, you can use a ruler to measure and mark with a pencil, then cut out with scissors.
- Fold in half.With the blank/back side facing you, fold the paper in half from top to bottom. Crease the edge.

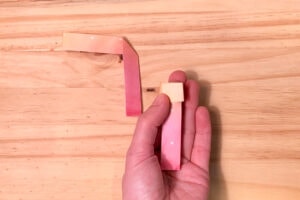
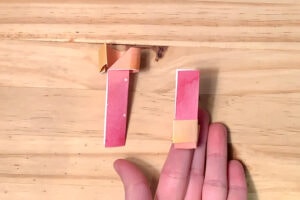
- Fold a square on the end.Fold the left end away from you about 1/4-inch, then again about 1/2-inch. This should create a little square on the left end.
- Create an L-shaped angle.With the little square fold still on the left and facing away from you, fold the right end down at about the middle into a right angle.

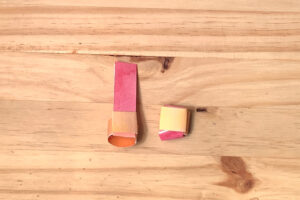
- Wrap the ring hole.Roll the right end toward the left creating a hole that will fit around your finger. The end should line up with the box in the back.If you folded in exactly the middle for the last step and it’s too small, move that fold a bit to the right; if it’s too large, move that fold a bit to the left. In general, the middle should fit most kids.
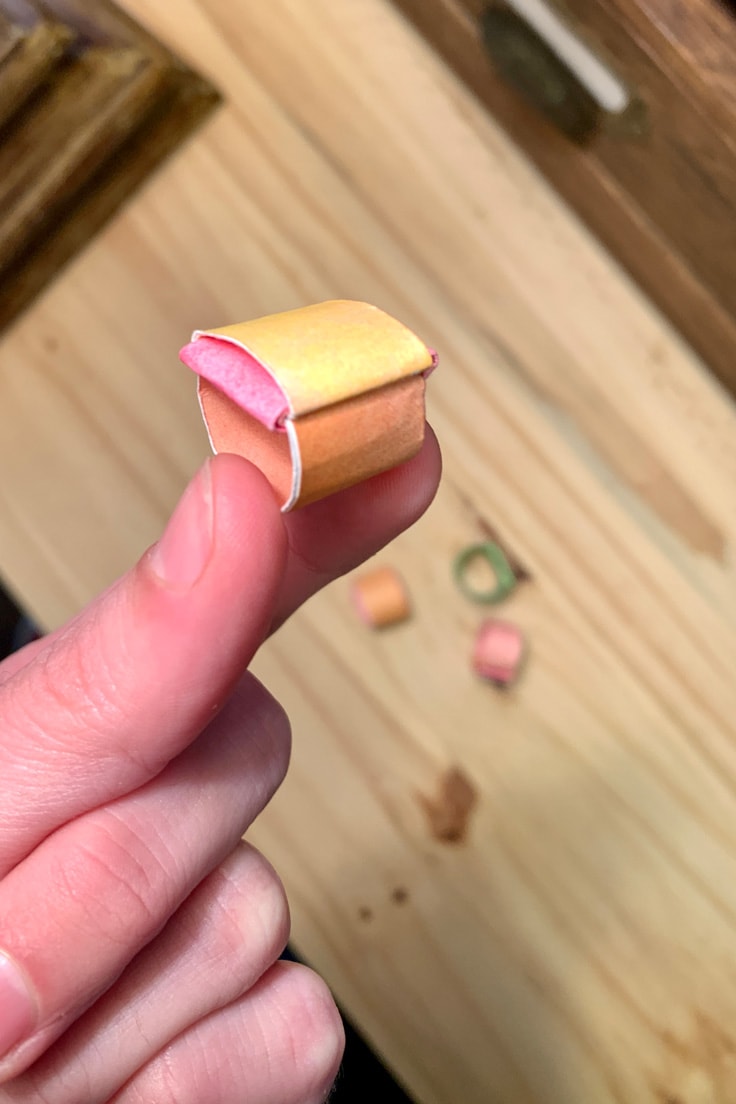
- Wrap the long flap.Open the small square and fold the long flap up between the square and the ring. Close the small square and tuck that little end back under.
- Wrap and secure the end flap.Take the long flap and fold it down through the inside of the ring, then back up. Tuck the small end into the square. You may need to fold the end to make sure it all hides inside the square.
Enjoying our crafty ideas? Subscribe today to receive our free guide, “From Fridge to Keepsake: 8 Clever Ideas to Preserve Your Child’s Artwork,” plus weekly updates and exclusive offers — all for FREE!
What’s Next?
If you liked making an origami paper ring, then be sure to check out Backyard Summer Camp for more beginner origami craft tutorials.
More Kids Craft Ideas
If you enjoyed this origami paper ring then you will love these craft ideas:

Leave a Reply