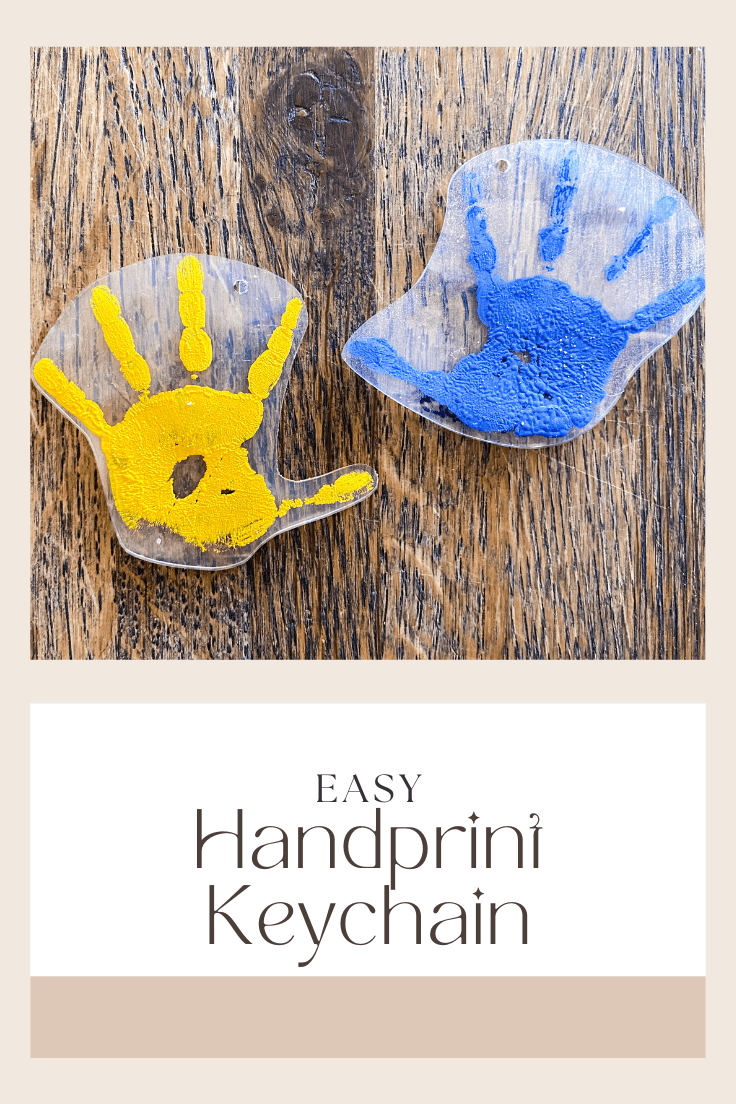
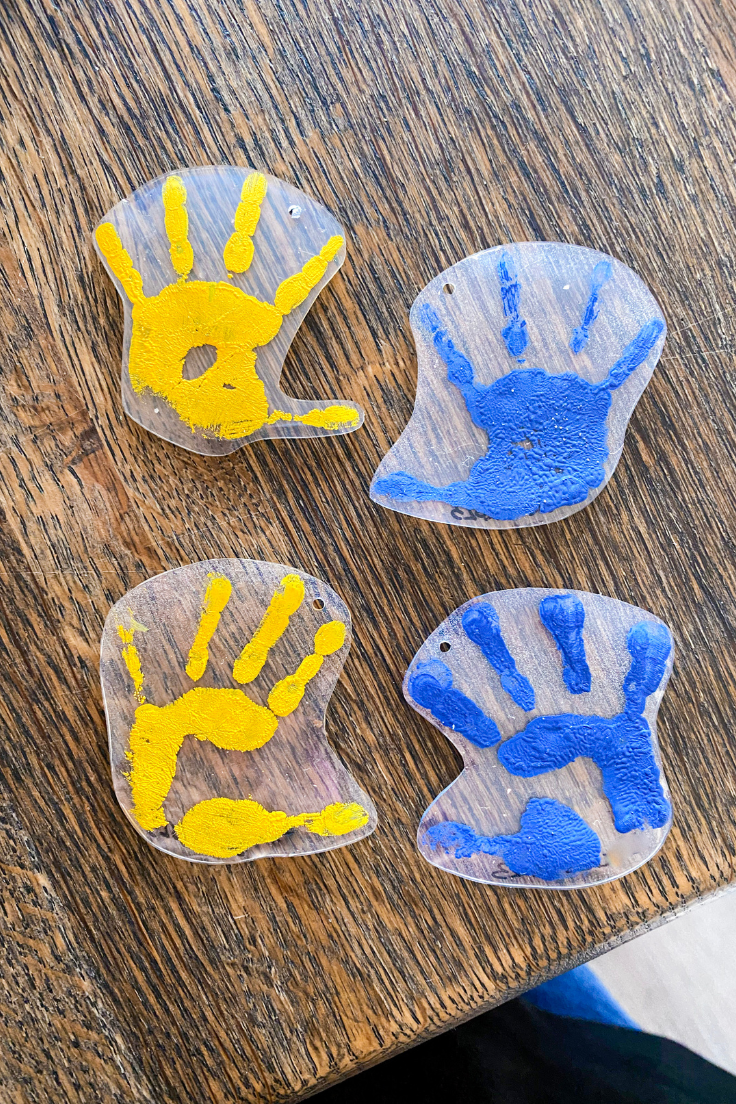
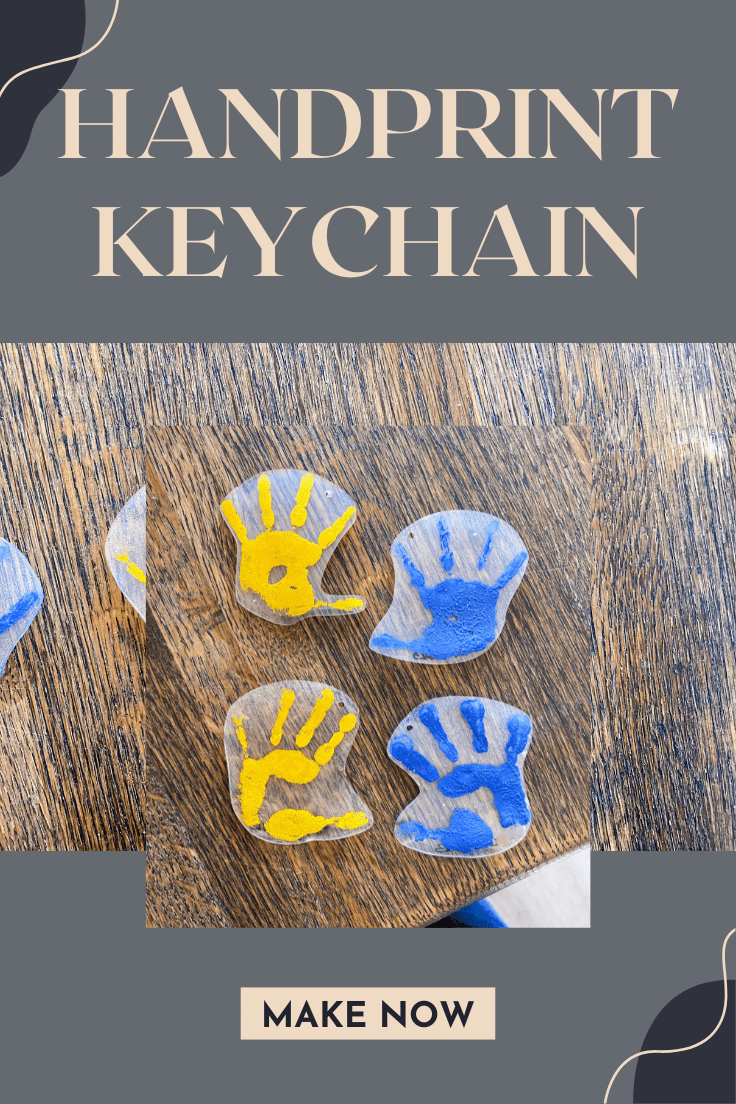
These handprint keychains are adorable and make perfect gifts for Christmas, Valentine’s Day or Mother’s/Father’s Day.
I love doing activities with my kids that I used to do when I was younger. Shrinky Dinks used to be all the rage and I love that my kids are getting old enough to do fun activities like this!
Want more ideas like this? Subscribe today and get our weekly newsletter plus other exclusive gifts and offers — all for FREE!
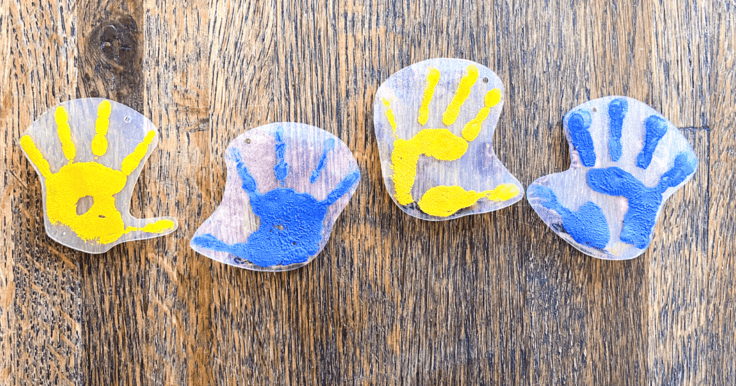
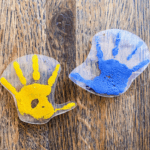
The kids loved watching their handprints curl up, unfold, and shrink. It was a really fun time.
How To Make Handprint Keychains
Do you remember doing Shrinky Dinks when you were younger? If so, this activity will be really familiar for you. If not, no worries, it’s super easy to make. And I did most of the trial and error for you!
What You Need:
Here’s what you’ll need from the store. The exact amounts are in the printable craft card at the bottom of this post.
Craft Tools Needed:
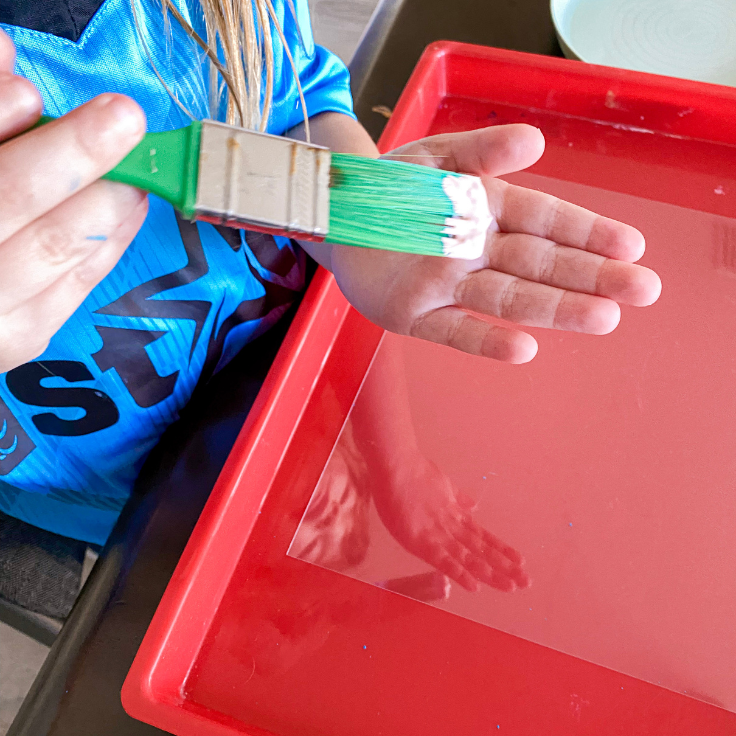
- Bigger Paint brush
- Scissors
- Hole Punch
- Toaster Oven or Conventional Oven
- Tray lined with aluminum foil
Supplies Needed:
- Shrinky Dinks
- Gloss Acrylic Paint
- Sharpie (optional)
- Key ring, twine, etc.
Handprint Keychain Tips
Does the type of paint used matter?
Yes! I have so much paint and so I let my kids just choose whatever color they wanted at first.
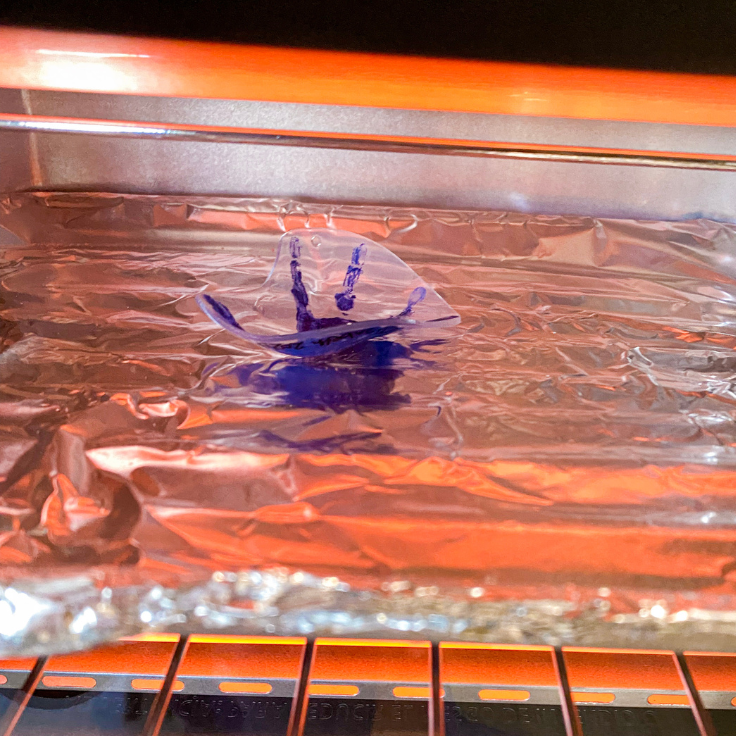
The paint curled up when I put the Shrinky Dinks in the oven. It was curling up and flaking off. Even after letting the piece cool down, the paint still flaked off.
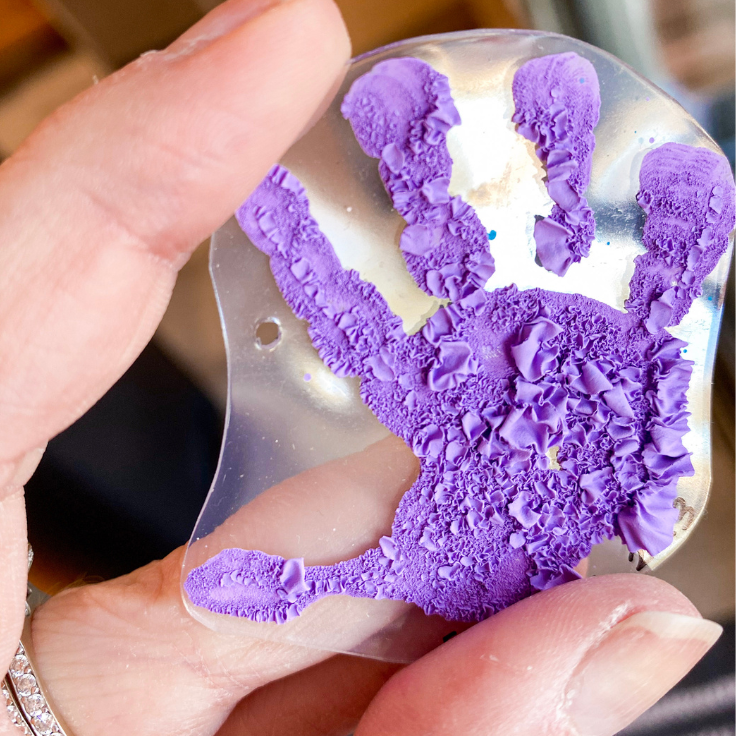
Most of my paint is matte, which is a no-go! It doesn’t adhere to the plastic as well. So I threw that batch away and started again.
I only had two colors of gloss paint. So we tried again, and sure enough, the gloss works great!
Don’t make my mistake; use gloss paint to ensure the handprints will stick to the plastic, and you won’t be left with flaking paint.
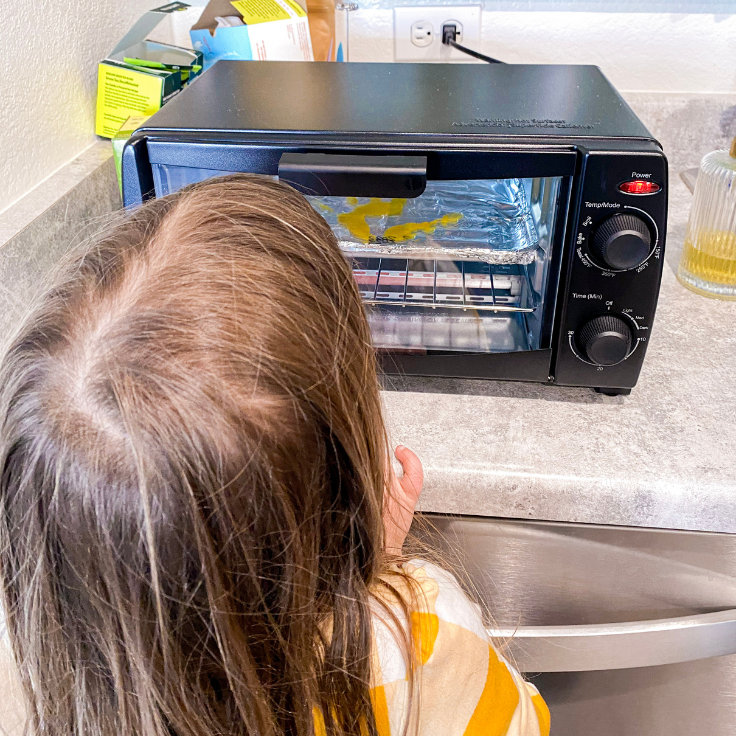
Which should I use, a conventional or toaster oven?
Personally, I prefer using a toaster oven. It’s easier to see inside and keep an eye on the project. There’s not much room for error with this project. It only takes a minute or two for the Shrinky Dinks to shrink.
Sometimes the edges will curl and get stuck. It helps to see this happening so that the piece can be taken out as quickly as possible to try to fix it.
The smaller size, also means it is easier to get your project in and out. If the piece is left in for too long, it can get brittle and crack.
Either oven will work just fine, but I find the smaller size and easy view window of the toaster oven to be a better fit for this project.
My Handprint Keychains Have Curled. What Do I Do?
First, don’t panic.
I had one handprint do a complete curl, turn, and flip. It curled in on itself, turned itself over on the pan, and flipped so that the paint was lying down. The handprint survived and is flat.
Most pieces will work themselves out. But there’s a small window to see if it’s working itself out or if you need to intervene. If it’s not uncurling itself, here’s what to do:
Take it out of the oven and very carefully try to unfurl it. Do not use your fingers! It’s hot plastic, use tweezers or something else metal. Just get it unstuck, don’t try to lay it flat, then put it back in the oven.
The Shrinky Dinks Curl at the Edges as they Cool
Sometimes this happens. I’m not sure why. I put my rubber oven mitts on top of them for a few minutes to help prevent this.
Handprint Keychain
Equipment
- 1 Pair of scissors
- 1 Paint Brush
- 1 Toaster Oven or Conventional Oven
- 1 Hole Punch
- 1 Lined Tray
Ingredients
- 2 pieces Shrinky Dinks
- Gloss Acrylic Paint Any colors
- 1 Sharpie Optional
- 4 Keyrings Can use twine or leather another thread or chain to hang them.
Instructions
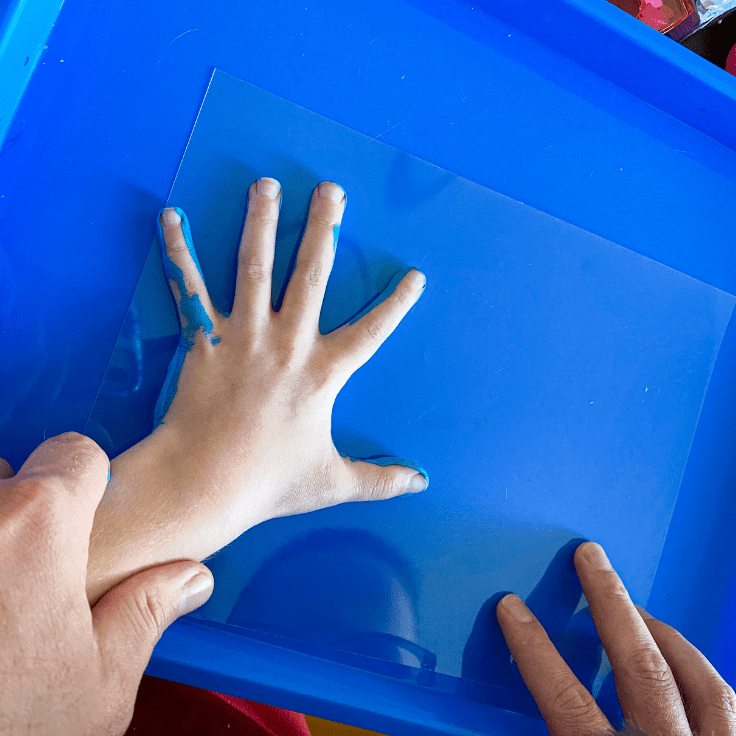
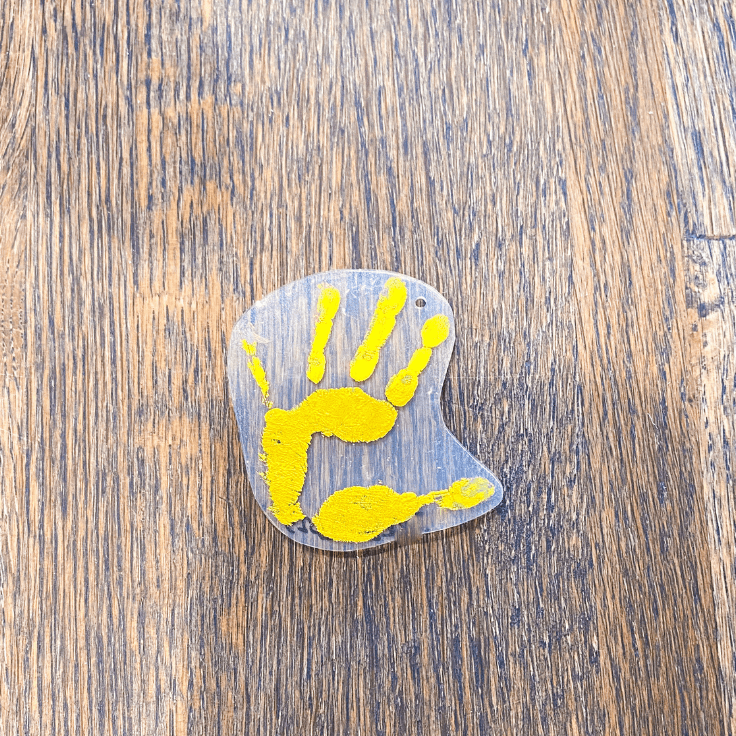
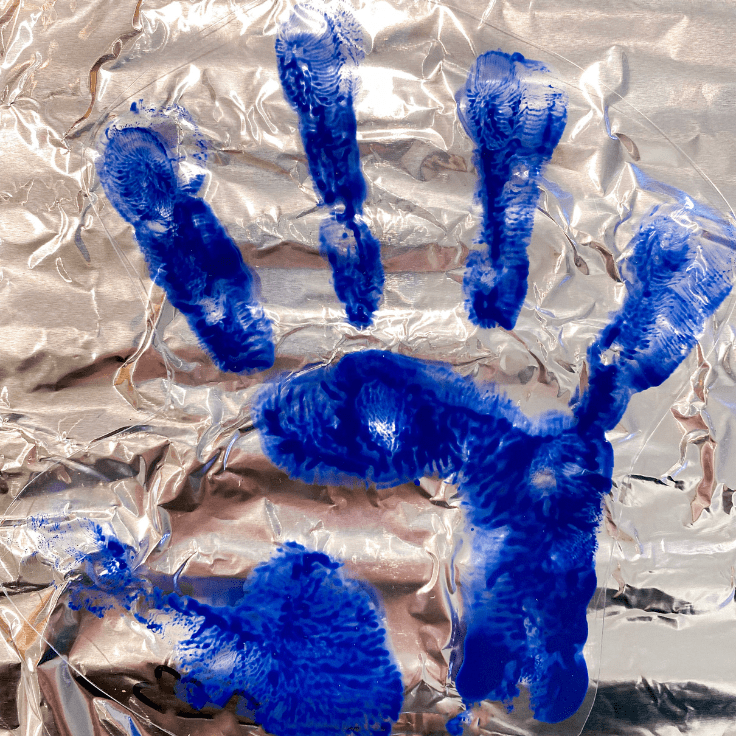
- Paint your child hand with gloss acrylic paint and firmly press hand onto the Shrinky Dinks film
- Allow to dry completely.
- Carefully cut out around the handprint.
- Use a sharpie to label the handprint with the name and date if wanted.
- Use a hole punch to punch a hole in the top of the Shrinky Dinks film. Don't punch the hole too far away from the side. Use a larger hole punch rather than a smaller one.
- Follow instructions on Shrinky Dinks for oven temperature.
- Place handprint paint side up on a lined tray and then put into the oven. Watch to make sure the Shrinky Dink doesn't curl. Once the Shrinky Dink flattens, wait 3-5 seconds and then take out of oven.
- Allow the plastic to cool before adding key ring, twine, or other hanging device.
Enjoying our crafty ideas? Subscribe today to receive our free guide, “From Fridge to Keepsake: 8 Clever Ideas to Preserve Your Child’s Artwork,” plus weekly updates and exclusive offers — all for FREE!
What’s Next?
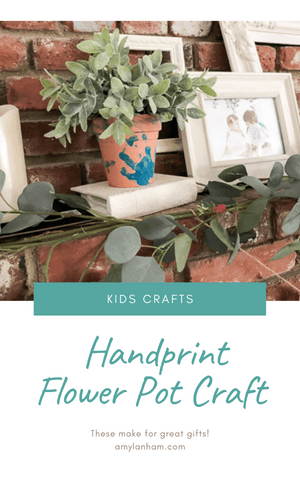
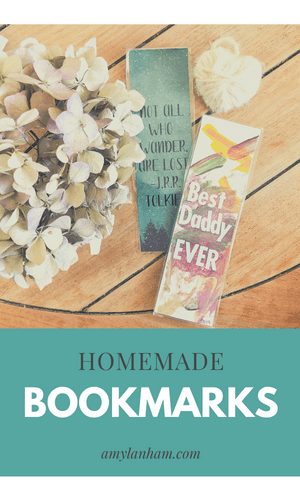
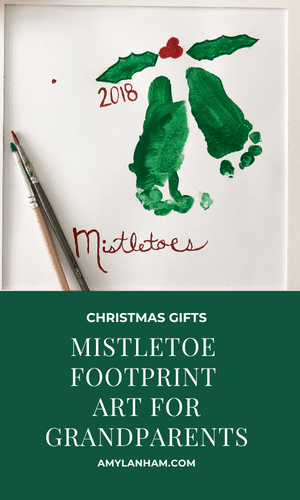
If you enjoyed these handprint keychains, then you’ll enjoy these other handmade gifts:
More Craft Ideas
If you enjoyed this handprint keychain, then you will love these simple craft ideas:
Leave a Reply