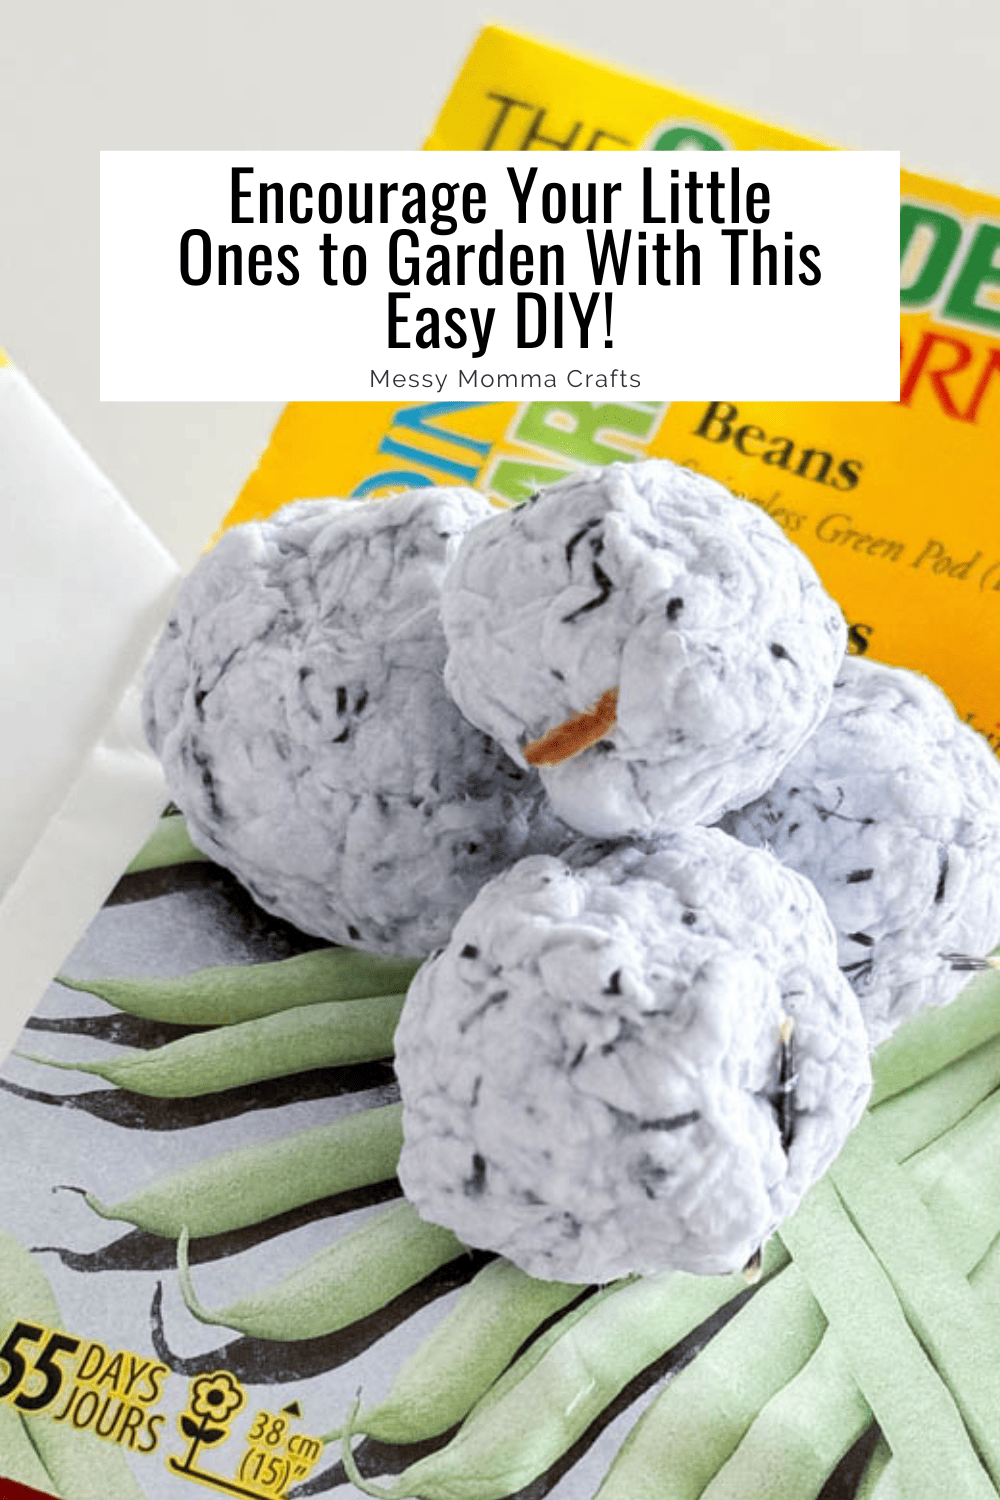
It’s time to roll up your sleeves and get working in the great outdoors! It’s easy to involve your kiddos when it comes to taking care of the garden. Learn how to make your very own seed bombs and encourage your little ones to start planting!
Welcome back to our crafty page, friends! My name is Lisa and I am the founder of the Moments With Lisa blog, where I share my tips on raising a family in a small home.
While you’re outside planting your garden, are you thinking about summertime parties? Let us help! Get your Summer Barbecue Planner so you can stay organized and you won’t forget a single thing.
Want more ideas like this? Subscribe today and get our weekly newsletter plus other exclusive gifts and offers — all for FREE!
I remember receiving my first ever seed paper. It was for my friend’s “Save the Date” for her wedding (which feels like ages ago!). I really loved the idea of it: the instructions specified that we could plant the “Save the Date” in the soil and flowers would grow.
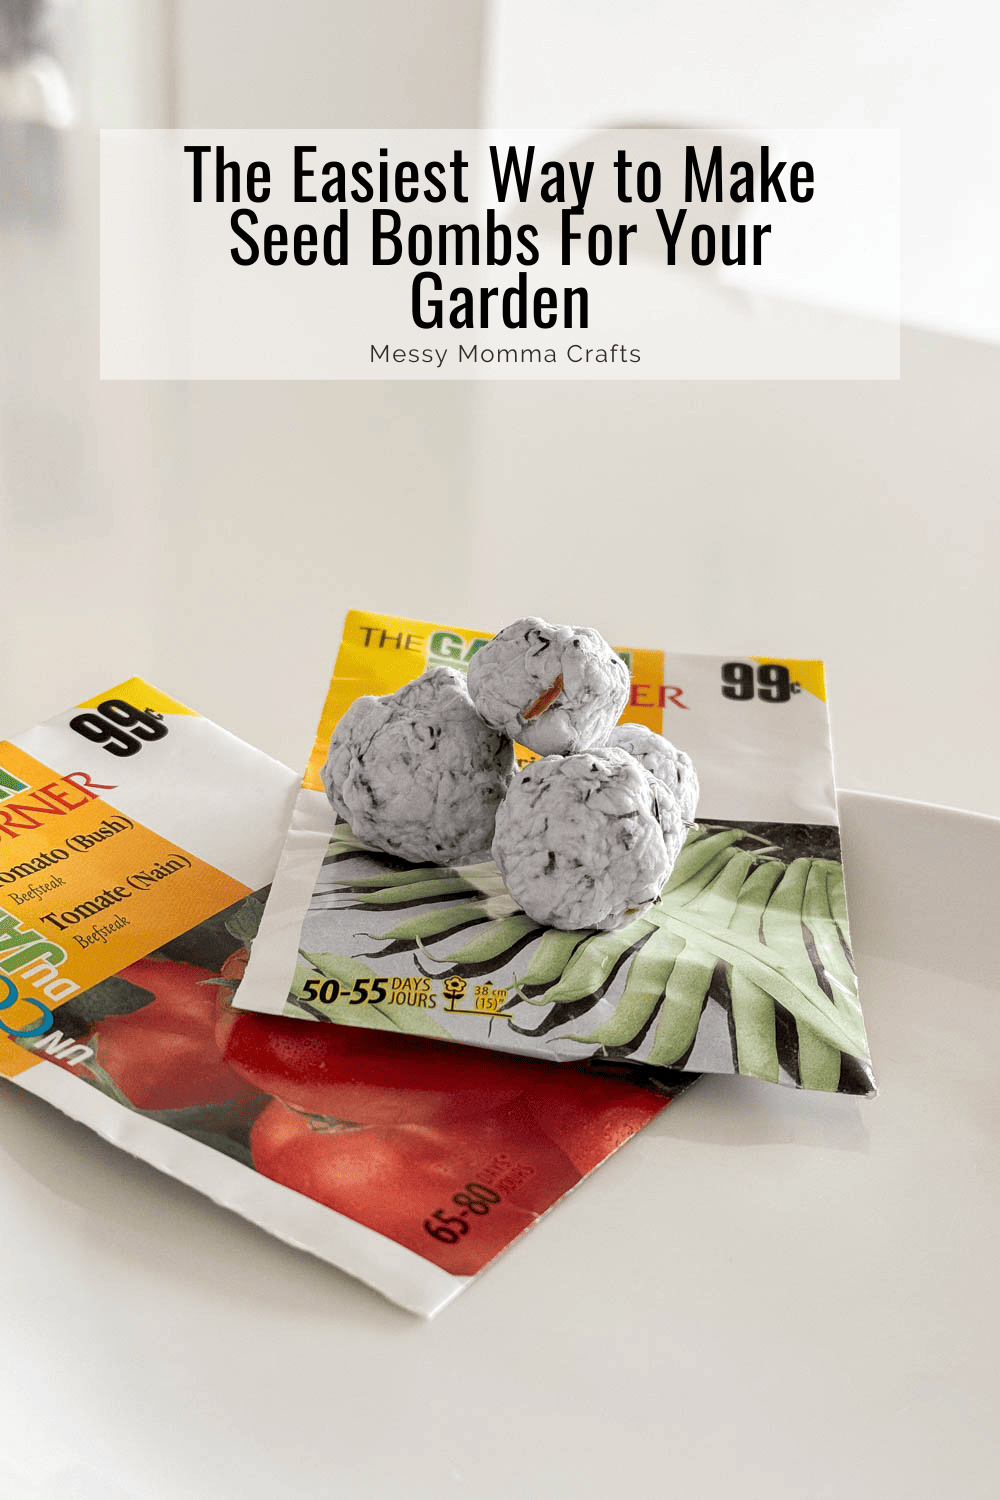
Have you ever heard of seed bombs? It’s pretty much the same concept! It’s paper pulp that has been dried up, and filled with seeds of your choice. All you have to do is plant it into the ground to grow plants, flowers, etc. (ie.: whatever seed was inside the bomb).
Before you make the seed bombs, decide how you’re going to keep your gardening supplies organized, together, as a family. To help you out we have an Organizing Together Workshop. Check it out!
How To Make Your Very Own Seed Bombs
Did you know that you can make your very own seed bombs with just paper, water and seeds? Learn how to put everything together with our easy-to-follow step-by-step instructions!
What You Need:
Here’s what you’ll need from the store. The exact amounts are in the printable craft card at the bottom of this post.
Craft Tools Needed:
Supplies Needed:
- Scrap paper
- Water
- Seeds
DIY Seed Bombs Tips
How Do You Make Paper Pulp?
Making paper pulp is easier than you think! It’s all about the waiting game. Essentially, paper pulp is shredded paper that has been soaked in water and then wrung out.
Patience is Key
When it comes to making seed bombs, you have to have a lot of patience. It takes hours for the pulp to form, and then another few hours to dry out the actual seed bomb.
You Can Also Use a Food Processor
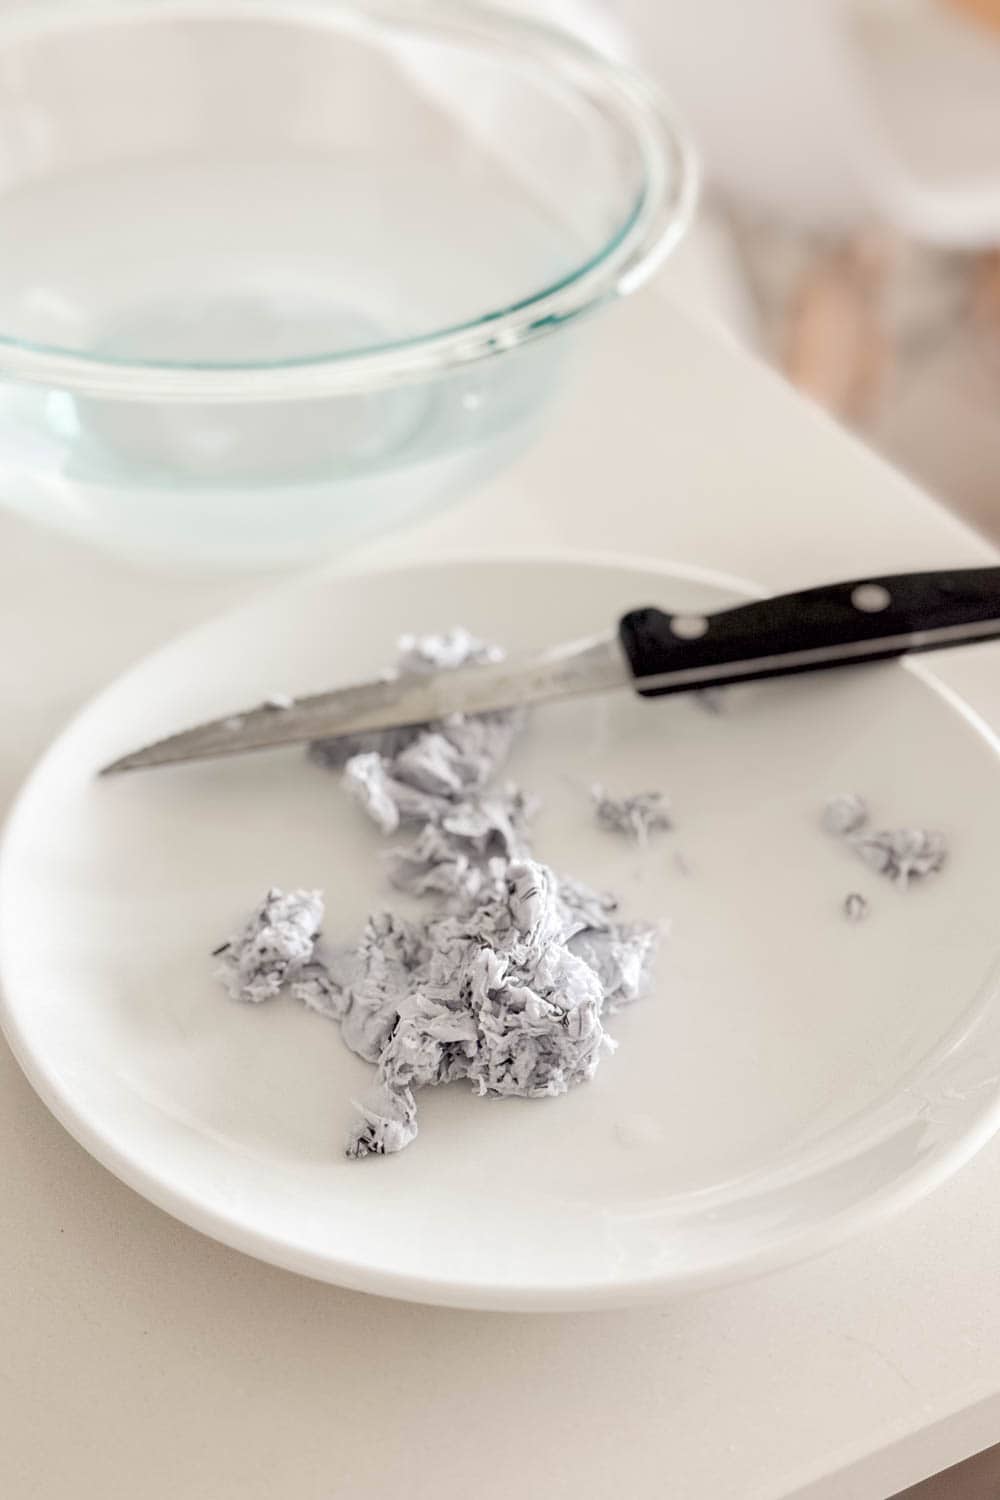
To make your paper pulp, one of the steps we highlight in the craft card is to shred the wet paper with the help of a serrated knife. You can skip this step and use a food processor instead.
Seed Bombs Make Great Gifts
These seed bombs make the cutest gifts! Wrap them up or even add a few to a small jar, and you’ve presented your loved ones with a very eco-friendly present.
You Can Make Them Into Different Shapes
We turned ours into spheres but lots of people like giving their seed bombs different shapes. You can easily achieve this by using cookie cutters. Heart-shapes seem to be the most popular for different-shaped seeds bombs. They look so cute!
DIY Seed Bombs
Ingredients
- 4-5 sheets of printer paper
- Seeds of your choice for planting
- Glass mixing bowl
- Hot water
- Mesh sifter
Instructions
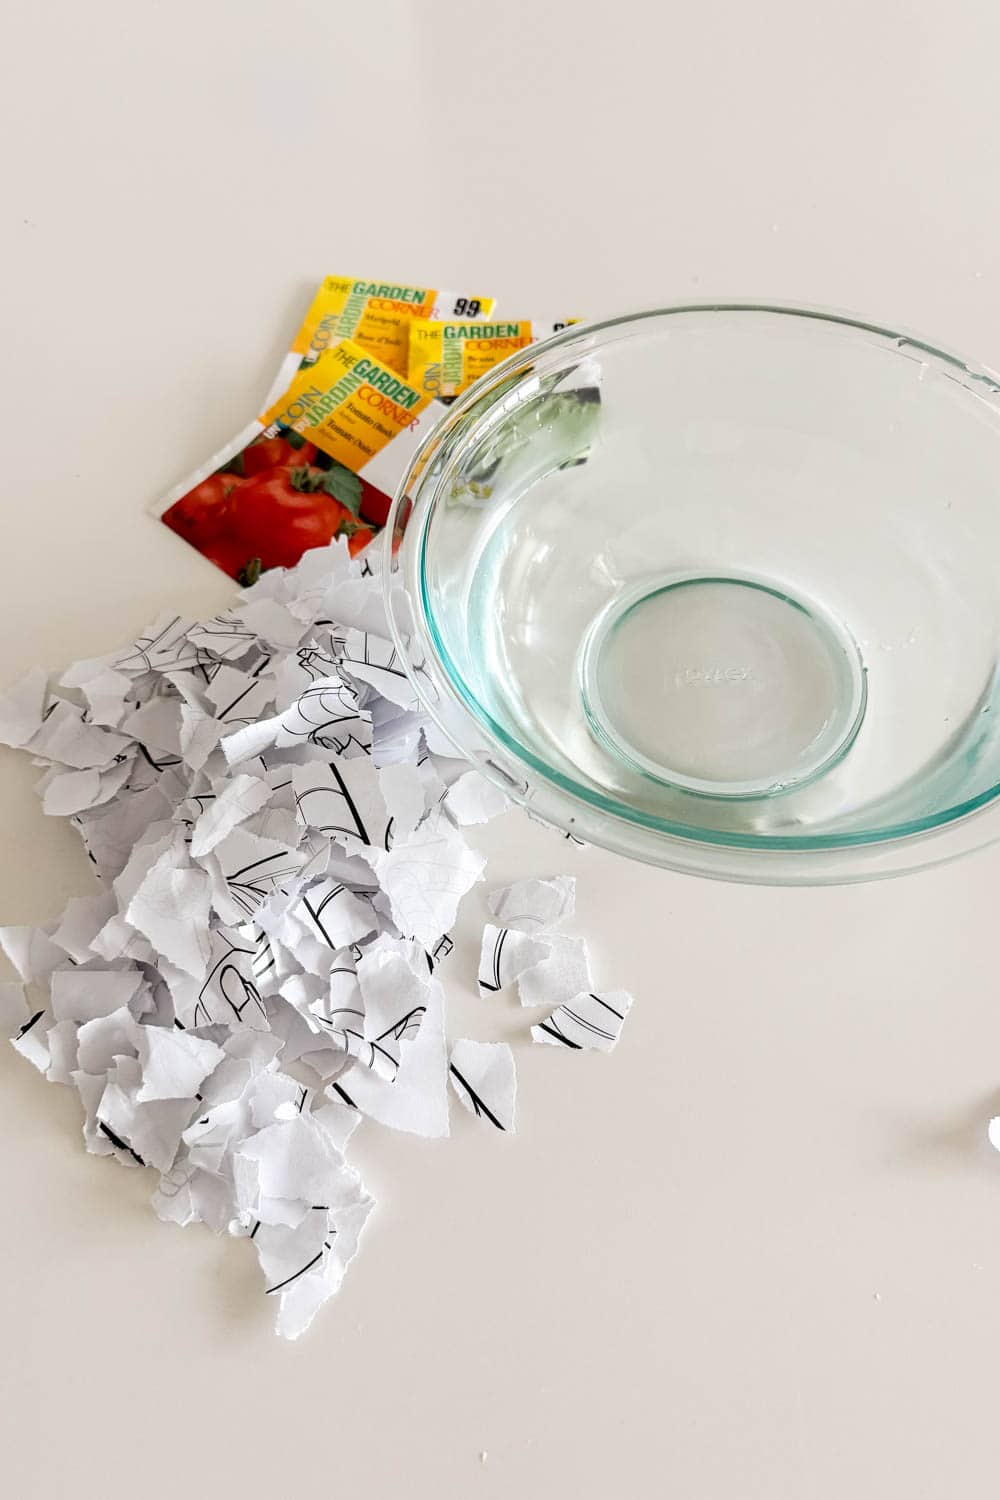
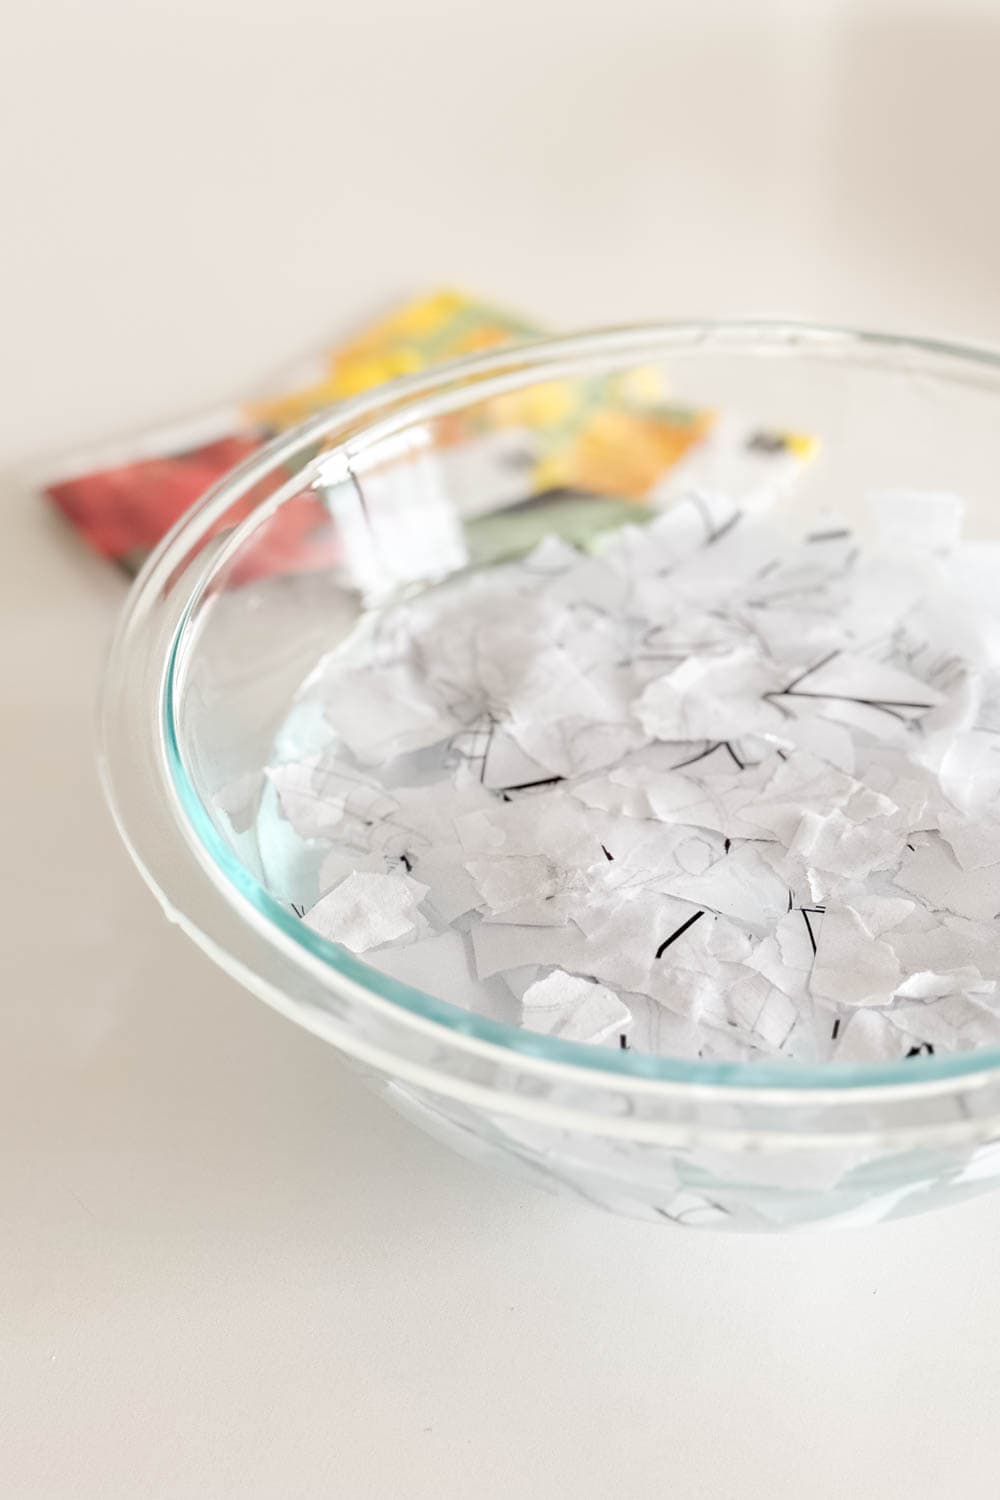
- Rip printer paper into small pieces. Pour hot water into mixing bowl and place pieces of paper into bowl of water. Allow to soak for about two hours.
- Remove drenched paper from water and wring out. Use a serrated knife to shred the paper even more and place back into water for another two hours.
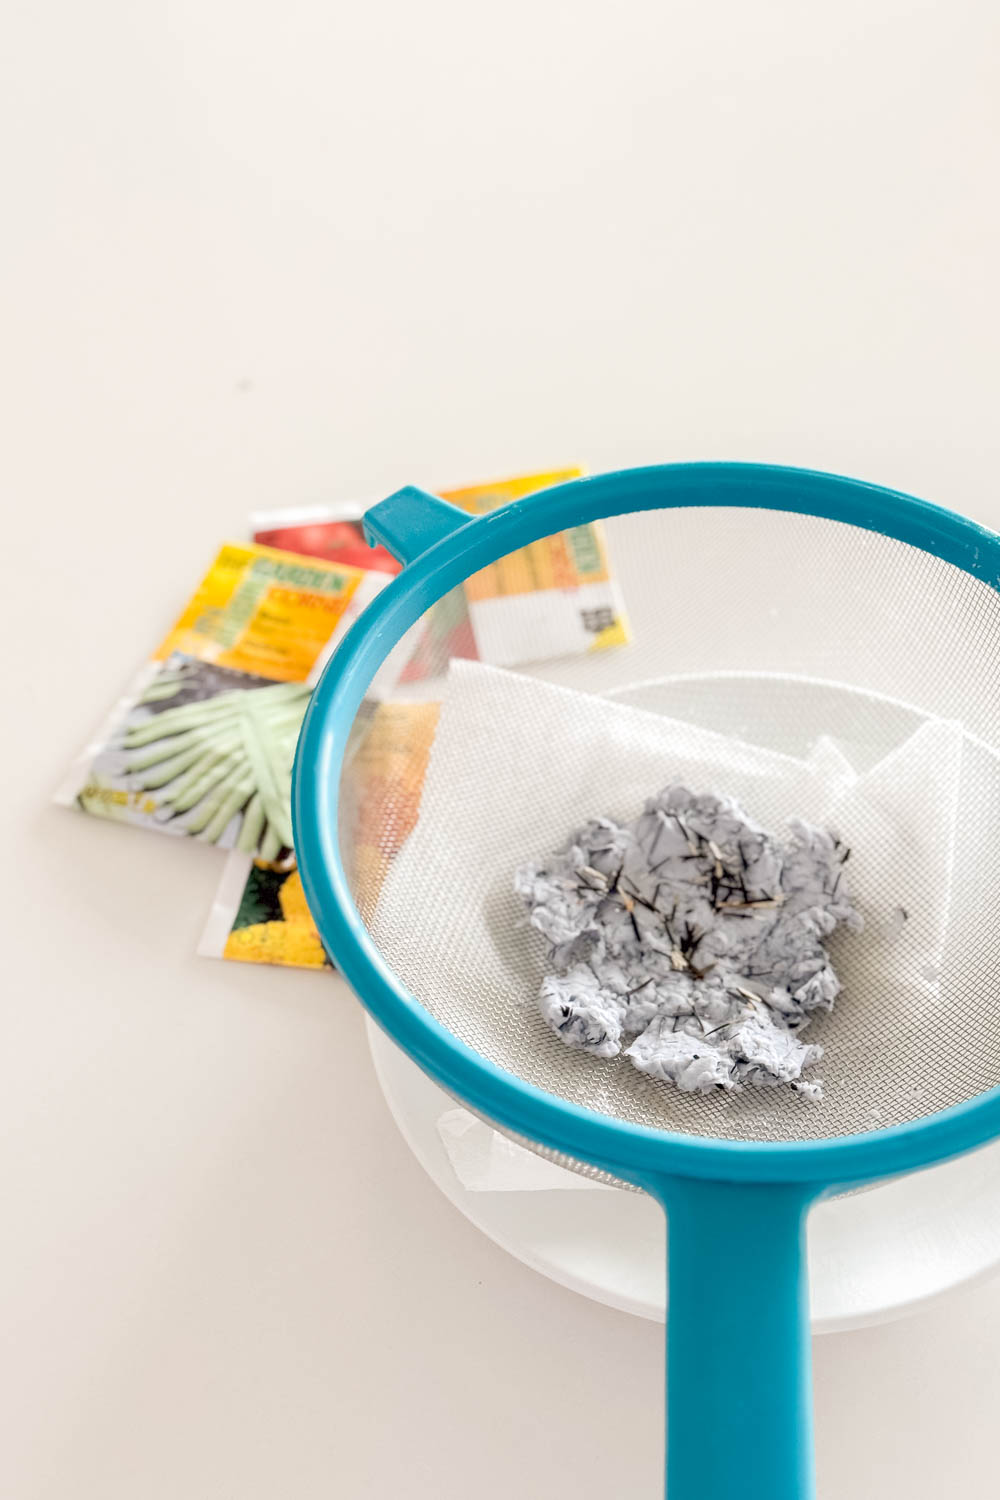
- Wring out paper by using a mesh shifter. Flatten out paper pulp and add planting seeds.
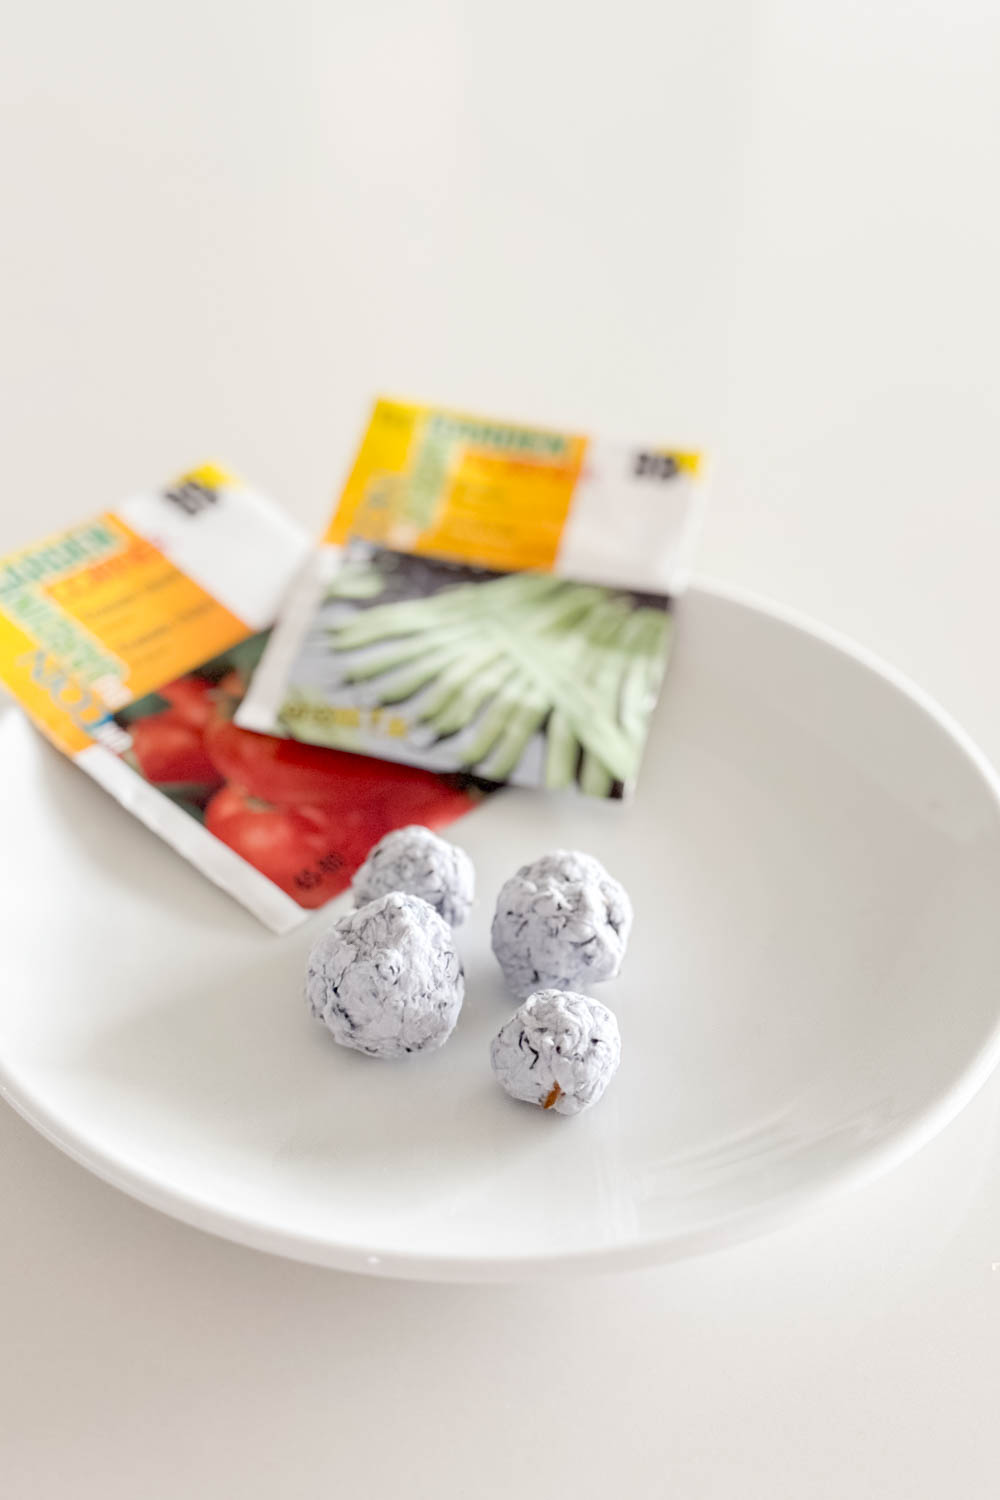
- Roll into individual spheres, ensuring that the seeds are well tucked-into each sphere. Allow to dry overnight.
Enjoying our crafty ideas? Subscribe today to receive our free guide, “From Fridge to Keepsake: 8 Clever Ideas to Preserve Your Child’s Artwork,” plus weekly updates and exclusive offers — all for FREE!
What’s Next?
More Gardening/Outdoor Craft Ideas
If you enjoyed this DIY Seed Bomb craft then you will love these gardening/outdoor DIY ideas:
Leave a Reply