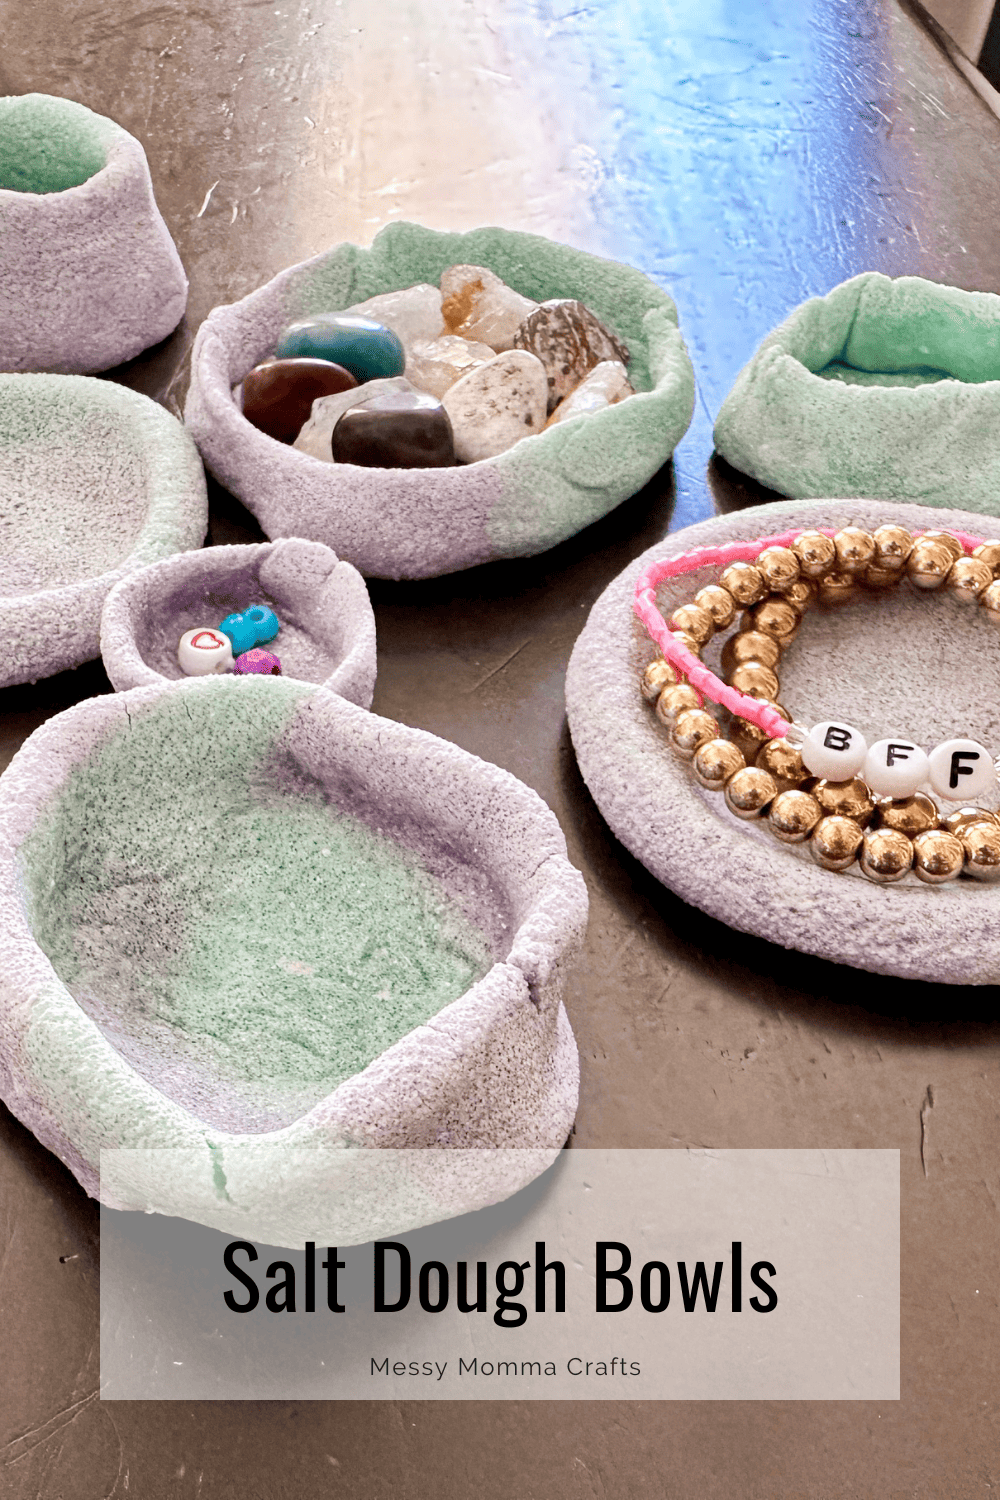
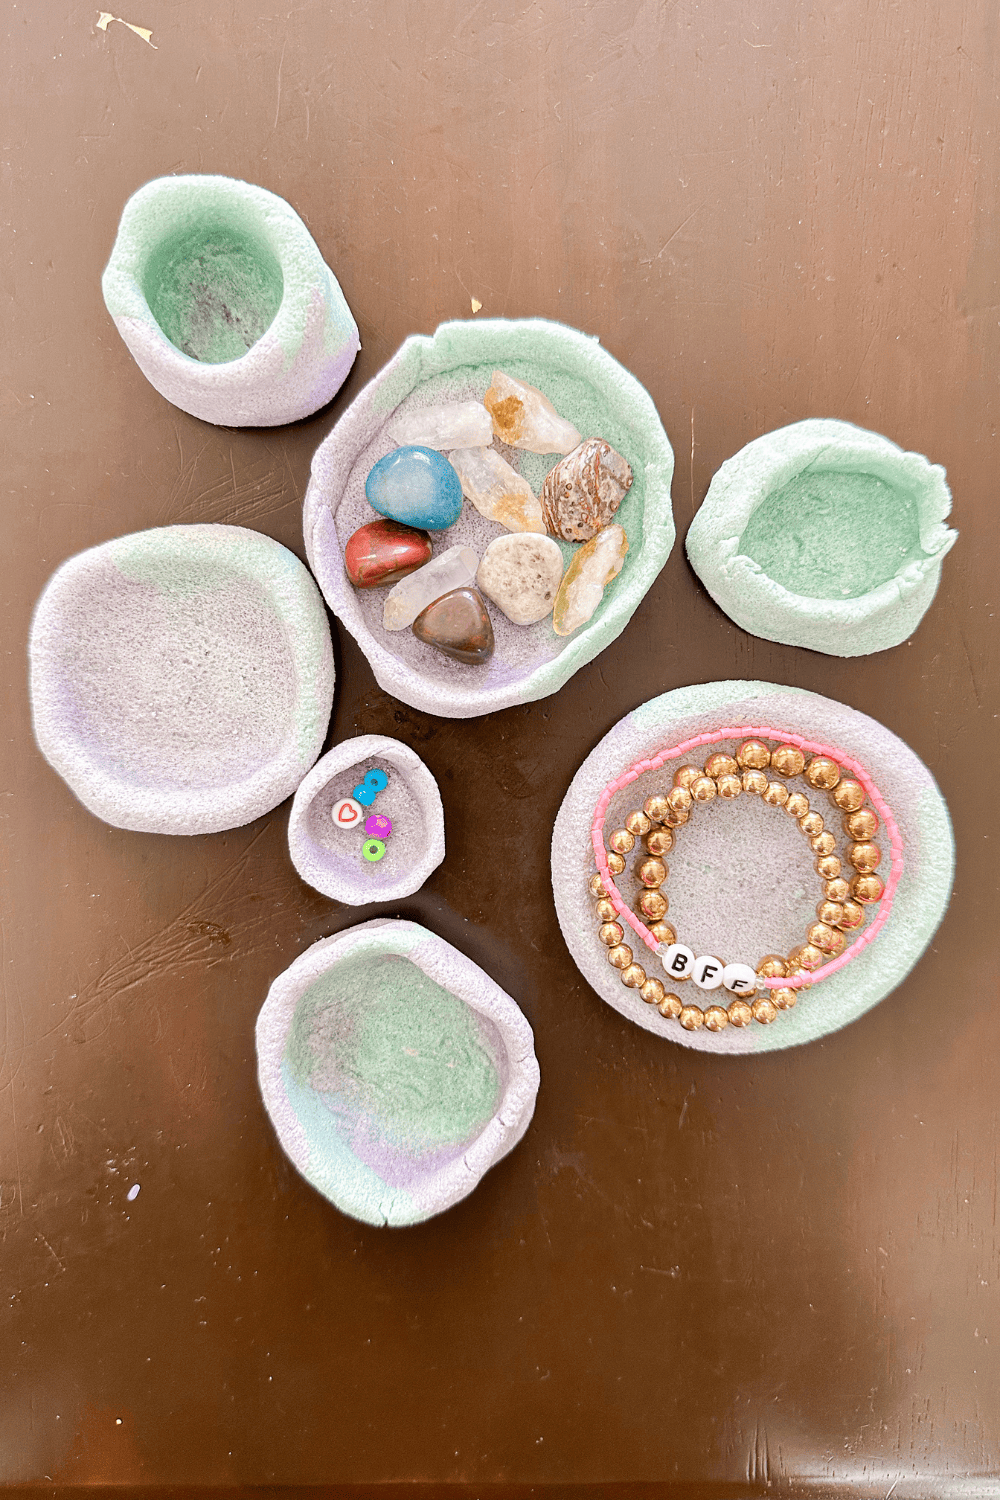
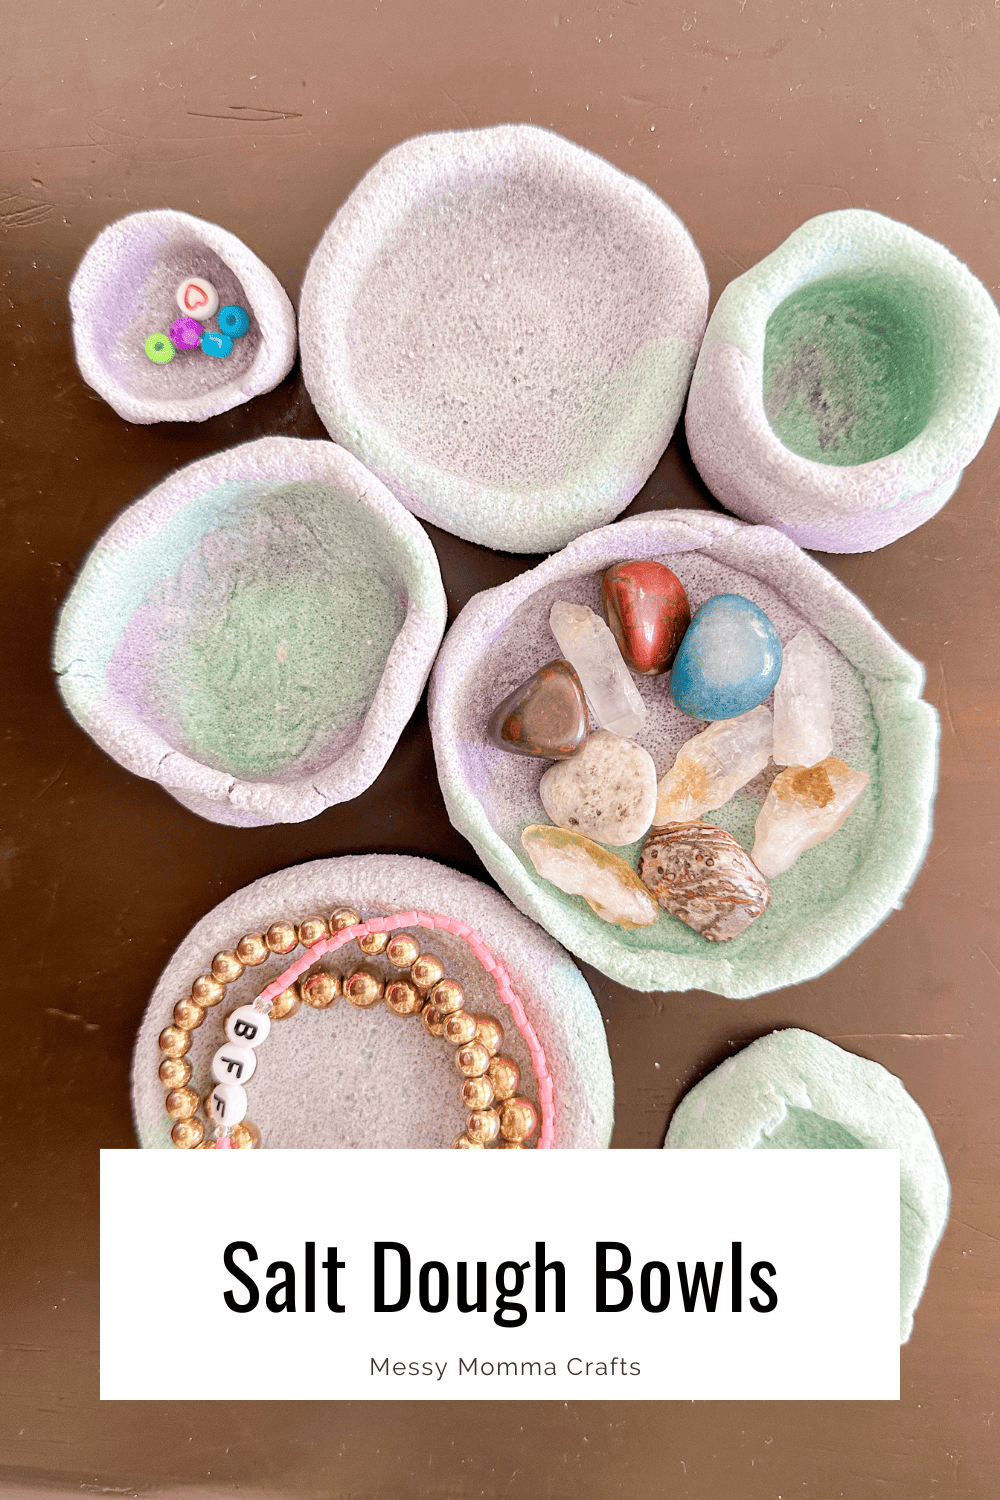
Create these adorable salt dough bowls using just a few household ingredients. This is a perfect family activity.
Hello, my name is Amy and I blog over at amylanham.com. I’m always looking for fun, easy, and inexpensive crafts to do with my kids.
After you make these bowls, you can make salt dough dino fossils too!
Want more ideas like this? Subscribe today and get our weekly newsletter plus other exclusive gifts and offers — all for FREE!
I love crafts and want to instill that love for crafts and creating in my kids too. Crafts are a way to bond with the kids and we love creating stuff together.
But crafting can get expensive. Although, not this craft. You probably already have everything you need in your pantry.
How To Make Salt Dough Bowls
These salt dough bowls are super easy to make and fun!
What You Need:
Here’s what you’ll need from the store. The exact amounts are in the printable craft card at the bottom of this post.
Kitchen Tools Needed:
Supplies Needed:
- Salt
- Flour
- Water
- Food Coloring (optional)
Tips for Making Salt Dough Bowls
The bowls keep falling over, what do I do?
The dough is probably still too wet. Adding flour can help, but it also might make the dough crumbly.
Knead the dough and let it set for a little bit, then try again.
My dough is crumbly
If the dough is too crumbly, add some water and knead it in. It probably had too much flour and so more water will need to be added. The dough needs to be a thick play doh like consistency.
My dough keeps sticking to my surface
If the dough keeps sticking, then make sure to flour your work surface. The dough might also be too wet. If the dough is too wet, either add more flour or just try kneading more and let it set before trying to create the bowl again.

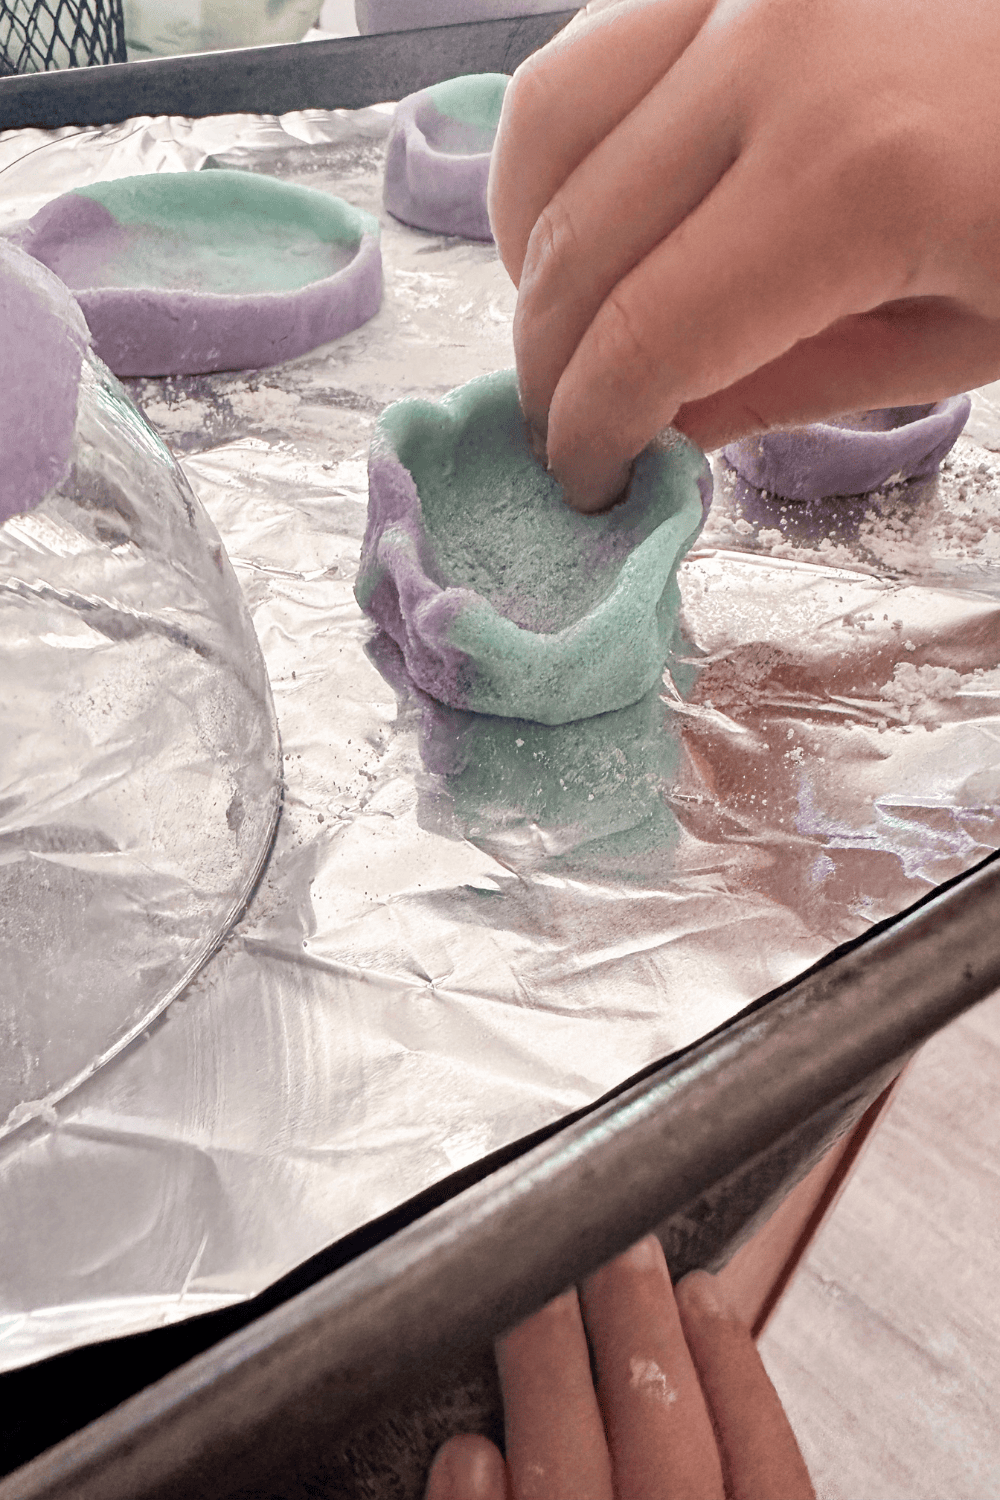
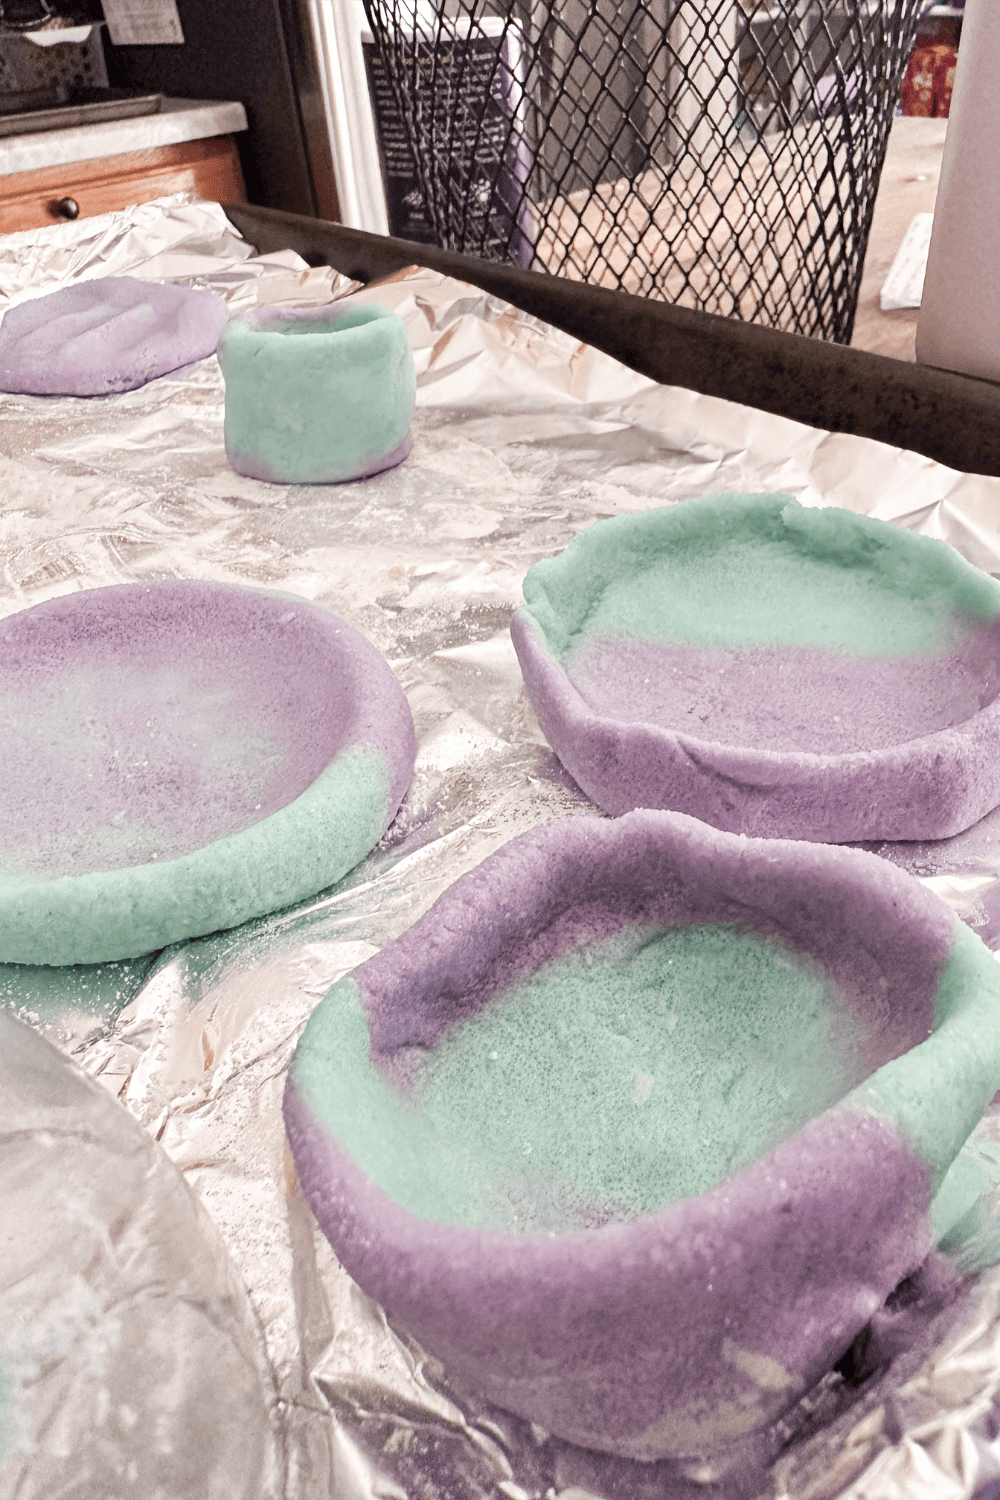
If you find that even with the surface floured that it’s hard to move the bowl without it sticking, I suggest creating the bowls directly on tinfoil and then putting the bowl and tinfoil on a baking pan and into the oven.
Once the dough dries out, and has cooled, you’ll be able to peel the tinfoil off without breaking the bowl.
How to Create Tall Salt Dough Bowls
If you want a bowl with high sides, more like a tiny vase, then start with a cylinder shape instead of a ball. It’s hard to stretch the sides of the ball to be tall enough. So I find starting with a taller shape to begin with helps to create taller bowls/vases.
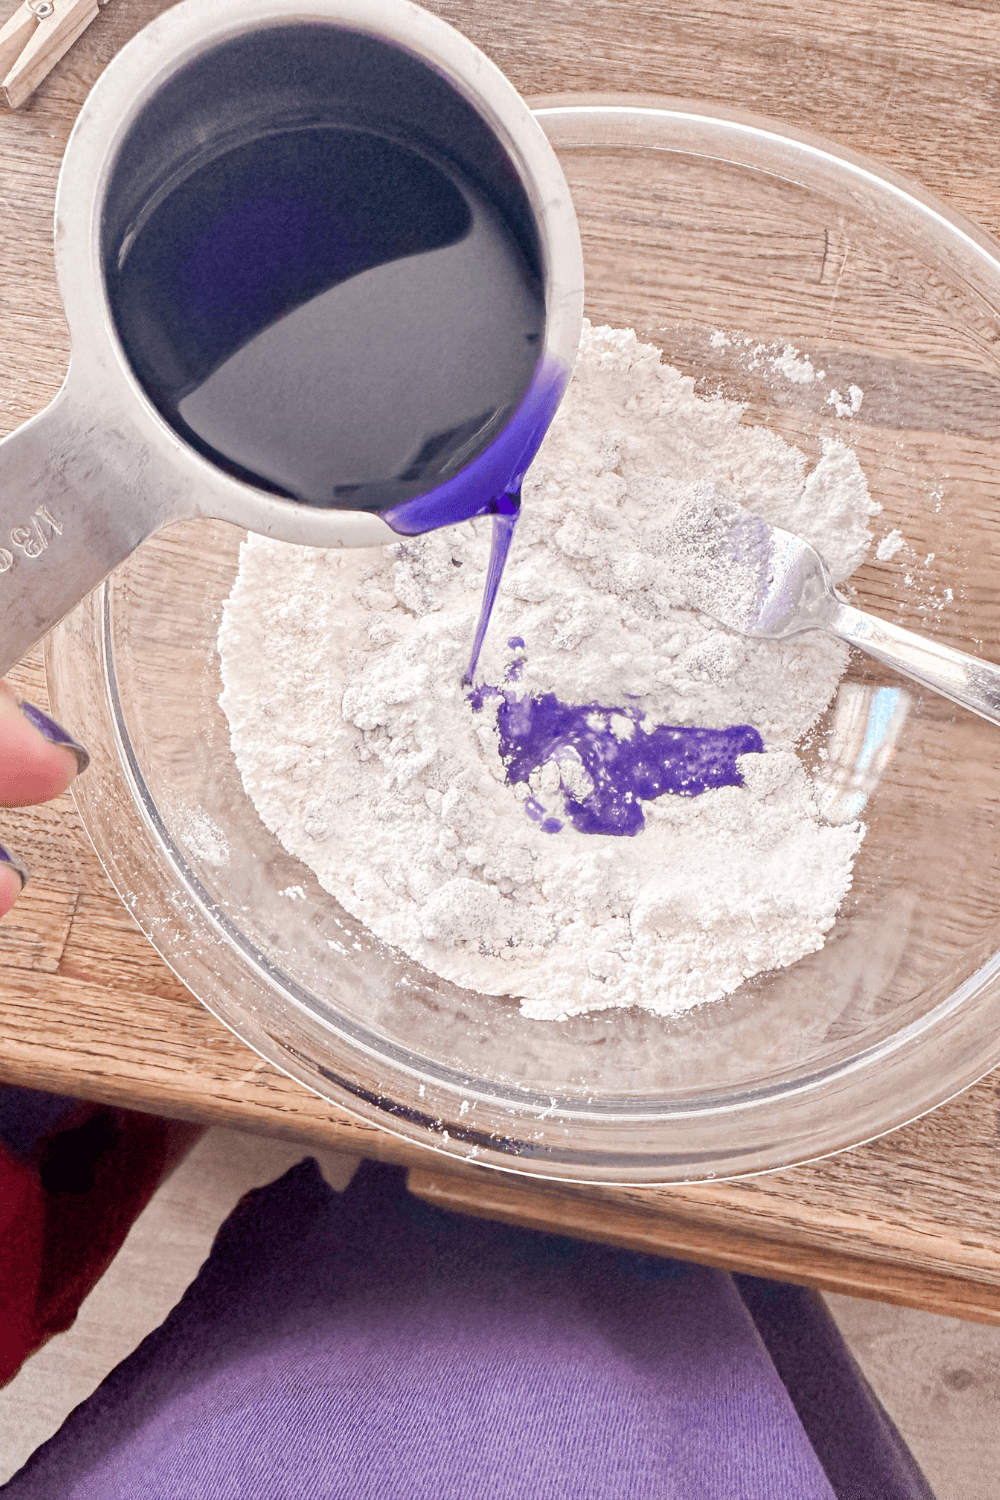
Dye the Water to Dye the Salt Dough
Don’t try to dye the salt dough after it’s been all mixed together, since it will dye splotchy and get all over your hands. Instead, dye the water and then mix the water with the salt and flour. This creates a beautifully, evenly colored dough.
How to Create Multiple Color Salt Dough Bowls
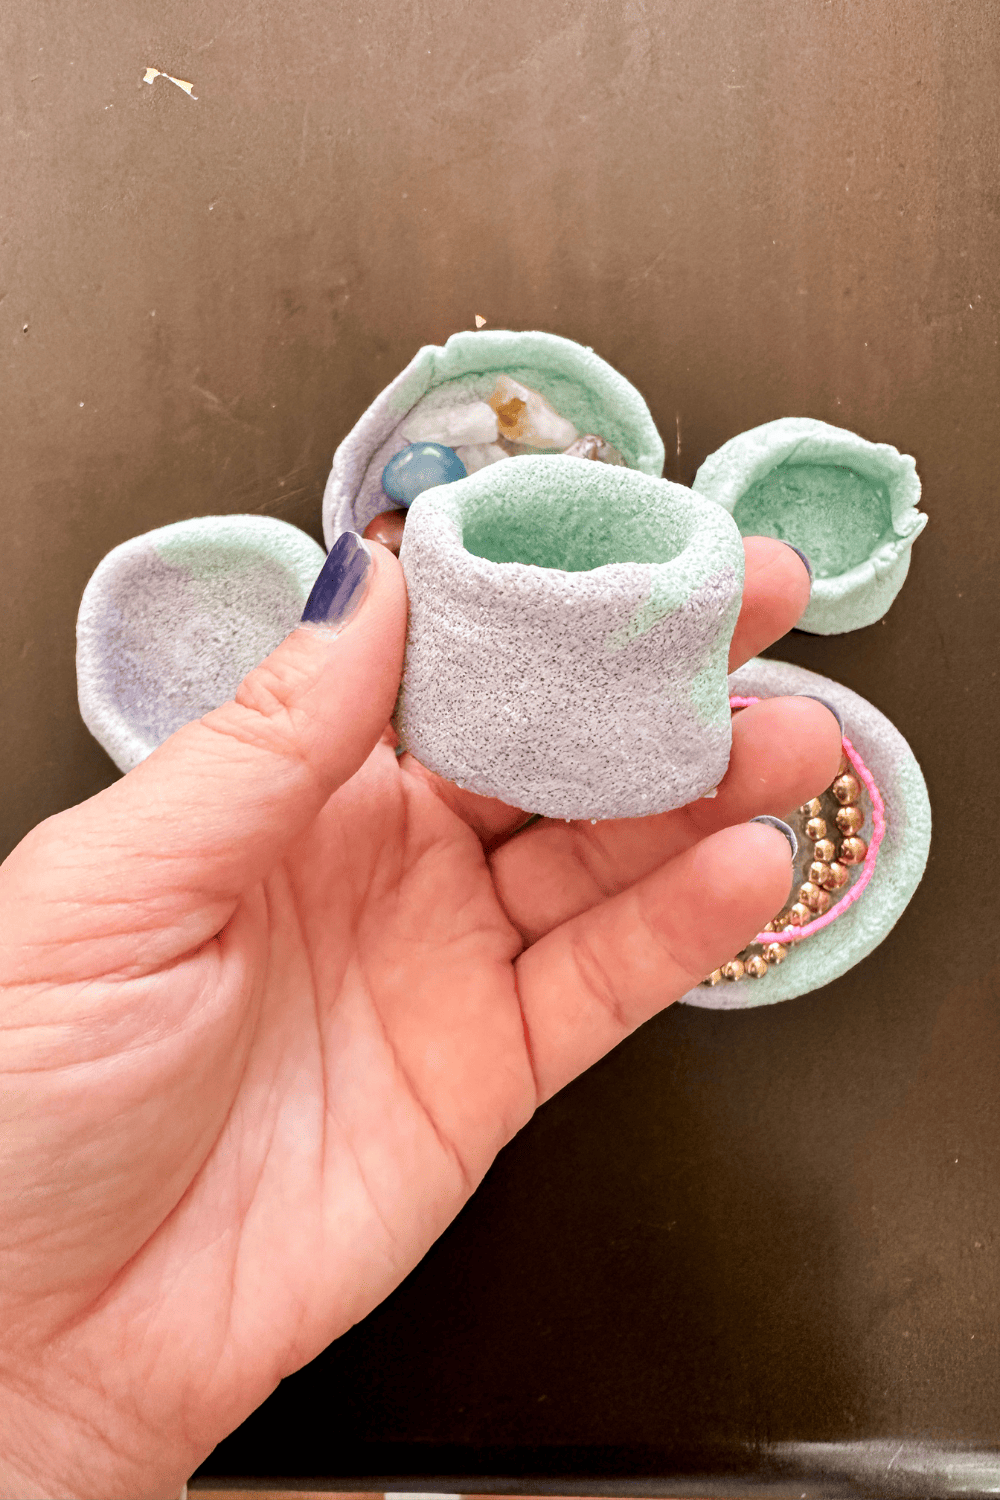
Roll a small ball of each color and then gently squish those balls together and roll into a bigger ball. This will give the bowl a two tone effect.

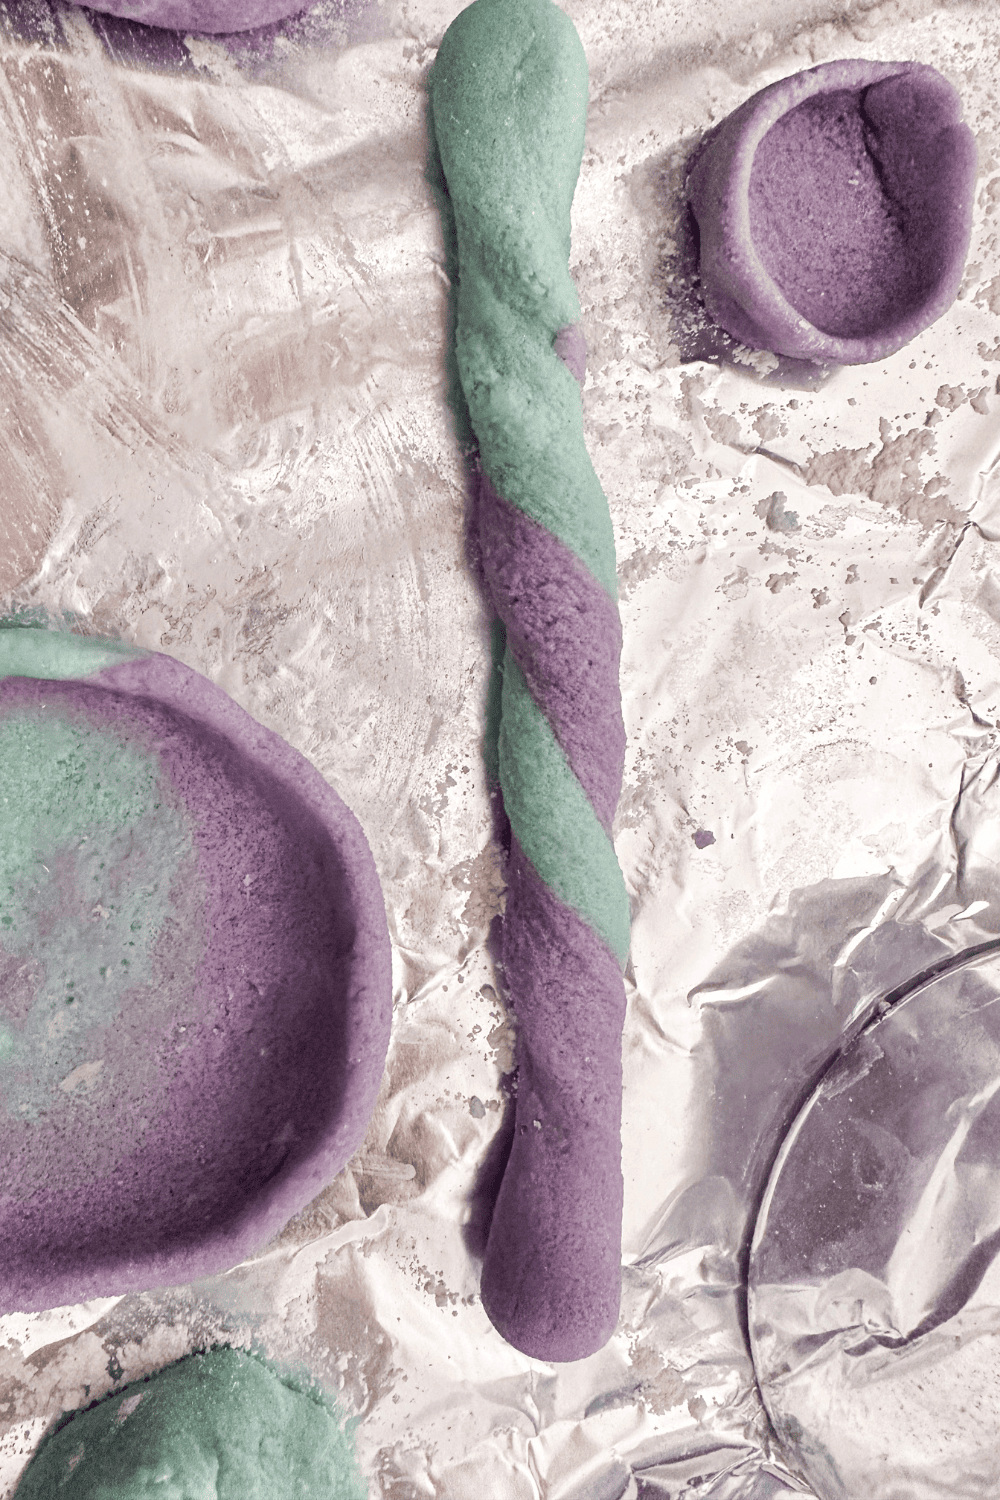
If you want more of a marble/tie dye effect after the two balls are rolled together roll into a cylinder and then twist. Then roll into a ball again to create your bowl.
Low and Slow to Set the Dough
Salt dough will dry out at normal room temperature in a few days, but to speed the drying process an oven can be used. You might think it’s a good idea to crank the heat and dry out the dough quickly.
Drying on too high of a heat will lead to cracks. Instead, lower the temperature, it will take longer to fully dry, but it’s less likely that cracks will form.
Salt Dough Bowl
Equipment
- 1 baking pan
Ingredients
- 1/2 cup salt
- 1/2 cup flour
- 1/4 cup water
- 1 piece tin foil
- food coloring optional
Instructions
- To make the salt dough, combine 1/2 cup flour with 1/2 cup salt, then add 1/4 cup water in slowly. Knead the dough for a few minutes.
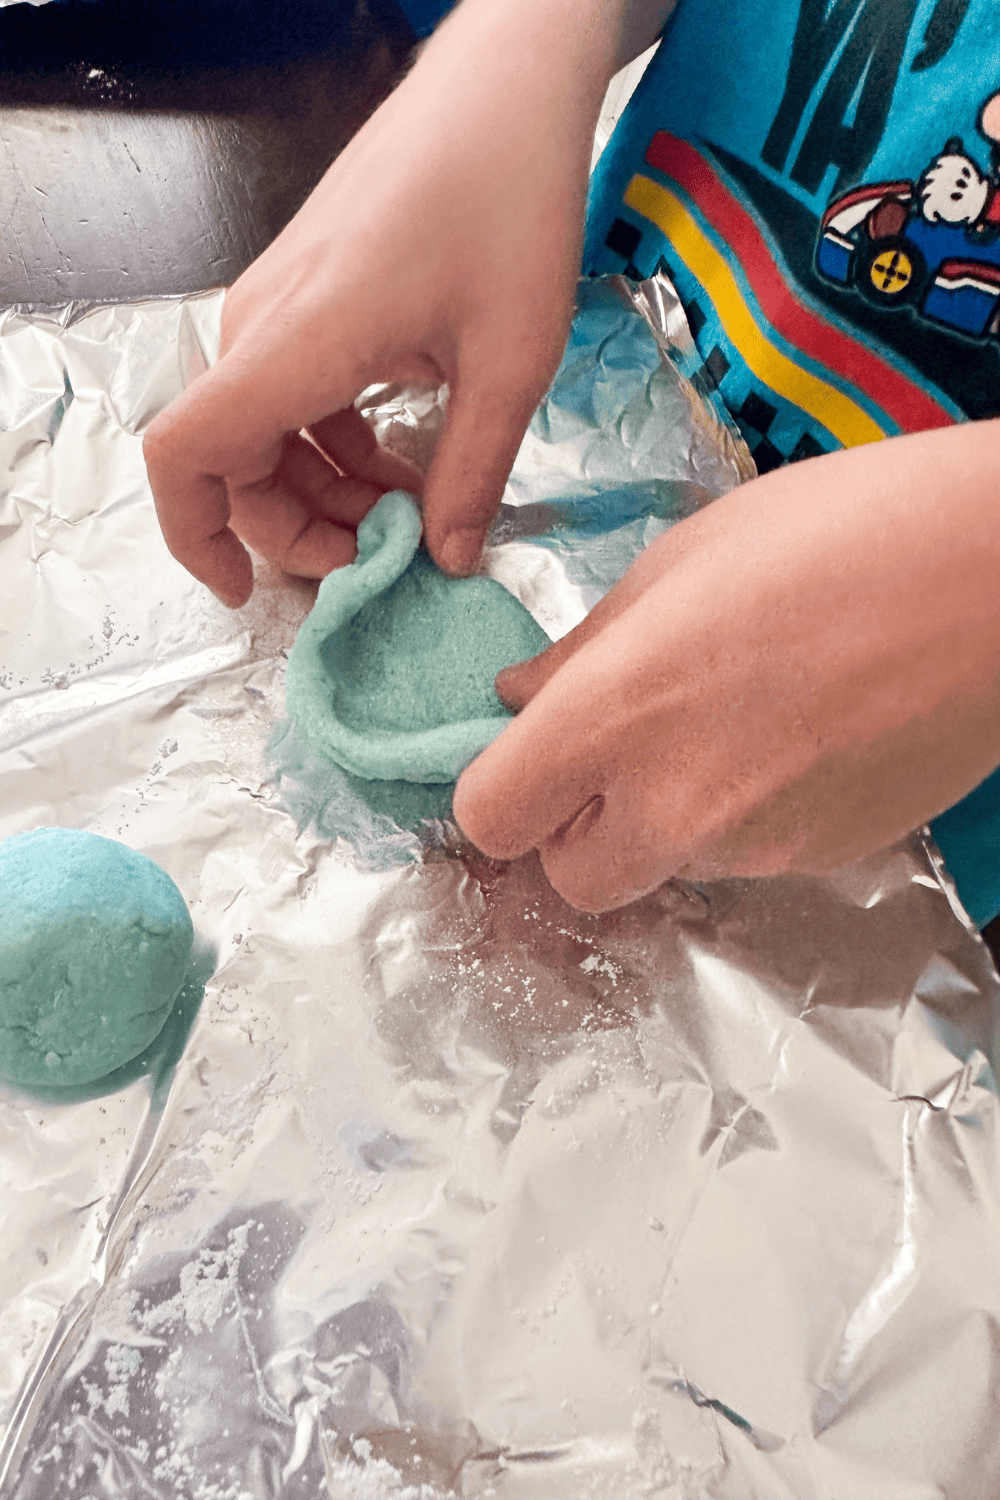
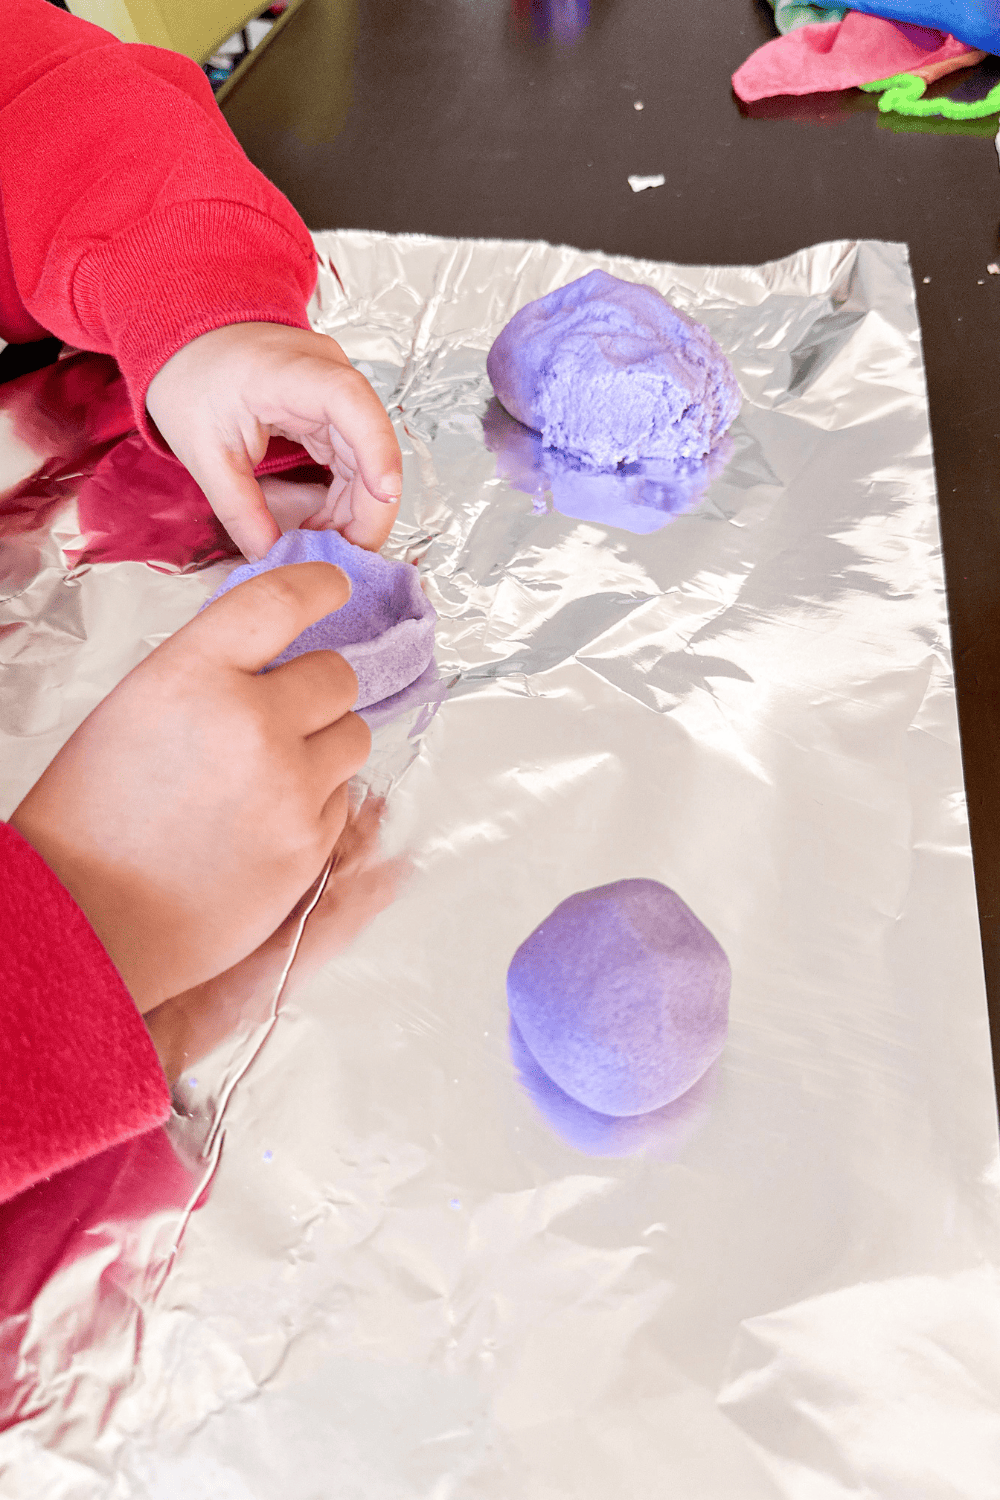
- To make the bowls, separate out the salt dough into an approximately golf ball size ball. Press the ball onto a floured work surface. And push the center in.
- Now there are two techniques to make the bowls. Pinch or push.
- Pinch. Place one finger in the center and one on the outside and pinch around the bowl. This creates flatter sides.
- Push. Push your finger in the center of the bowl and then push towards the edges. This creates more of a bubble edge.
- Either technique, you'll want to push the center of the bowl flat against your work surface. Try not to make either the edges or the bottom too thin so they don't rip.
- Once the bowl is created to your liking, put it on a baking pan and into the oven at 200 degrees for about 2 hours, or until dry.
Enjoying our crafty ideas? Subscribe today to receive our free guide, “From Fridge to Keepsake: 8 Clever Ideas to Preserve Your Child’s Artwork,” plus weekly updates and exclusive offers — all for FREE!
What’s Next?
If you enjoyed this salt dough bowl then you’ll enjoy these other kids activities too.
Free Animal Face Mask Printable
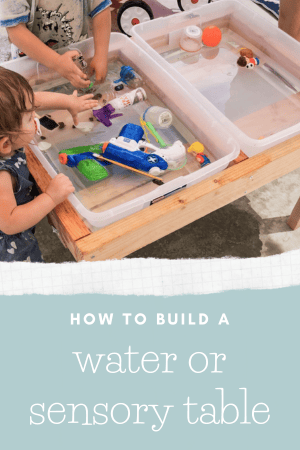
How to Make a Water or Sensory Table
Weekly Toddler Schedule Printable
More Kid’s Activity Ideas
If you enjoyed these salt dough bowls then you will love these other kid’s activities:
Leave a Reply