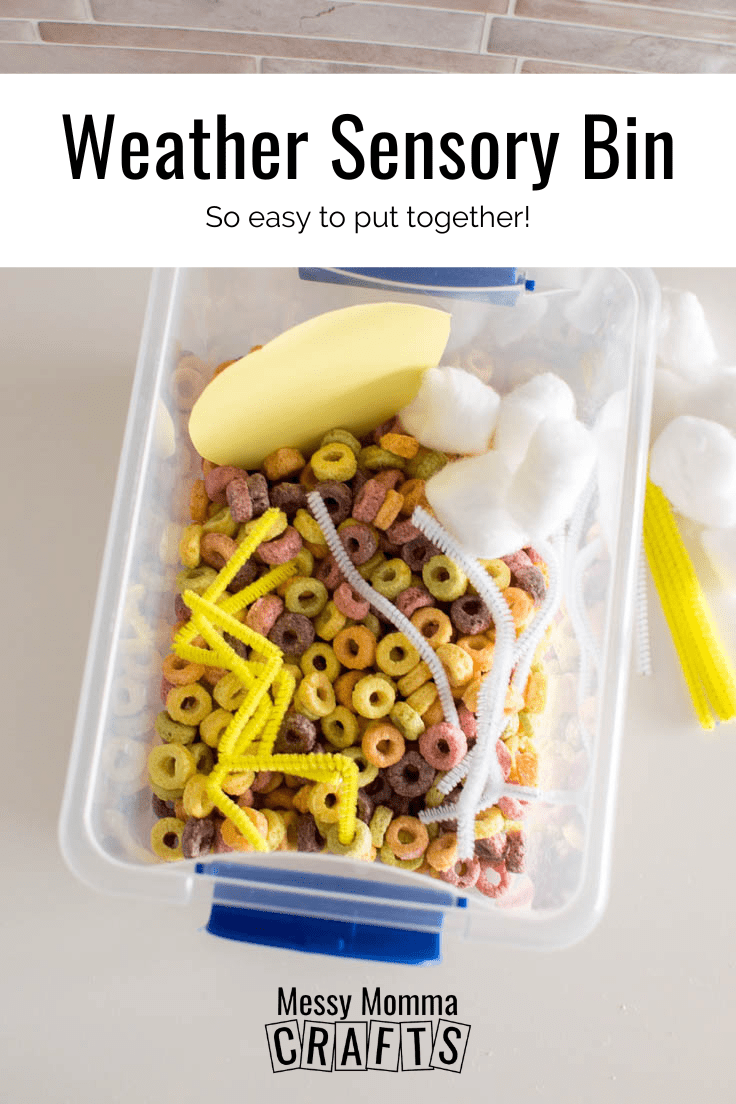
Teach your toddlers all about the weather with this super fun and ultra colorful Weather Sensory Bin. They’ll have tons of fun and you’ll love the fact that it’s so easy to put together.
Welcome back, crafty mom-friends! My name is Lisa and I am the founder and blogger behind Sugar Agenda – a website dedicated to party inspiration! I love to make party-friendly food, but as a mom of 2, I’m also a huge fan of putting together kid-friendly crafts and activities.
Want more ideas like this? Subscribe today and get our weekly newsletter plus other exclusive gifts and offers — all for FREE!
I’m no stranger to sensory bins – I think they’re a great educational tool that’s easy and budget-friendly to put together. My kids loved the St. Patrick’s Day Sensory Bin and Valentine’s Day Bin – and really had fun with the Thanksgiving Sensory Bin. How fun were those, right?!
If your little one is starting to learn all about the seasons, months, days of the week, etc. then they’re definitely ready to learn all about the weather! This is where our easy Weather Sensory Bin comes into play.
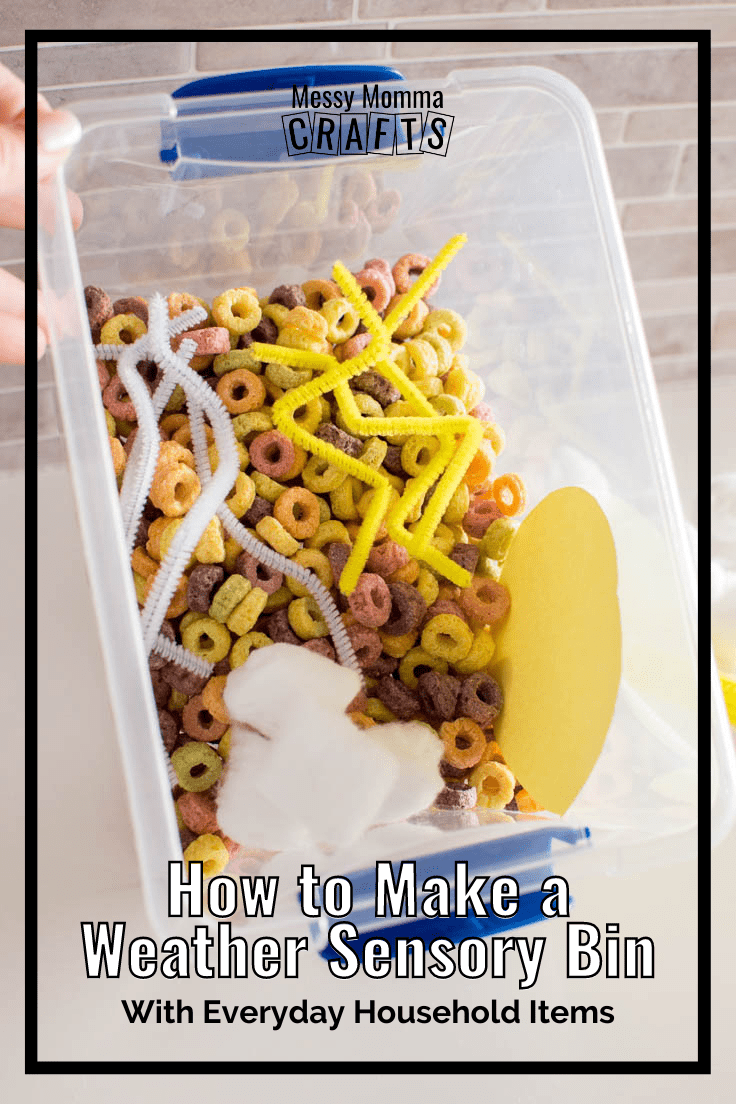
How To Make a Weather Sensory Bin
This Weather Sensory Bin offers hours of weather-filled fun. Your little one will love all the different textures and objects. Plus, it’s a great opportunity to talk about the weather and learn all about different elements outside.
What You Need:
Here’s what you’ll need from the store. The exact amounts are in the printable craft card at the bottom of this post.
Craft Tools Needed:
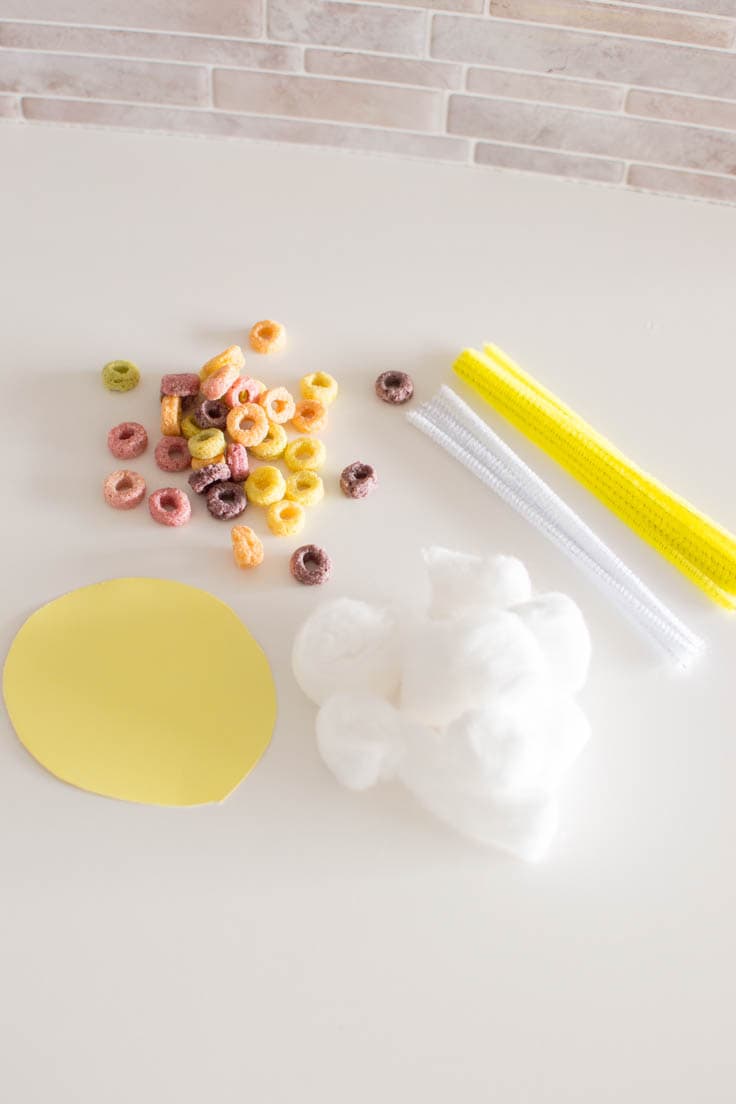
Supplies Needed:
- Fruit Loops cereal (a generic brand is just fine)
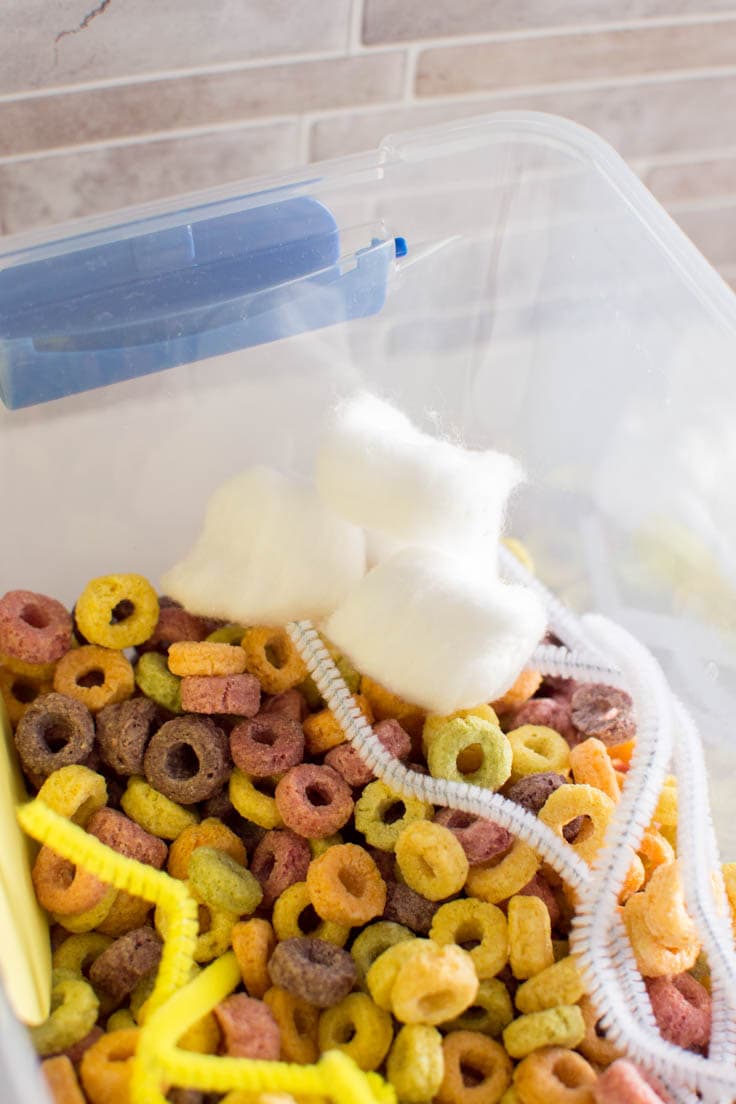
- Cotton balls
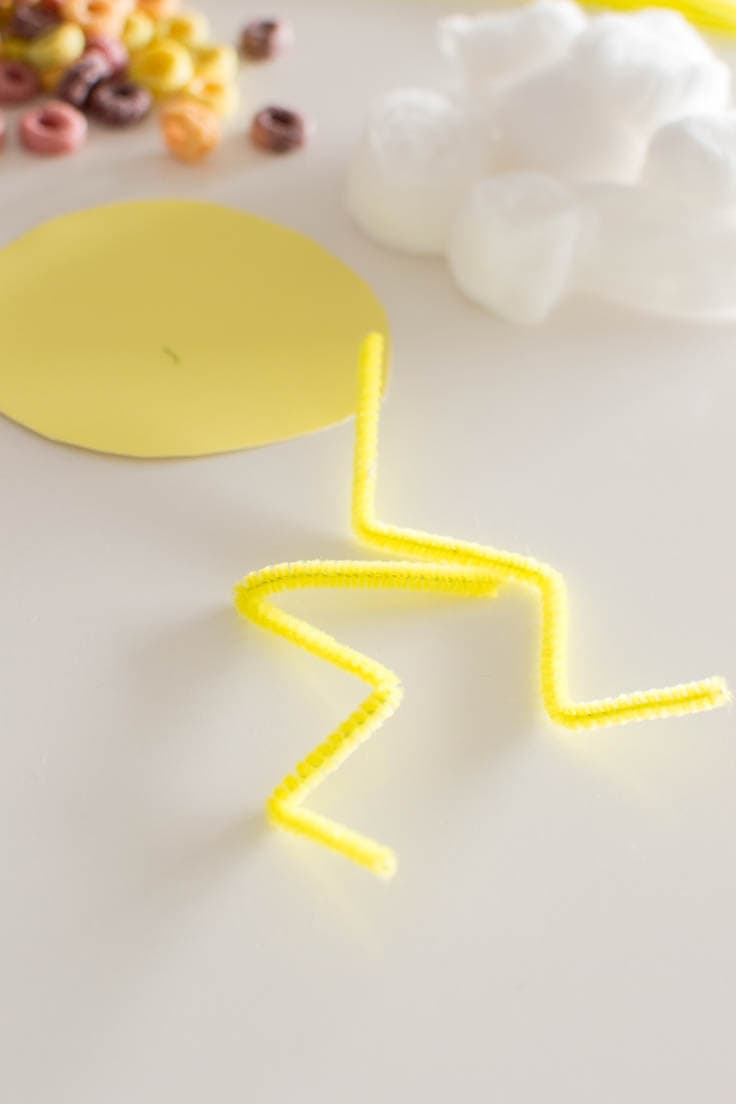
- Yellow cardstock
- Pipe cleaners
- Edible Foam (optional, it makes a big mess, but it’s lots of fun!)
Weather Sensory Bin Tips
Do I Need To Use a Plastic Bin?
Not necessarily! If you don’t have a bin, you can also use a baking pan or aluminum tray to enjoy this adorable Weather Sensory Bin.
What Does Each Object Signify in the Weather Sensory Bin?
We’re so glad that you asked! Here’s what you can tell your little ones while playing with this adorable weather-themed sensory activity:
- Fruit Loops cereal represent rainbows
- Cotton balls represent clouds
- Round pieces of yellow cardstock represent the sun
- Yellow pipe cleaners represent lightning
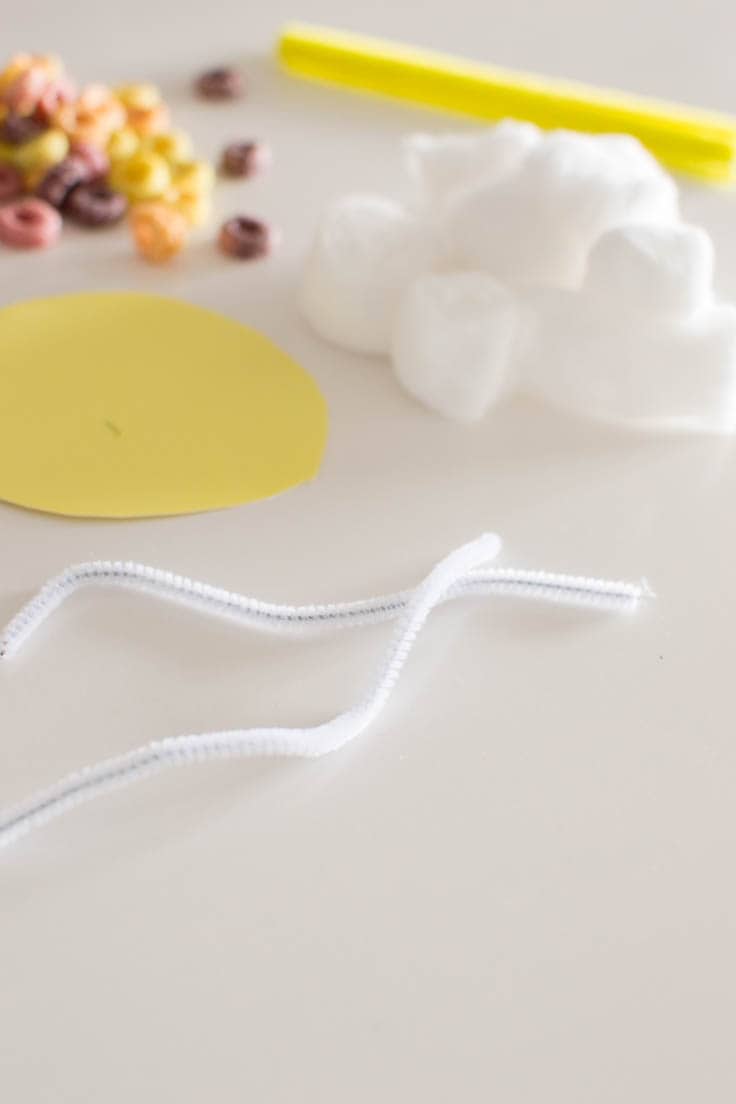
- White pipe cleaners represent wind
How Do You Store the Weather Sensory Bin?
When your toddler is done playing with the weather sensory bin, you can simply put the lid on the clear plastic container. Store it in a cool, dry closet for next time. You can also consider keeping the sensory bin contents in a large Zip-Loc bag, if you want to use the plastic bin to create a new seasonal sensory bin.
What Are Some Questions We Can Ask Our Little Ones About The Weather?
As your little one enjoys this sensory activity, make it a learning experience! You can ask them some weather-related questions like:
- What season is the coldest?
- How many colors do you think are in a rainbow?
- What do clouds remind you of?
- Do you like the rain? Why? Why not?
- What’s your favorite time of the year?
- What does it feel like when the sun is out?
There’s so much more you can explore when it comes to the weather!

Weather Sensory Bin
Ingredients
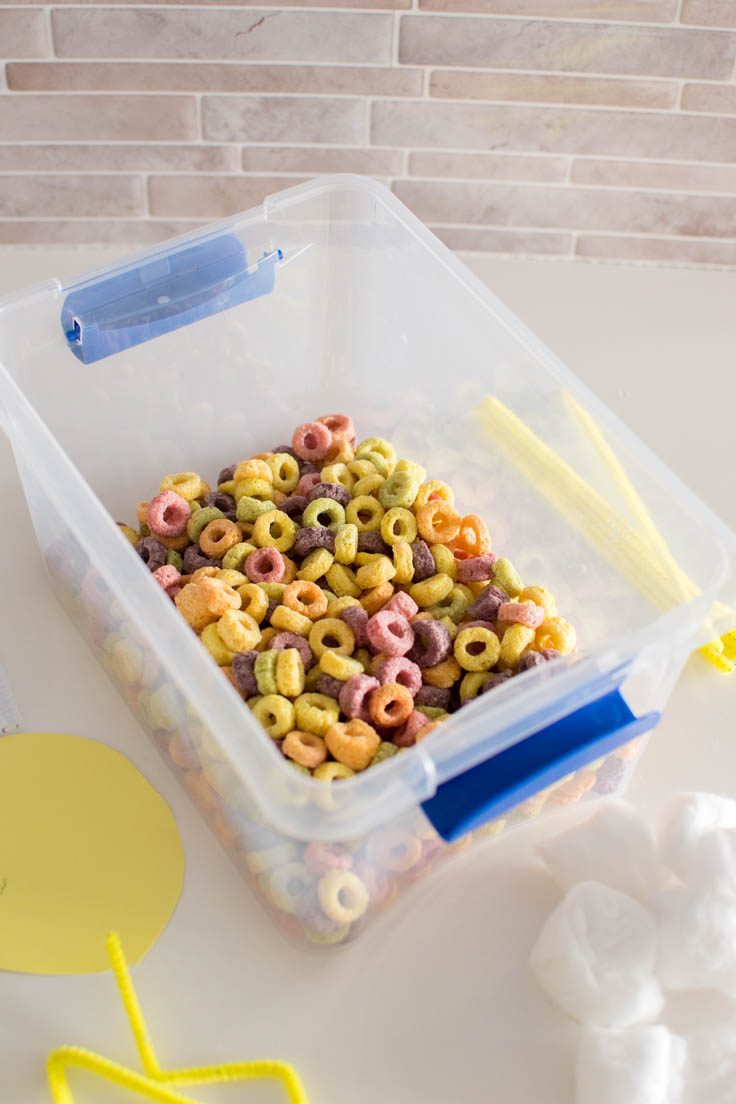
- 1 small plastic bin with lid
- Fruit Loops or generic brand equivalent
- 2-5 yellow pipe cleaners
- 2-5 white pipe cleaners
- 5-7 cotton balls
- Scissors
- 1 piece of yellow cardstock
Instructions
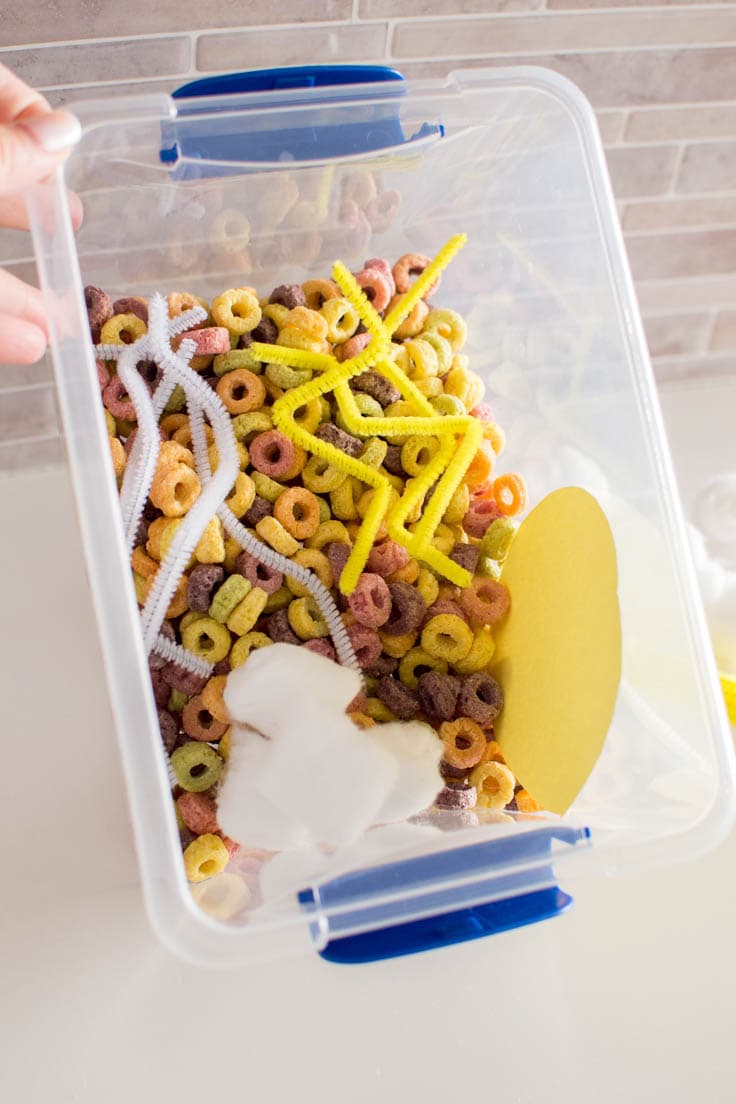
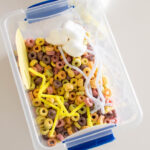
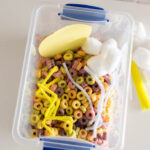
- Pour Fruit Loops into a small plastic bin, filling it about halfway.
- Bend each yellow pipe cleaner to make them look like lightning bolts. Place into the bin.
- Curl each white pipe cleaner and place into the bin. These will represent wind.
- Add cotton balls into the bin – these are your clouds.
- Cut the yellow cardstock into a circle and place in the bin. This is your sun.
- Enjoy!
Enjoying our crafty ideas? Subscribe today to receive our free guide, “From Fridge to Keepsake: 8 Clever Ideas to Preserve Your Child’s Artwork,” plus weekly updates and exclusive offers — all for FREE!
What’s Next?
If you enjoyed this weather sensory bin, then you’ll probably enjoy these kid-friendly DIYs and recipes, too!

More Sensory Activity Ideas
If you enjoyed this Weather Sensory Bin then you will love these sensory activities:
Leave a Reply