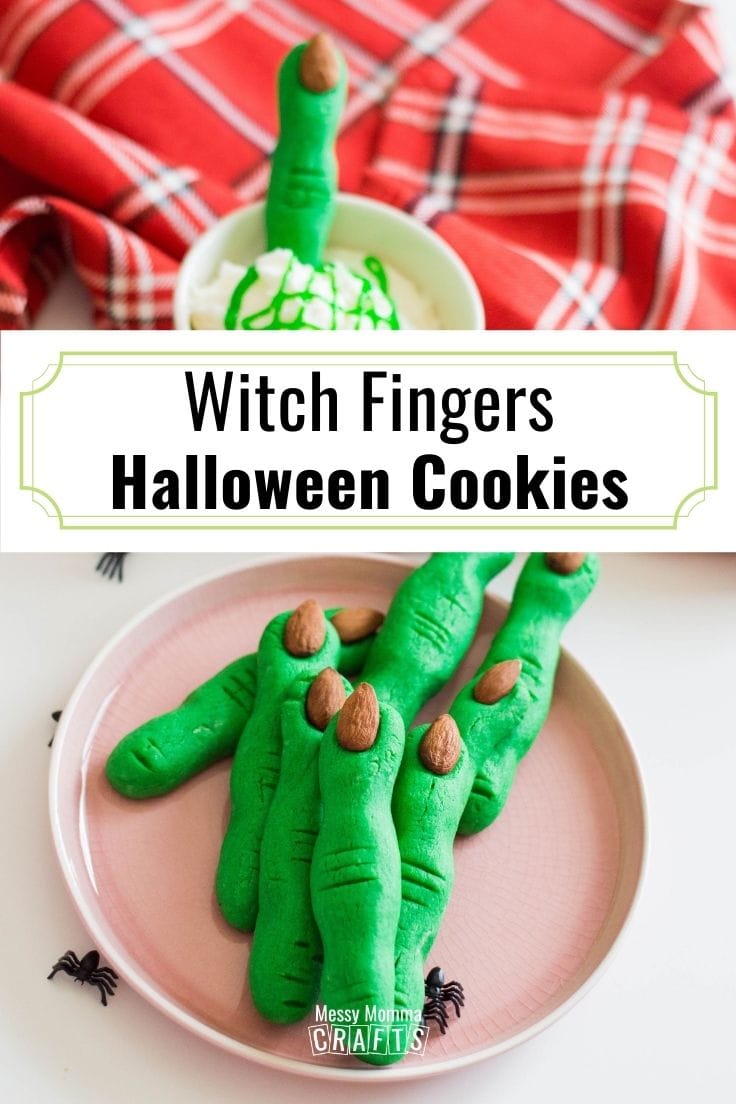
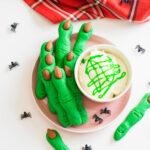
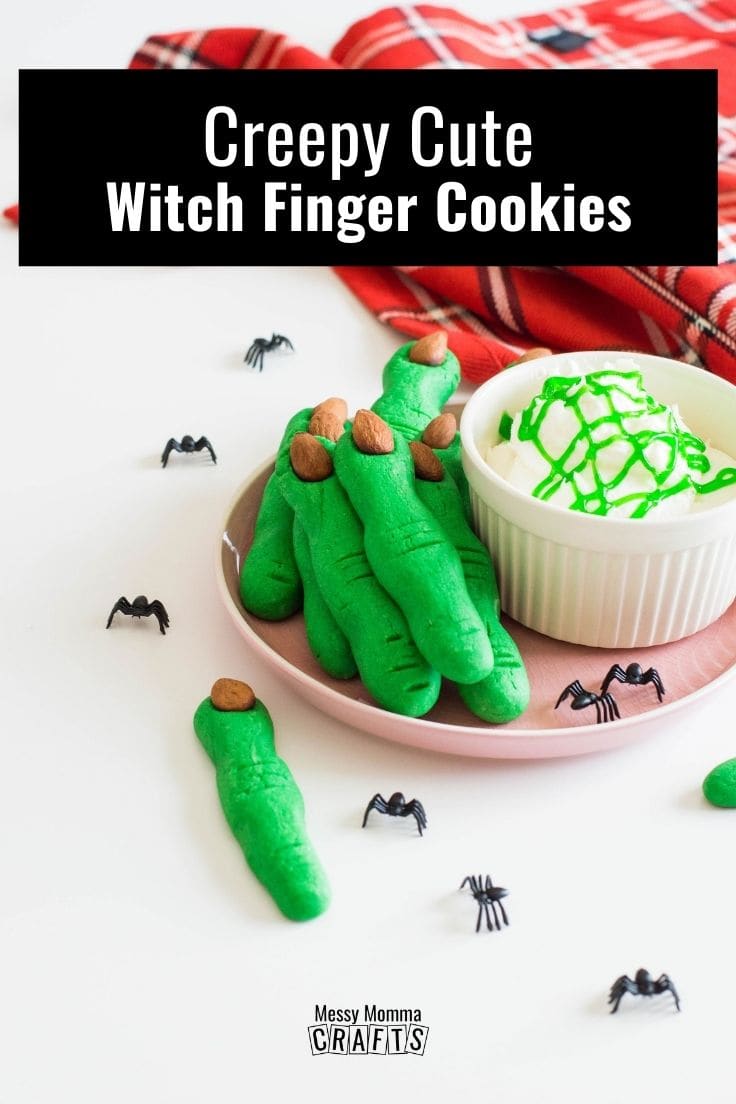
Watch out y’all – these witch finger cookies are not for the faint of heart. Kids will love making these creepy cookies!
Fall is a time that is packed full of fun crafts and recipes! When you are finished making some cute craft stick pumpkins, whip up these green cookies. They are perfect for Halloween parties of a Hocus Pocus movie night. Kids will love gobbling up finger-shaped cookies!
Want more ideas like this? Subscribe today and get our weekly newsletter plus other exclusive gifts and offers — all for FREE!
How To Make Cookies That Look Like Witch Fingers
They might be creepy, but they’re absolutely delicious!
The best type of cookies for Halloween are brightly colored and look almost like other spooky things.
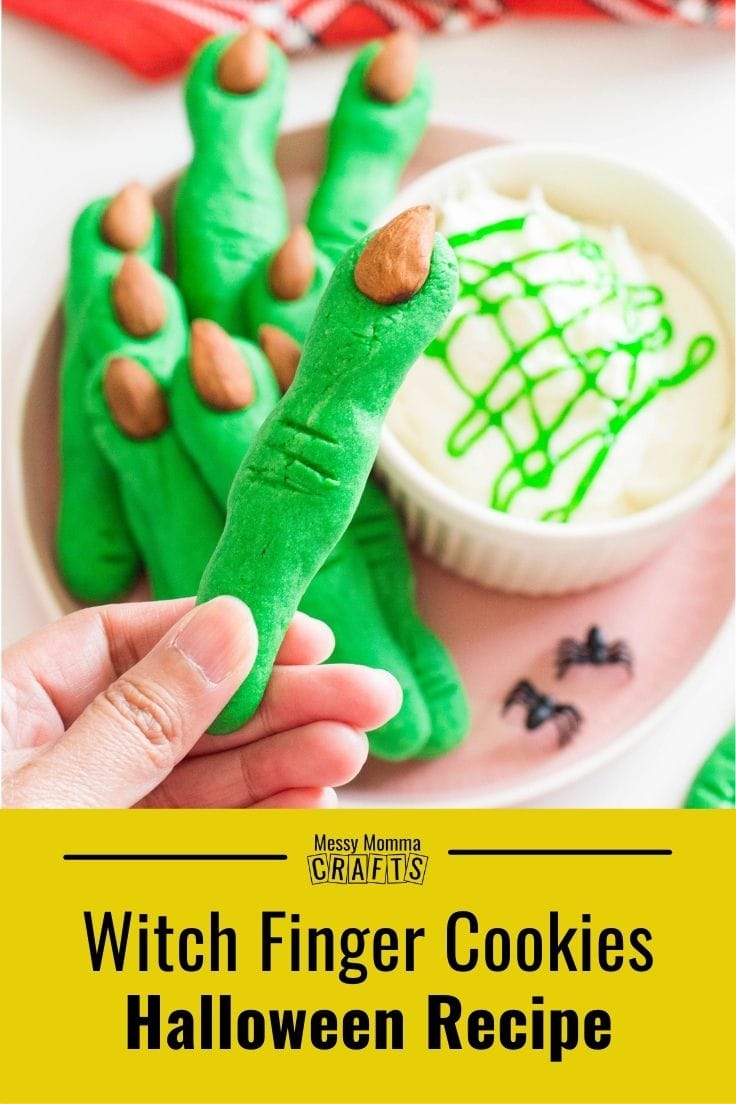
These witch finger cookies are a staple for any Halloween spread. Most of the ones that I’ve tried, up until now, have been primarily almond-flavored (which is smart since the “witch’s nail” is actually an almond). For my batch, in particular, I wanted to turn to my surefire recipe for sugar cookies and, to give them that Halloween twist, treat them with a deep green color.
The best part about my sugar cookies is that they’re not overly sweet. In order to add a bit more flavor to these Witch Fingers, I’ve whipped up an accompanying cookie dip, made primarily of confectioners’ sugar and marshmallow spread.

What You Need
Here’s what you’ll need from the store. There is also a printable recipe card at the bottom of this post with this list of ingredients and the simple steps to create these funny finger cookies.
Kitchen Supplies Needed
Ingredients Needed
For the Cookies:
- Butter, softened
- Granulated sugar
- Egg, at room temperature
- All-Purpose flour
- Baking powder
- Salt
- Kelly green gel food coloring
- Almonds
For The Cookie Dip:
- Butter, softened (about ½ a stick)
- Marshmallow spread
- Confectioners’ sugar
- Milk
- Green gel frosting
Tips For Making Green Witch Finger Cookies
My Witch Finger Cookies are really fun to make with the little ones. What’s great about them is that they don’t need to be completely uniform. What makes them creepy is that each individual cookie holds its own shape and texture. Watch out, though: to give these Halloween cookies their deep green color, I had to use a lot of gel food coloring, which can get messy if not used with care. Parents, I advise you to do the coloring yourselves!
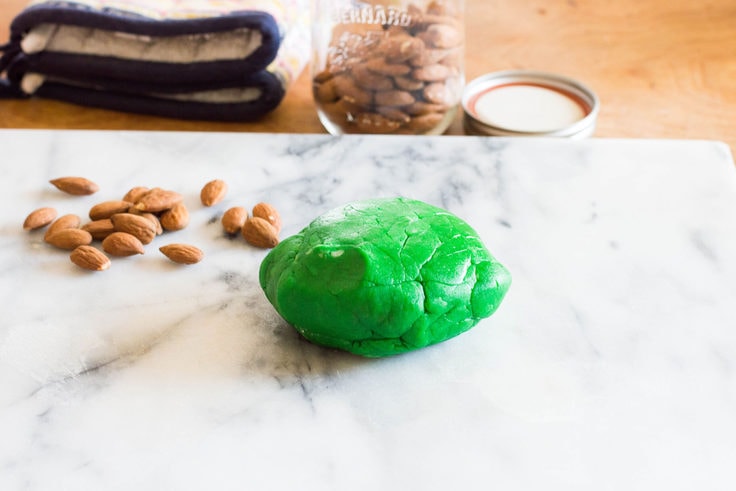
Make the Dough and Then Add Color
One trick to coloring cookie dough is to make the dough first and then add color. Once I knead the dough into the consistency of my liking, I place a small indentation into it before adding gel food coloring. Then, I fold it over and knead until the color is completely incorporated.

Chilling is the Trick
The reason why most cookie dough recipes require chilling is due to the fat in the recipe. In this case, we used butter and, if the dough isn’t well chilled, the butter will cause the cookie to spread during baking and then give it a “pudgy finger” look.

Re-Shape and Put it Back In the Oven
Of course, when the cookie is baking, it’ll still expand – slightly more than its original shape. The trick to these cookies is to remove them from the oven after 7-8 minutes of baking, pinching them further to re-shape (but proceed with caution because they’ll be extremely hot!), and then bake for an additional 2 minutes.

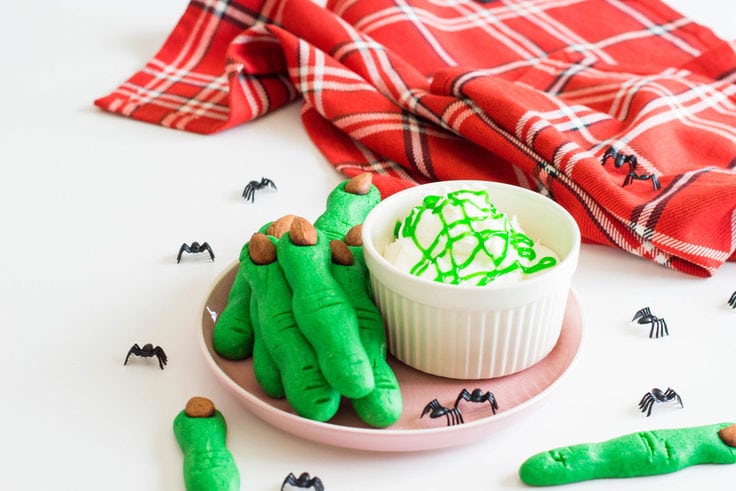
Serve With Homemade Cookie Dip
At this point, you can make the cookie dip entirely green, or just add some green swirls. It’s also fun to throw in some mini chocolate chips or toasted coconut flakes!


Love the ideas you see here on Messy Momma Crafts? Subscribe today and get our weekly newsletter plus other exclusive gifts and offers — all for FREE!
Witch Fingers Cookies
Equipment
- Baking Sheet
- Parchment paper
- Plastic Wrap
- Mixing Bowl
- Pairing Knife
Ingredients
Witch Finger Cookies
- 1 stick Butter softened
- 1/2 cup Granulated Sugar
- 1 Egg Room Temperature
- 2 cups All-Purpose Flour
- 1/2 tsp Baking Powder
- 1/2 tsp Salt
- 1/2 tsp Kelly Green Gel Food Coloring
- 18 Almonds
Cookie Dip
- 1/4 cup Butter softened
- 1/4 cup Marshmallow Spread
- 2 cups Confectioner's Sugar
- 3 tbsp Milk
- Green Gel Food Coloring
Instructions
Cookies
- In a large bowl, cream together butter, sugar and egg.
- In another bowl, sift together flour, baking powder and salt.
- Slowly add dry ingredients into wet ingredients. Eventually, the cookie dough will form and you can use your hands to get all the ingredients incorporated with one another.
- Place a small indentation into the cookie dough and add gel food coloring. Knead until completely tinted.
- Cover in plastic wrap and chill overnight or, for one hour in the freezer.
- Remove from refrigerator and let sit until malleable.
- Preheat oven to 375 degrees F.
- Line a baking sheet with parchment paper and set aside.
- To make the fingers, divide cookie dough into spheres, about 1 ½ inches in size.
- Roll out each sphere into a thick strip, about ¾ of an inch in thickness and 3 inches long.
- Pinch each strip to give it a non-uniform look. I like to pinch them in two separate sections.
- Score lines on top of each cookie dough using a paring knife.
- Place each one on lined baking sheet, about 1-2 inches apart from each other.
- Press one almond at the tip of each cookie dough.
- Bake for about 7 minutes and remove from oven.
- Proceed with caution for the next step: re-pinch each cookie to thin them out (as they spread during baking time – but be careful because they’ll be hot) then place them back in the oven for an additional 2 minutes
- Allow to cool before serving.
Cookie Dip
- In a large bowl, beat together all ingredients with an electric mixer. Start on low speed and gradually increase to high.
- In a large bowl, beat together all ingredients with an electric mixer. Start on low speed and gradually increase to high.
- Serve with cookies and enjoy!
Enjoying our crafty ideas? Subscribe today to receive our free guide, “From Fridge to Keepsake: 8 Clever Ideas to Preserve Your Child’s Artwork,” plus weekly updates and exclusive offers — all for FREE!
More Halloween Treats
If your kids enjoyed these spooky Witch Finger cookies, then they will have fun making these Halloween treats too!
These are so fun! I’ll have to make them with my kids. They’ll get a kick out of them, I’m sure.
Those cookies are so cool looking and lifelike such a great cookie. I have to make these for the kids on Halloween
We used to make these cookies every Halloween for the kids’ party. They were always a big hit. The dip would have been great to serve with them.
OMG! This would be perfect to make with my nieces and nephews the next time they come over. I know they’re going to love these.
Hands down, these fabulous witch fingers are possibly the most creative Halloween treat I’ve seen this season. If I could give this recipe a 10-star rating, I would!
The absolute CUTEST! Wait, no, CREEPY?! After all, they are WITCH FINGERS – haha!
This is absolutely hilarious! I can’t stop laughing because I think it will creep out so many people. Super good job in this!
This is super clever. I think people are going to be a little skeptic about this. I am absolutely trying this.
Those are so fun! My kids would have a blast helping to make these (and of course eat them!). What a fun Halloween project.
Those finger cookies are so adorable! I am sure my kids would love to try them out!
Honestly one of the creepiest treats you can make this Halloween which makes it that much more fun! It’s going to be a hit at parties and the kids will go crazy over them!
Those are the creepiest things ever! I really want to try one. Lol!
This is so cute! My kids would be over the moon if I made these cookies. Thank you for sharing your recipe!
Oh my goodness! I have to make these for the kids. They would love them.
The Cookies really do look good (and creepy). Witch finger cookies needs to be pinned right now.