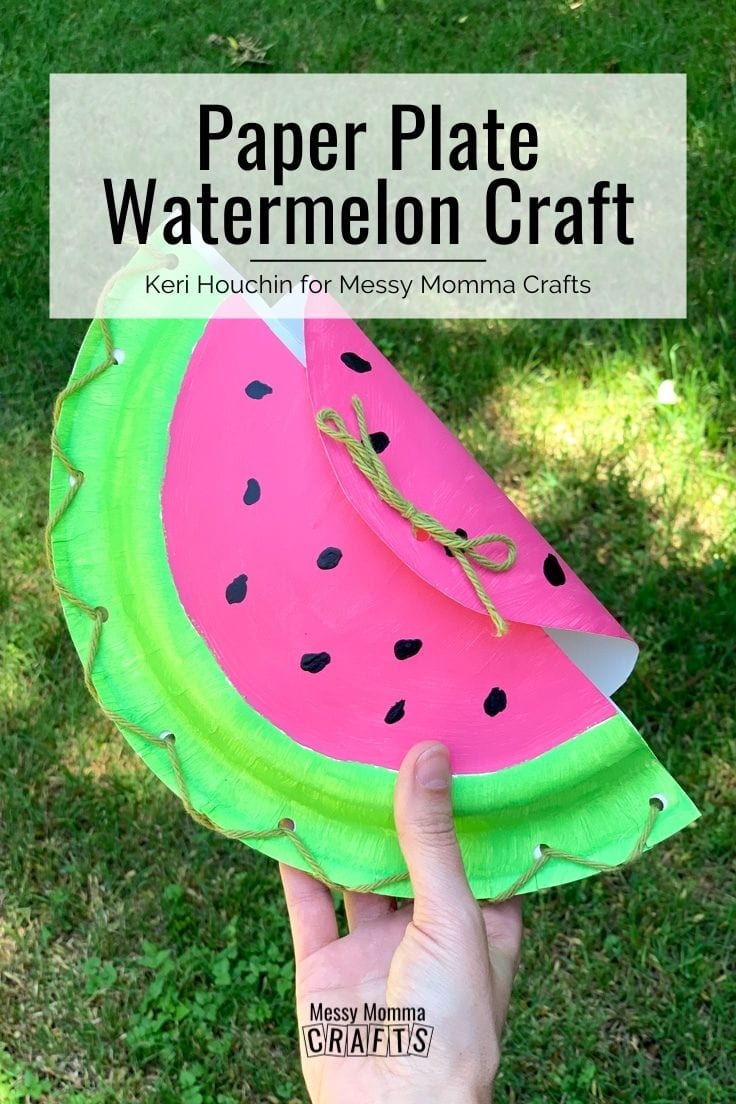
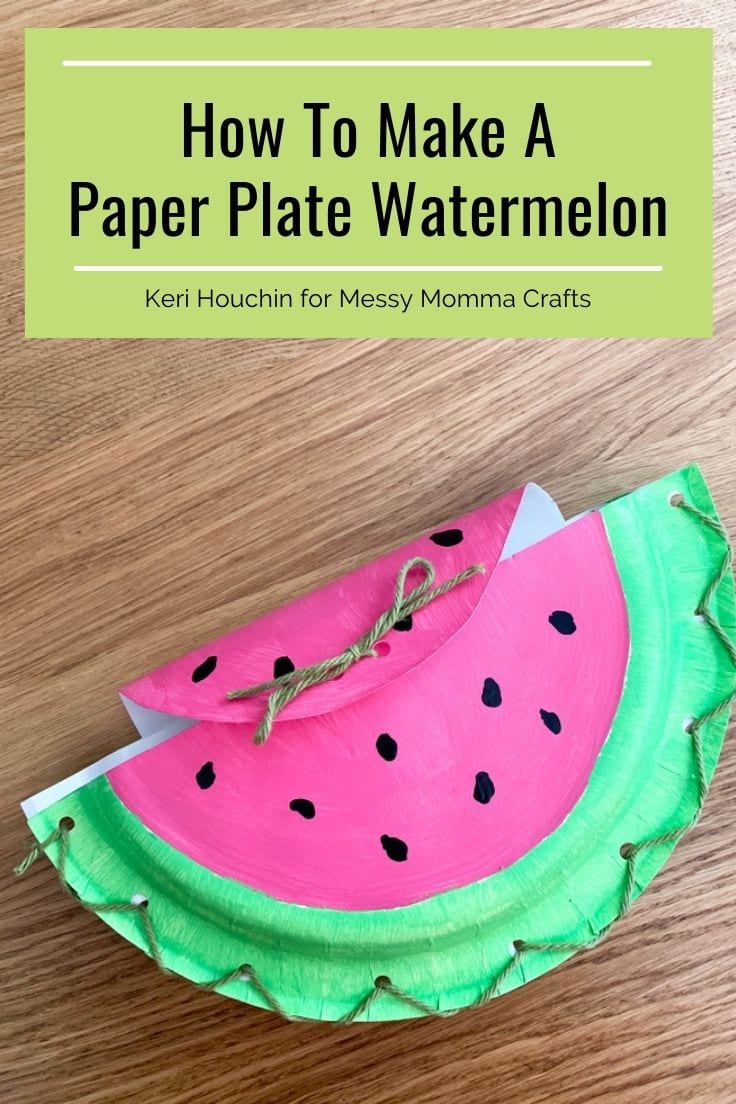
Make a paper plate watermelon craft with your child that they can use to store summer treasures or snacks.
Hello, I’m Keri. Over at my blog Backyard Summer Camp, you’ll find simple kids’ crafts to help you plan a fun and easy activities at home with your family. It’s easy for summer to become a bummer when kids get bored. Set them up with some paint and paper plates to make a cute summer craft!
Want more ideas like this? Subscribe today and get our weekly newsletter plus other exclusive gifts and offers — all for FREE!
There are a few things that really just make us think of summer – like watermelon!
Whether your kids love munching on a slide at a cookout or just wearing watermelon print on summer shorts and swimsuits, they’ll adore making this paper plate watermelon craft.
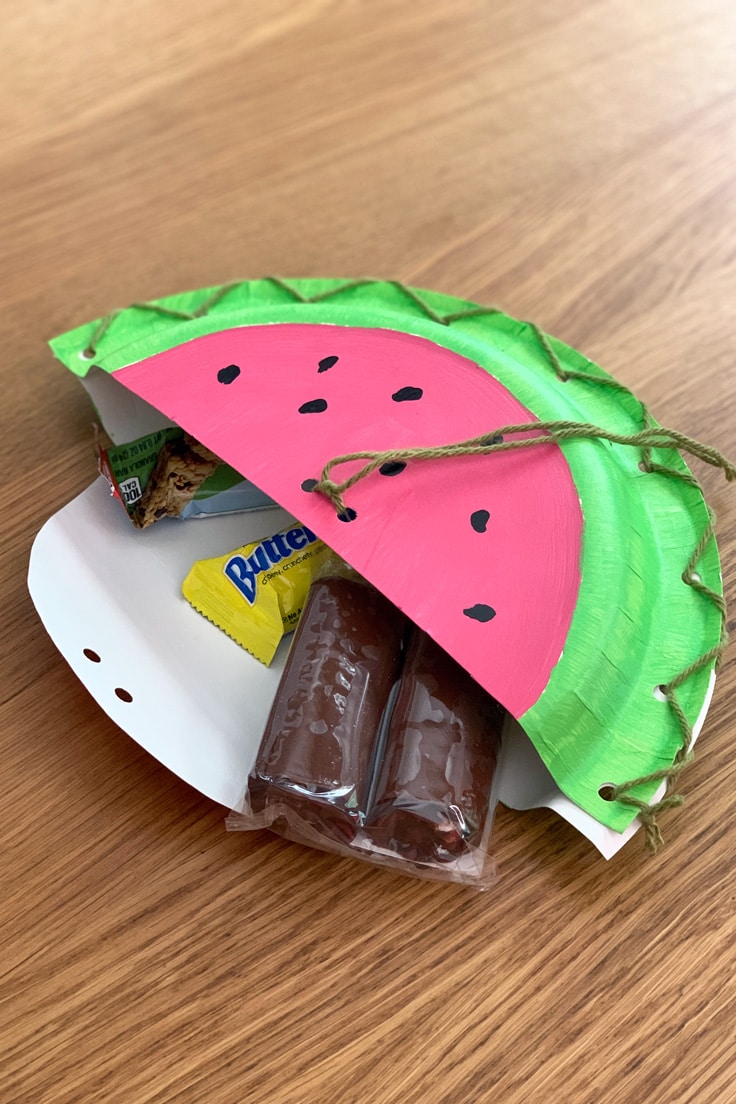
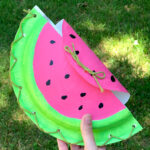
This colorful summer paper plate craft doubles as a pocket or purse. Your child can use it to collect treasures and keepsakes from summer. Or carry it as a purse for storing snacks, toys, and more.
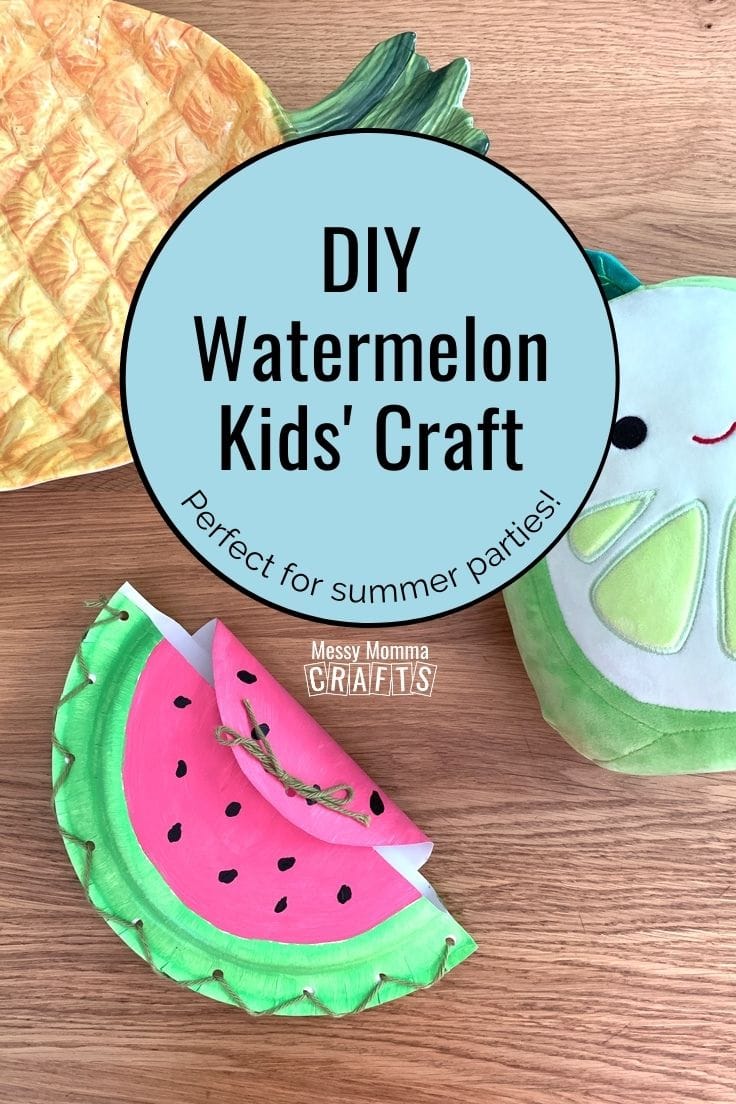
Parents, how cute would this be filled with treats for party favors? You could even set up a craft station at a summer party with a watermelon theme!
How To Make a Paper Plate Watermelon
You can also use this same technique to make other fruit slices too – like an orange or lemon.
What You Need:
Here’s what you’ll need from the store. The exact amounts are in the printable craft card at the bottom of this post.
Craft Tools Needed:
Supplies Needed:
- White paper plates
- Craft paint in green, red, pink, and black
- Green yarn
Paper Plate Watermelon Craft Tips
What kind of paint do you use on paper plates?
We used Deco Art paint for this craft, but any acrylic craft paint should work.
Can you glue paper plates together?
White school glue will work, but it takes a while to dry and isn’t a stronghold. If your child will be playing with their craft, hot glue works better. We like using string for fine motor skills practice and because it is very strong.
What else can I use to make a paper plate watermelon?
Try using pipe cleaner in place of the string. Instead of painting, cut out pink and green construction paper and glue it in place. For the seeds, use stickers or save some real seeds from a watermelon! (Just be sure the watermelon seeds are washed and dried.)
How can I help my child paint?
The best way for kids to learn how to paint is to get messy and try it. Wear clothes that can get paint on them and protect your table with a disposable plastic tablecloth. Provide a variety of brush sizes and shapes. Try fun crafts like this paper plate watermelon, but give them plenty of time for creative projects.
How do you clean up craft paint?
For the best results, check the package on the paint your child is using. Most acrylic craft paint will clean up with warm water or a bit of dish soap and is easiest when it’s still wet. Brushes should be washed with warm water and reshaped to dry.
Paper Plate Watermelon
Equipment
- 1 Pencil
- 1 ruler optional
- 1 Pair of scissors
- 3 Paintbrushes
- 1 Single hole punch
- 2 clothespins optional
Ingredients
- 2 paper plates white
- 4 bottles craft paint red, pink, green, and black
- 48 inches cotton yarn green
Instructions
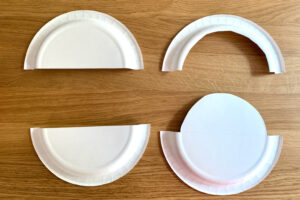
- Cut paper plate shapes.Take 2 white paper plates and measure to find the middle. Cut one complete in half and the other, just remove the outside edge on one half. You’ll only need the half of each.
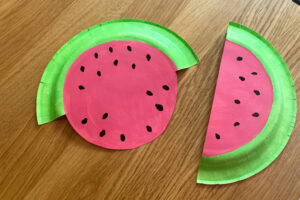
- Paint the plate pieces.Paint the back of both paper plate pieces, starting with the center. To get watermelon fuchsia, I mixed equal amounts of red and pink paint. Let the pink dry to the touch, about 5 minutes, then paint the green. Add black paint seeds with a small brush.
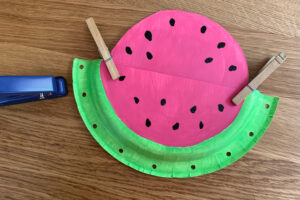
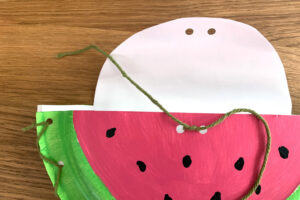
- Punch holes around the edge.After all the paint is dry, line up the edges of both plates. We used a clothespin to hold them together. Use the hole punch to make lacing holes around the rind edge. Make sure there is one at each end, then space them about an inch or so apart.
- Thread the yarn through the holes.Cut a length of green yarn at least 36 inches long. Line up the watermelon halves with the unpainted sides together, then weave the yarn through the holes. We used a shoelace pattern, but any will do. When you get to the end, tie a knot and trim the extra yarn.
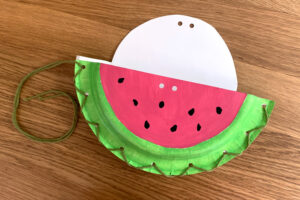
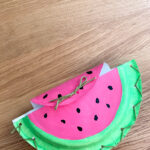
- Add the yarn closure.To make the closure, punch 2 holes in the center of the bottom edge. Add 2 more holes in the center of the top edge. Cut a length of yarn at least 12 inches long. Thread the ear through the bottom holes and tie a double knot. To close the pouch, Thread the yarn through the top holes and tie a bow that can easily be untied.
Enjoying our crafty ideas? Subscribe today to receive our free guide, “From Fridge to Keepsake: 8 Clever Ideas to Preserve Your Child’s Artwork,” plus weekly updates and exclusive offers — all for FREE!
What’s Next?
If you liked this pipe cleaner flowers craft, then be sure to check out Backyard Summer Camp for even more easy kids’ crafts.
More Summer Craft Ideas
If you enjoyed this paper plate watermelon craft then you will love these grade school craft ideas:
Leave a Reply