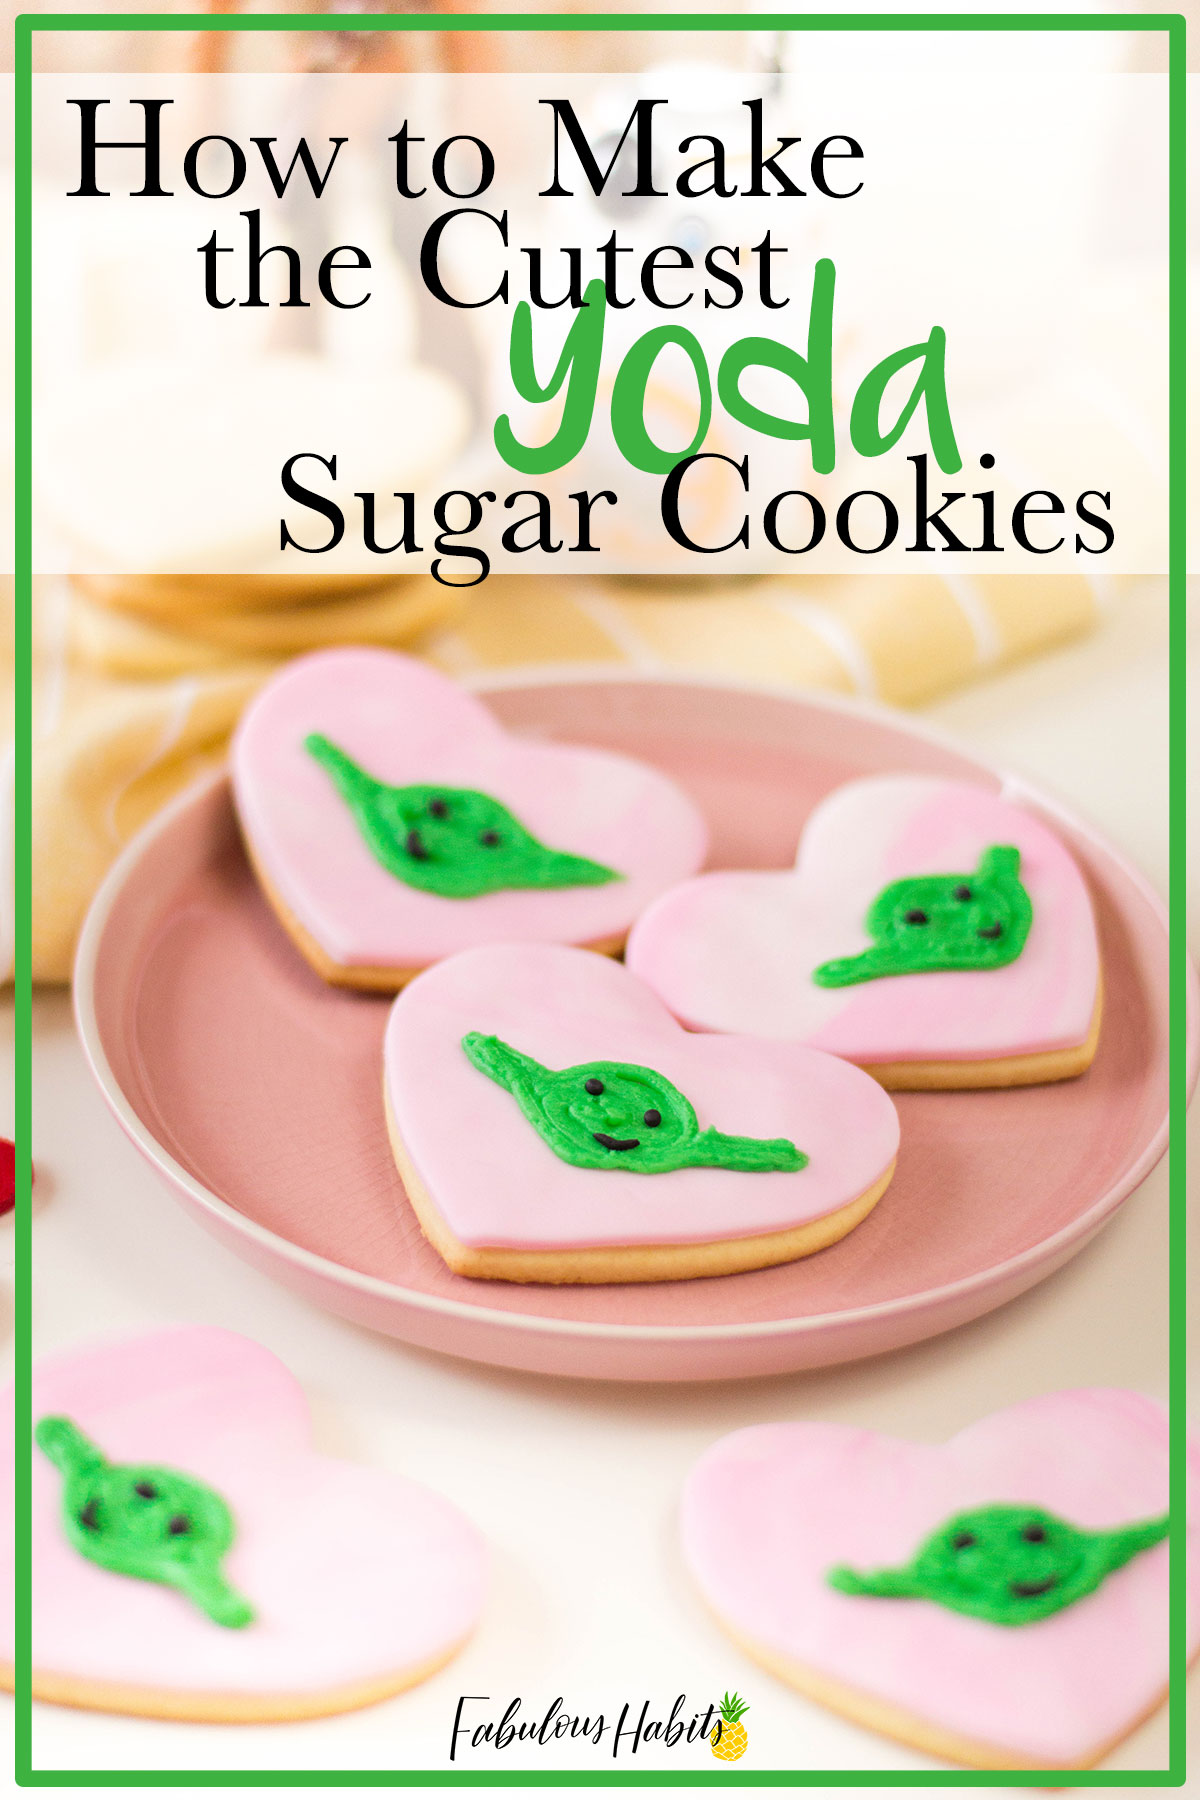
Today, we’re proud to present: Yoda Sugar Cookies.

Too cute, these are.
Recently, my friend ultra-talented friend, Dawn, (also the content creator behind the impressive Cutefetti) challenged me to create a Valentine-friendly dessert. Considering that we both absolutely adore Disney, I decided to make these sweet (and romantic!) Yoda Sugar Cookies.

YODA one I want, always. (Okay, okay… I just had to.)
I am incredibly proud with how these Star Wars-inspired cookies came out. Below, I’ve included my surefire recipe for sugar cookies. They are the perfect cut out cookies to create any shape you’d like!
They would be amazing at a Star Wars party alongside a batch of these cute Chewbacca cookies!


How Do You Make Yoda Out of Buttercream?
Don’t be intimidated! Outlining Yoda with buttercream is easier than you think.
In the recipe below, I’ve outlined my step-by-step instructions to create Yoda out of homemade buttercream frosting. All it takes are two easy “U”-like shapes, and then the addition of more buttercream and simple fondant details. Ta-da! You’ve got an ultra-cute (and super sweet!) smiling Yoda. So simple!

Disney-Inspired Desserts
If you’ve read my blog before, you know how much I adore whipping-up Disney-inspired desserts! You can take a look at my Princess Jasmine cupcakes and also, my Grey Stuff dessert.
On Dawn’s website, you can find all sorts of amazing recipes. Today, I’m incredibly stoked to present her Disney-inspired Valentine treat! Hope our desserts give you all the lovey-dovey vibes – Disney-style, of course!
Without further ado, here is the recipe for my Valentine-friendly Yoda Sugar Cookies:

How to Make Yoda Sugar Cookies
For the Cookies:
½ cup granulated sugar
1 large egg
¼ cup unsalted butter, softened (about ½ a stick)
1 tsp vanilla extract
1 ½ cups all-purpose flour + extra for rolling
½ tsp baking powder
½ tsp salt
1 heart-shaped cookie cutter, about 3 inches at its widest point
To decorate:
4 oz. white rolling fondant
4 oz. pink rolling fondant
1 oz. black rolling fondant
1 tbsp cornstarch (optional)
½ stick unsalted butter, softened
1 cup confectioners’ sugar
1 tbsp milk
2 small drops Kelly green gel food coloring
Yields: Approx. 12-15 cookies, depending on the size of the cookie cutter
To Prepare the Cookies:
In a large bowl, cream together granulated sugar and egg.
Cut butter into small pieces and add into sugar and egg mixture. Mix and add vanilla.
In a separate bowl, sift together flour, powder and salt.
Slowly add dry ingredients into wet ingredients, mix until cookie dough forms.
Wrap cookie dough in plastic and allow to chill in refrigerator for 30 minutes.
Once cookie dough is chilled, preheat oven to 375 degrees. Line a cookie sheet with parchment paper.
Dust a clean working area with flour. Use a rolling pin to roll out dough until it’s about ¼ of an inch thick.
Using the cookie cutter, cut out 12-15 heart-shaped cookies. Place gently on lined baking sheet, about 1-2 inches apart from each other.
Bake for 7 to 9 minutes or until edges are a light golden brown.
Set on a wire rack to cool completely before decorating.
To decorate:
Fold both pink and white fondant together, taking care to not completely incorporate the colors but rather, blend to create a “marbled” look.
Use a rolling pin to roll out the marbled fondant until it’s about ¼ of an inch thick (you may use the cornstarch to dust your rolling pin and working area if you find your fondant is too sticky).
Cut out 12-15 heart shapes using the same cookie cutter for the cookies. Set the fondant pieces aside.
Add softened butter, confectioners’ sugar and milk in a large bowl. Use an electric mixer to beat, starting on low and gradually increasing to high speed.
The buttercream is ready once it is smooth and forms semi-stiff peaks.
Use an offset spatula to spread a thin layer of buttercream on the center of each cookie.
Press one fondant heart on each cookie.
Add gel food coloring into remaining buttercream and beat until completely tinted.
Scoop green buttercream into a piping bag with Wilton tip #5 attached.
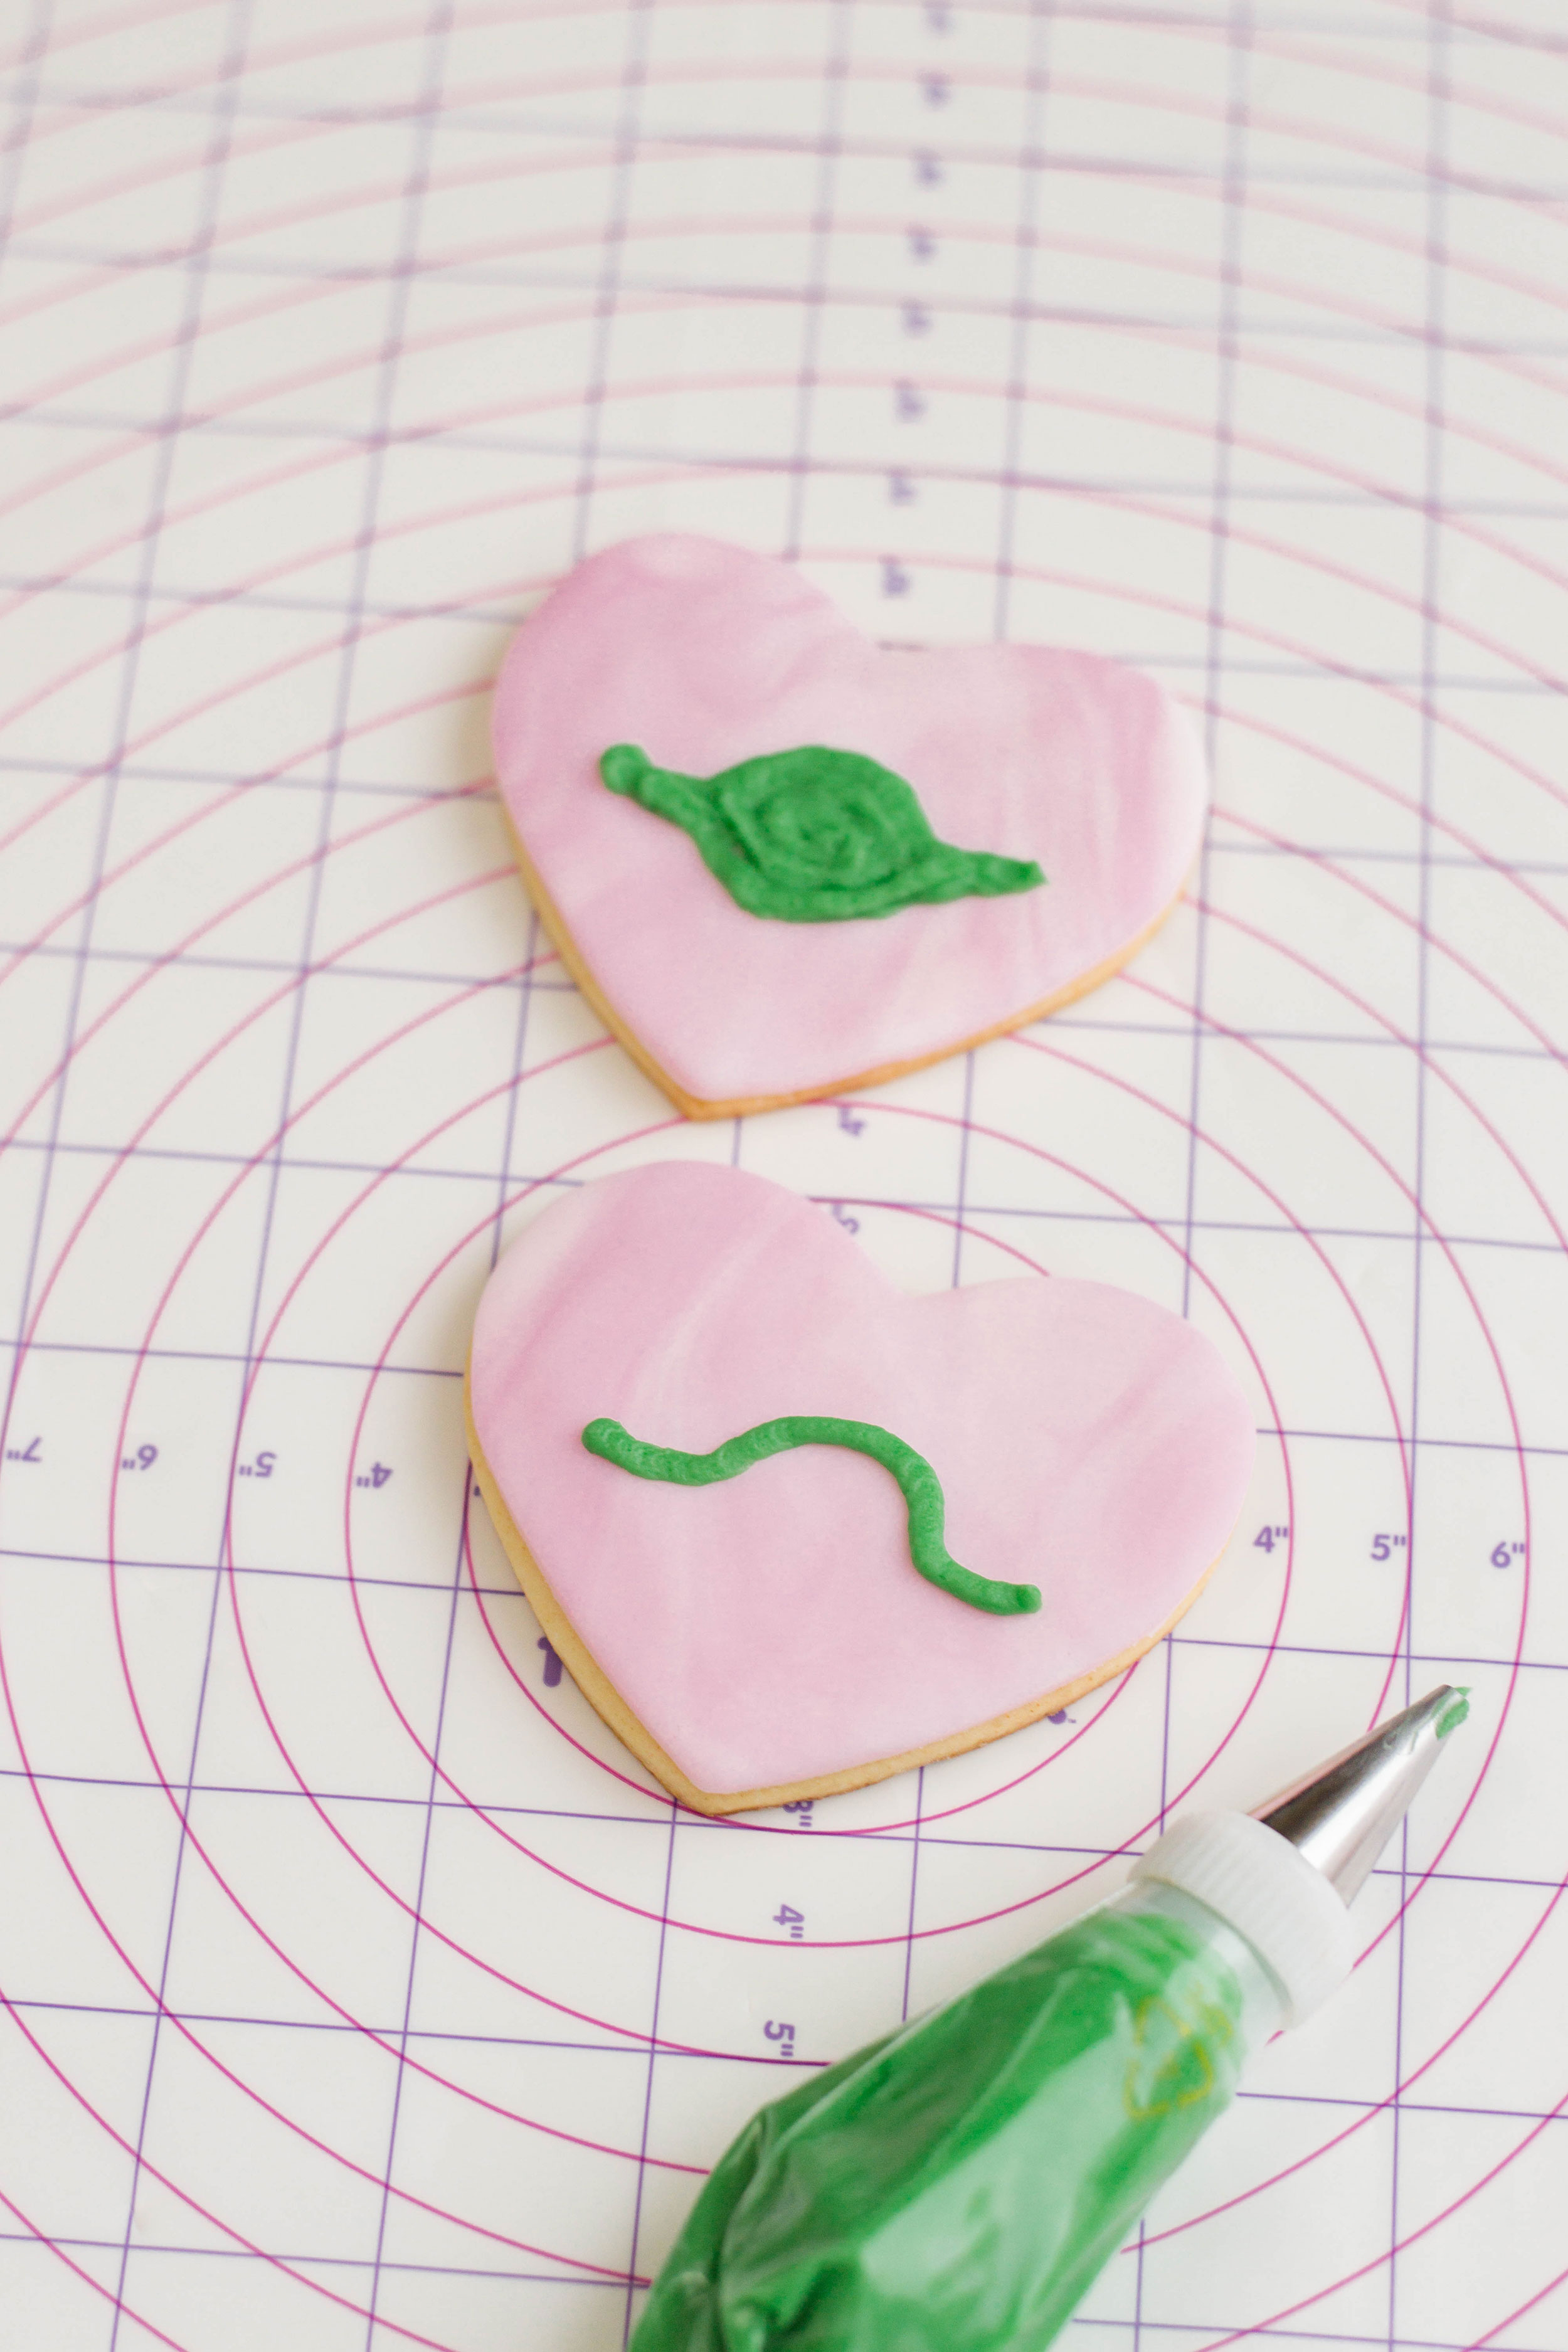
On the center of each cookie, pipe out Yoda’s head. To do this, start by piping out a “hill” – a shape resembling a “U” and with long lines on either side.
Now, pipe out the same shape, but upside down, creating a mirror image of the hill. Fill it in with more buttercream. You may add more buttercream to the lines to fill out Yoda’s ears.
Roll 36-45 tiny spheres from the black fondant. Add 2 on each Yoda, they will act as his eyes.
Shape the remaining black spheres into mini strips, giving them a crescent shape – place on each Yoda, they will act as his smile.


More Crafts You Can Eat
I hope you enjoyed these Yoda sugar cookies! Here are some more delicious recipes that are fun to make and even tastier to eat!

Oh my gosh, stop. These are absolutely adorable!!!
Alright these are pretty darn cute. I’m not even a Star Wars fan and I want to make these!
I’m totally making these cookies this weekend. I’m yoda obsessed!
These are so cute and look pretty easy to do. They would really be a big hit at a birthday party or class party!
Like them, I must! ( a little Yoda speak humor ) 🙂
SO cute!!! I adore these cookies so much! Yoda…best! Ha!!! It was so fun doing this cute collab!!
These are so adorable! My kids will really enjoy making them with me!!
This is the cutest sugar cookie ever!
I absolutely love these! So adorable and so easy to decorate!! I would like to try to make these for a co-worker! Cute!
These cookies are so cute! I would love to make these then watch Star Wars!!
Kileen
cute & little